|
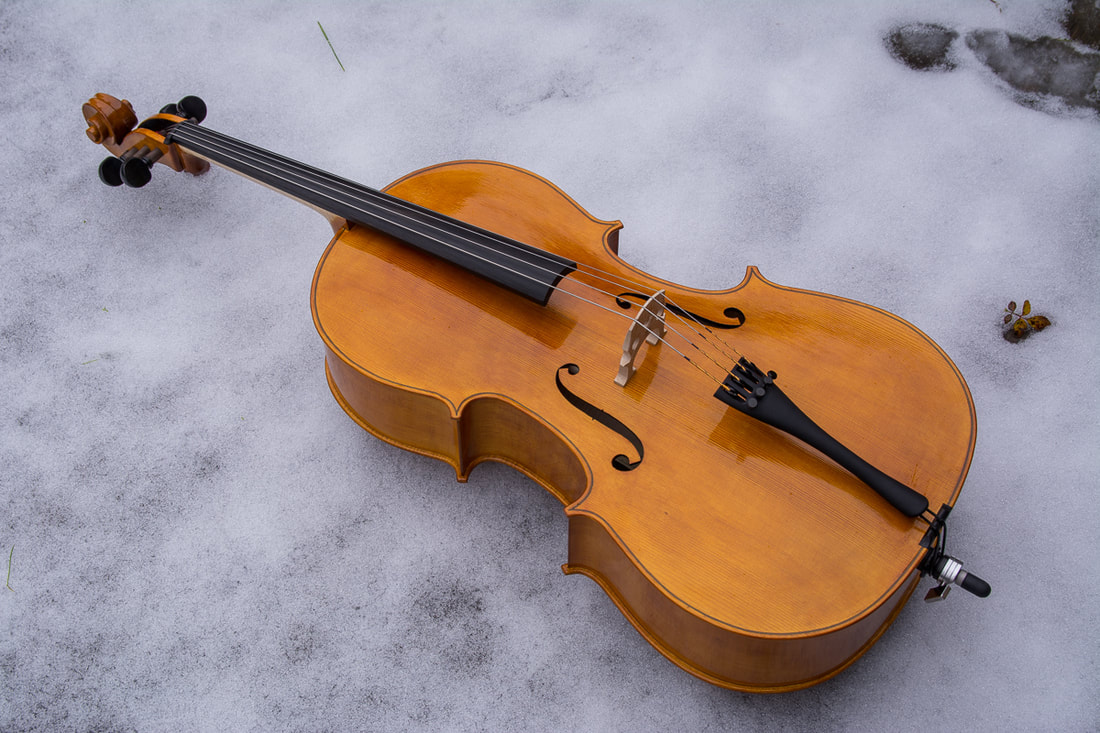
Now that the cello is finished it is time to also let you know how it sounds. Below are three clips played by Otto Nuoranne. It was interesting to discuss with him different aspects of the sound and the playability of an instrument (other than it being a couple of sizes too small of course). Once again I am amazed by the sound that comes out of this instrument I have made. It is so so satisfying.
0 Comments
As I wrote last time, I wanted to go once more to meet Guy at www.howviolins.fi to check the sound post. I think I had done a good job at fitting the sound post but I wasn't sure if it was now one the optimal position or if it had the correct tightness (=length). So that is what I did today.
Both visits to Guy have been really good. Both for the cello and me. He said I had indeed done a good job in fitting the sound post so he didn't need to take it out. I had put it a bit too far back though which he could easily correct. Having the sound post closer to the bridge foot increases the responsiveness of the cello. Anyways, now the cello is really finished and only needs the maintenance any cello needs. I expect not to make many post in this blog anymore. Check how the second cello progresses on my second blog at Cello #2. The second thing to fix was the sound post. It was too tight and not fitting too well. I started the refitting by watching a video by the Distinguished Violinmaker Edgar Russ on the topic, Ep. 28: Fitting the Soundpost. In the video he explains well how to do it with some good tips. I found especially good the idea of using a shorter post to get the angles and fit well. I don't have another sound post blank but next time I will definitely do that.
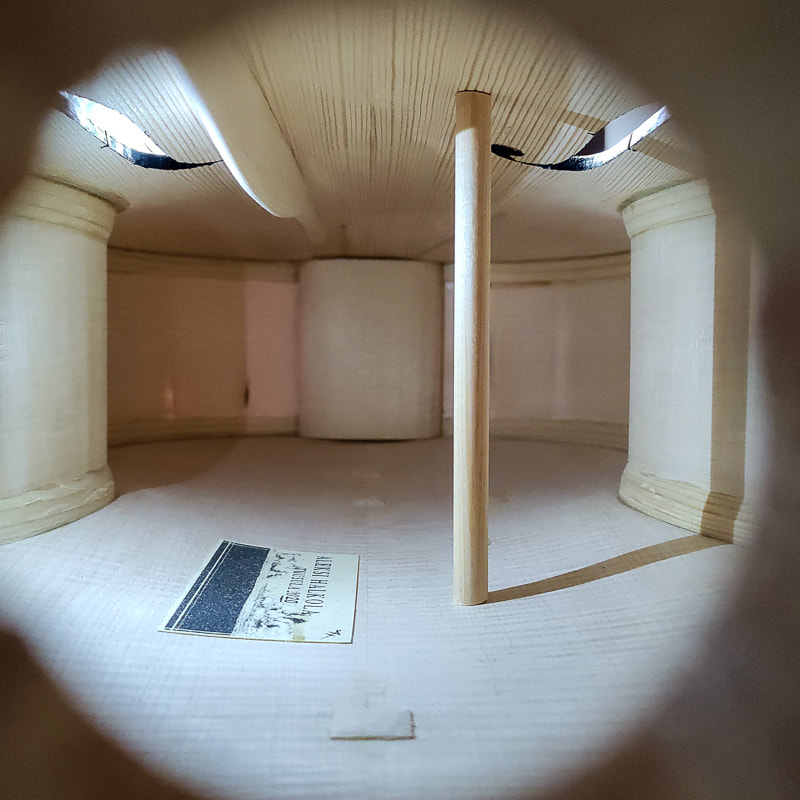
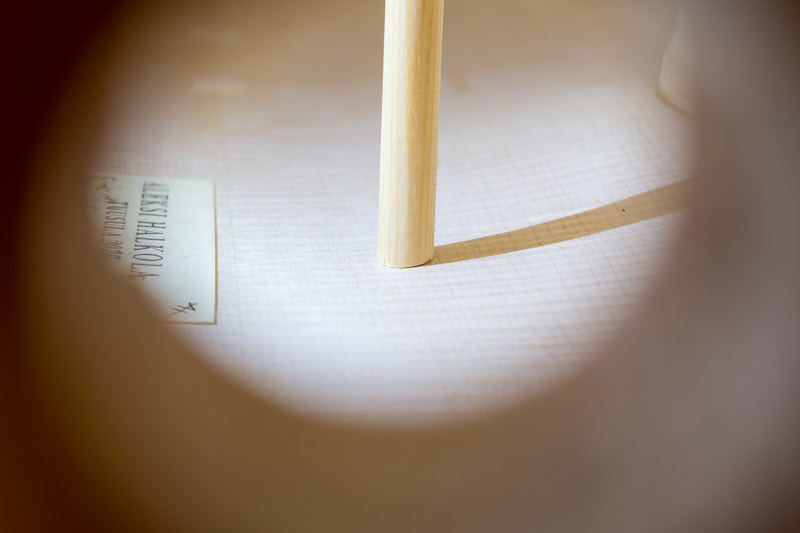
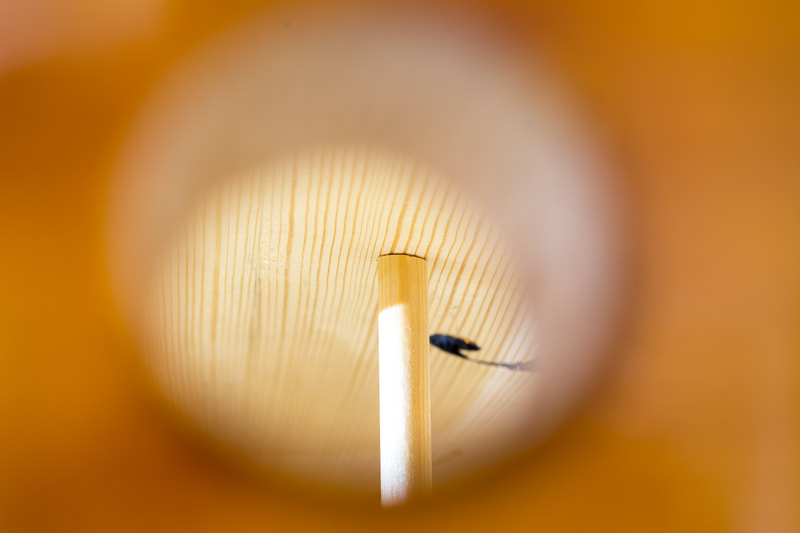
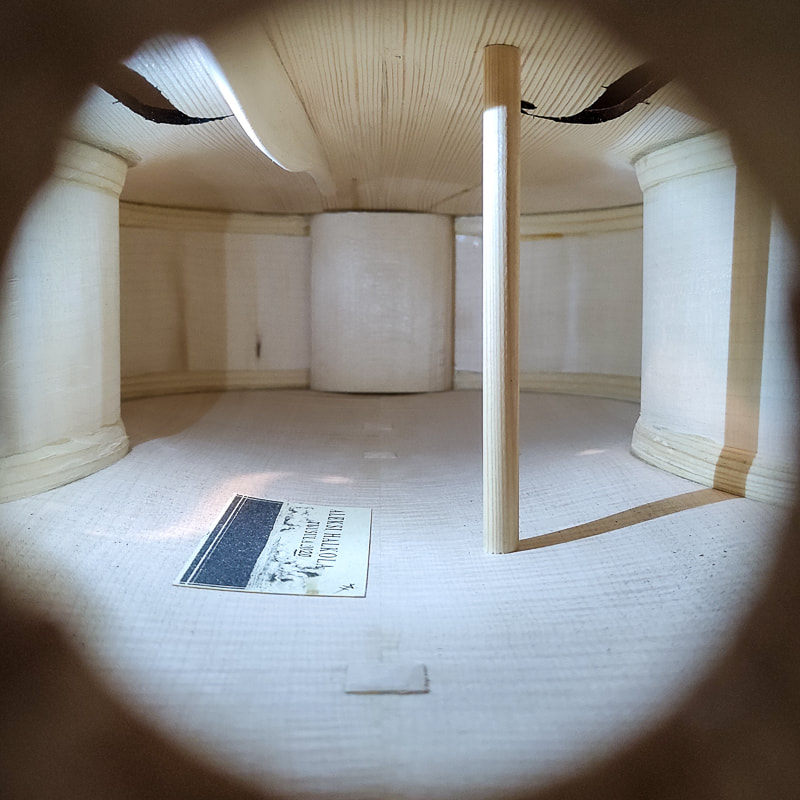
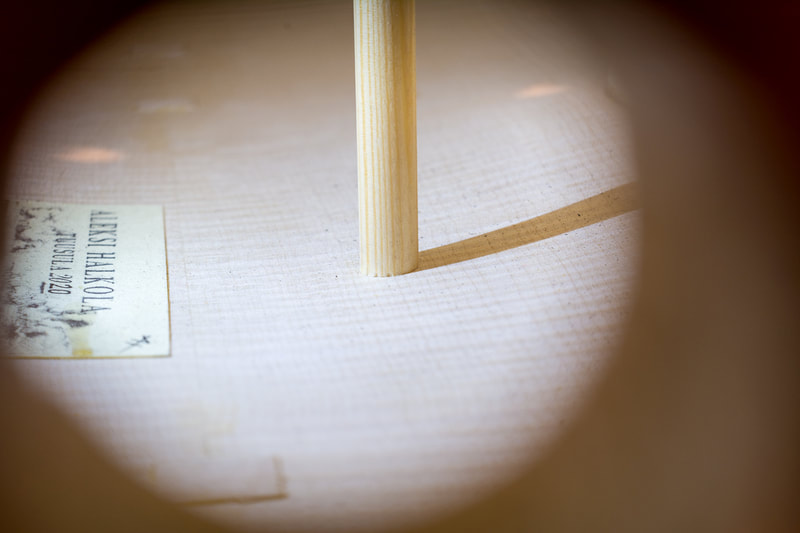
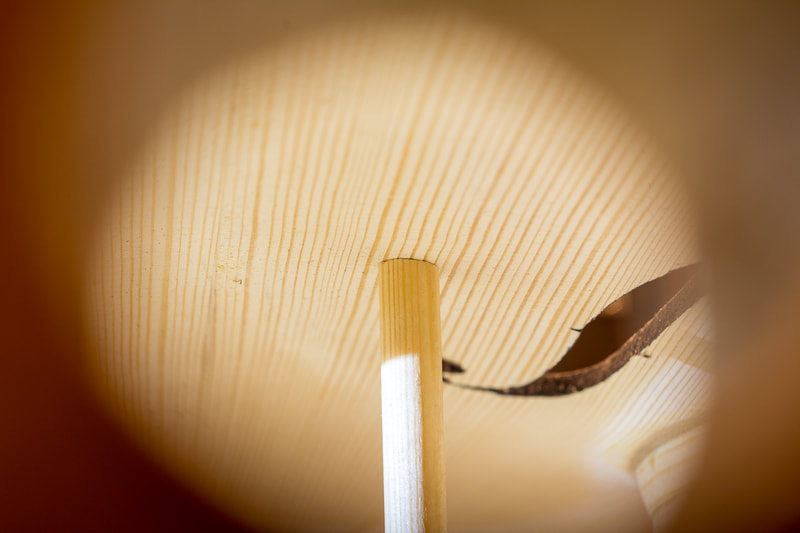
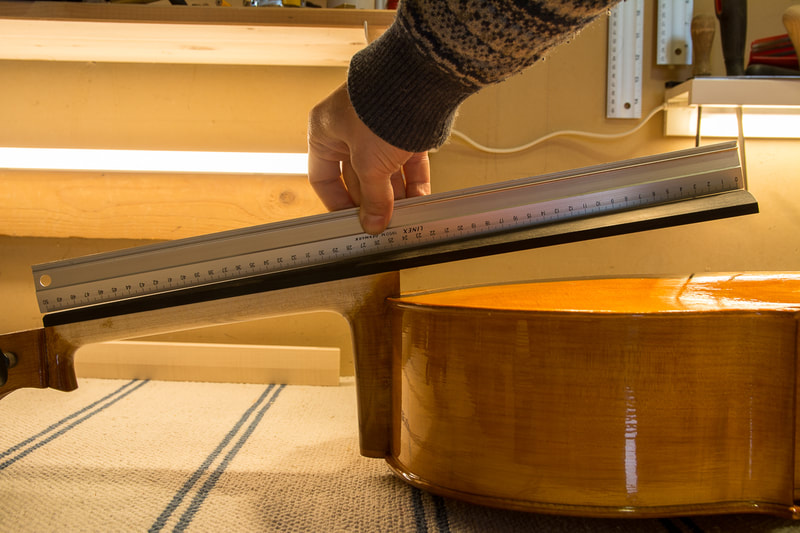
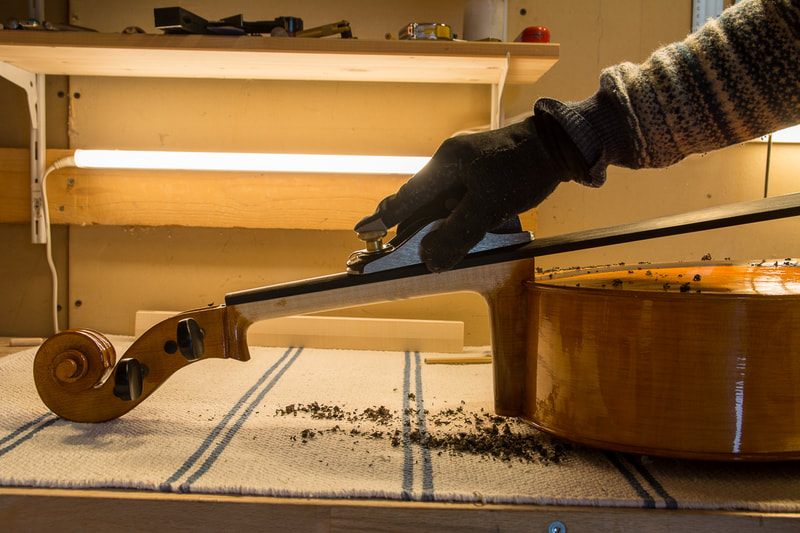
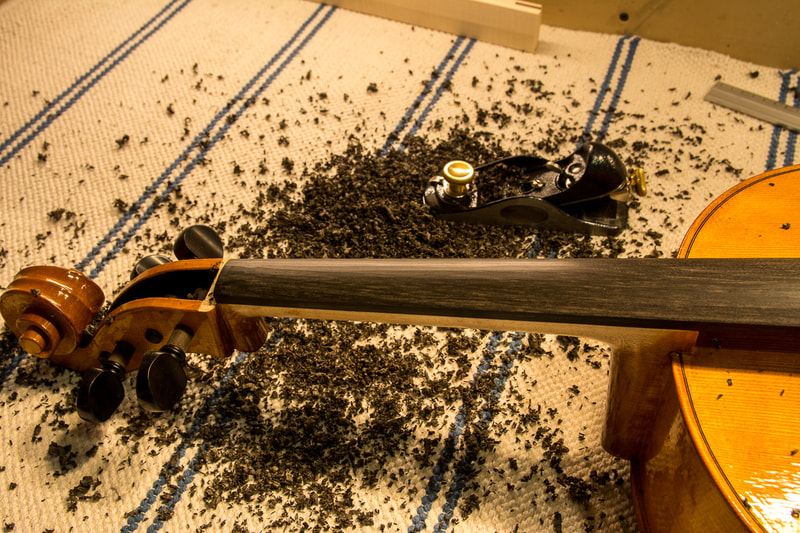
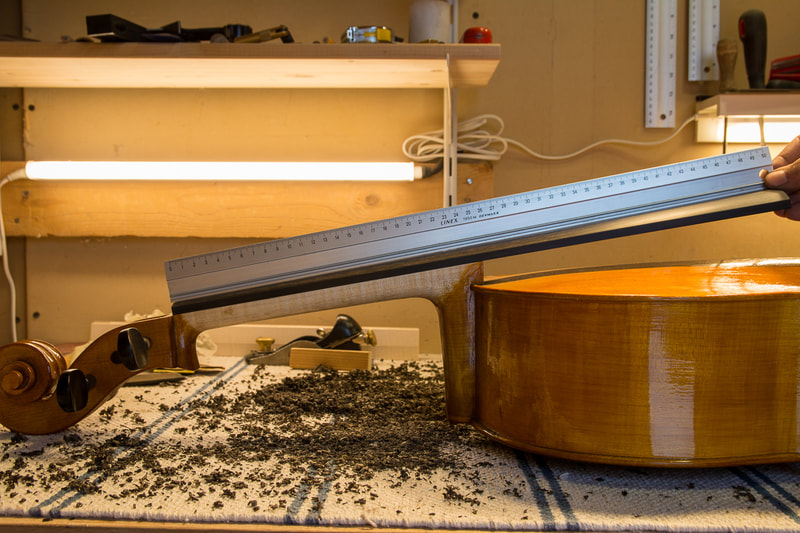
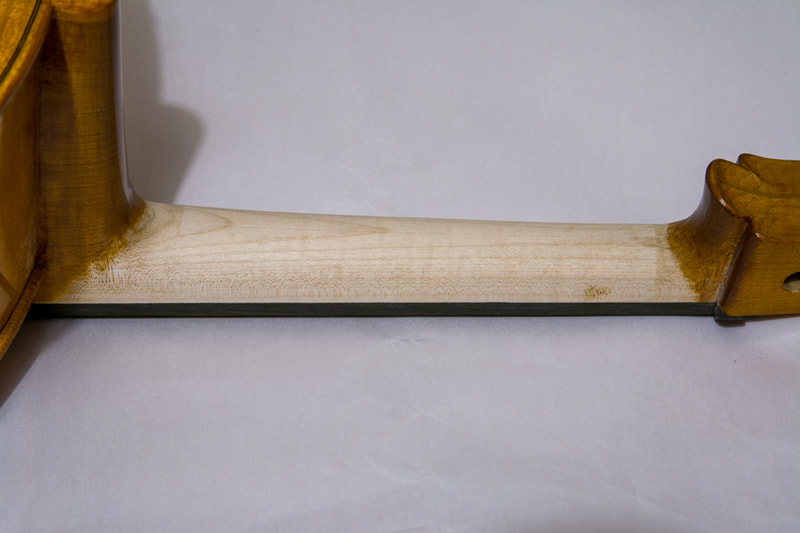
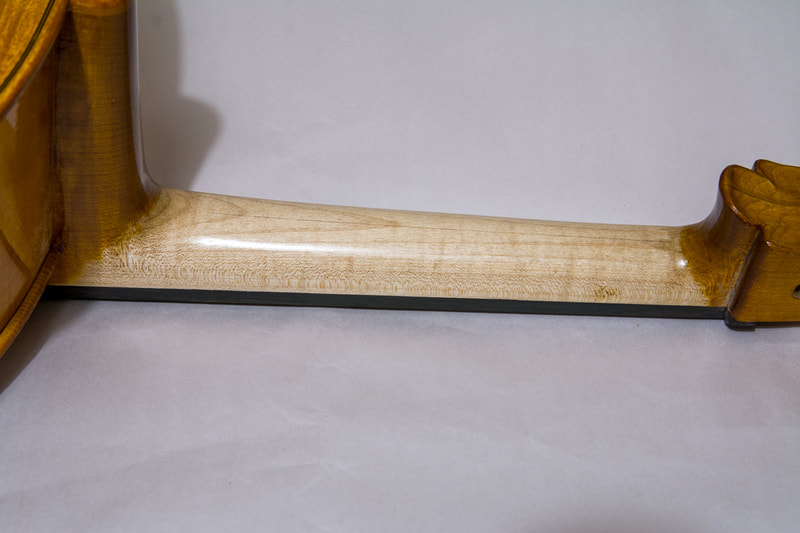
Fitting the sound post requires one to insert and extract the sound post many many times from the ff hole which is quite tricky and I kept dropping the sound post into the cello. But I think I managed to improve the fit a lot. The photos below show the fit before and after. After the adjustments the sound post fits nicely also on the other side. I didn't play around with the position of the sound post now. I put it approximately the thickness of the front behind the bridge, sideways in the middle of the bridge foot. This is something Edgar said in his video but I also read it in Strobel's book Useful Measurements for Violin Makers. My son is playing the cello as I write this. It does seem to sound a lot better now. Some how more open and balanced. It can well be that I am imagining this. I will now take the cello to Guy at www.howviolins.fi and let him check at least the sound post and refit it if he thinks it is necessary. He said the bridge could be tweaked too. The fingerboard should be a little hollow to allow the strings to vibrate freely. Although I had made the fingerboard initially straight it has lived and was actually convex. In order to fix the fingerboard, I removed the upper nut and with a block plane set for very fine shavings I planed the fingerboard to be ~1 mm hollow in the middle. The photos below show the fingerboard before and after. I was worried that I would ruin something but this went pretty nicely. To finish off the fingerboard, I also sanded the fingerboard to be silky smooth and oiled it with fingerboard oil. In the end I still glued the nut back on its place.
I visited www.howviolins.fi today. I had contacted the keeper of the shop a little while back to see if I could buy some wood for the next cello as I had forgotten to order the blocks and the linings when I bought the rest of the wood for Cello #2. I also asked if he would have a moment to give some feedback on this first cello I built so that I could learn from my mistakes and improve on the next one.
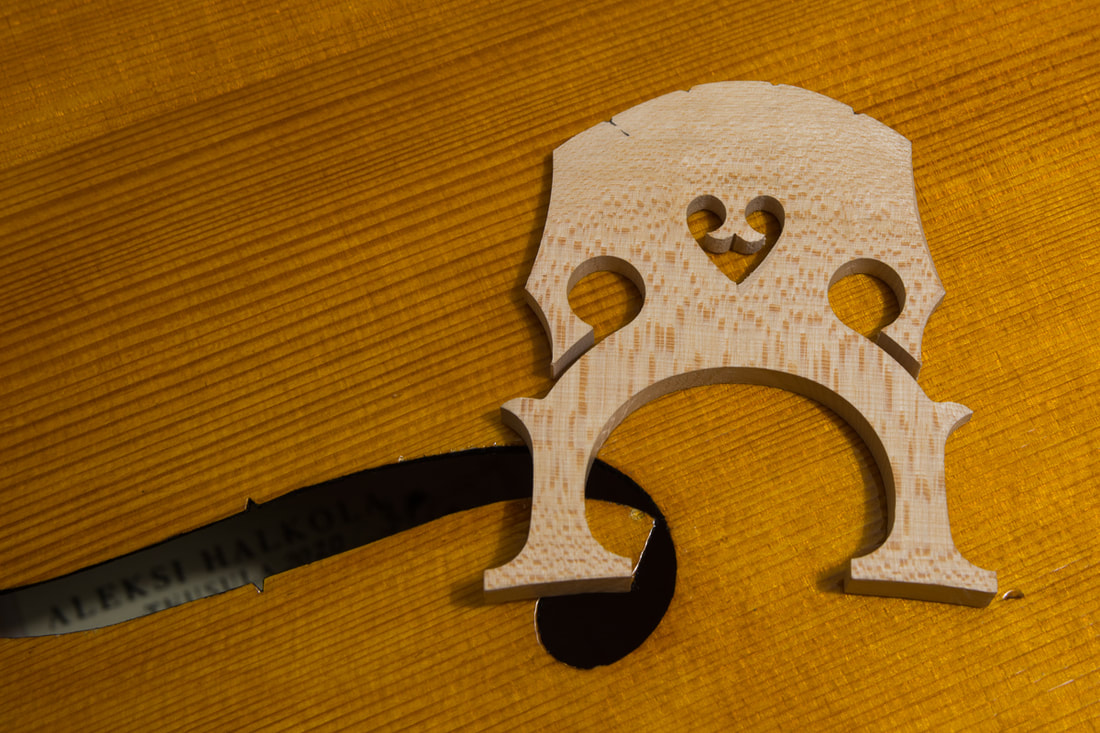
It was a pleasure to meet Guy and spend a little time with him in his shop. He gave me honest and critical feedback on the cello. He had quite a lot to say. The neck is too large/thick and doesn't quite have the right shape, the ff-holes could be larger, the arching is not consistent, the fingerboard is curved the wrong way, the sound post is all wonky... But it was not all gloom and doom. I had done many things fairly well, and he commented that is a good effort for my first instrument. That was of course nice to hear. He had 4 concrete things which could still be improved on this cello to get the most out of it. The sound post should be set properly, the bridge could be improved (though he did say that it was actually pretty good already) and the curvature of the fingerboard should be fixed and the neck needed working. I think I will attempt some of these myself. I will try to do the fingerboard. I knew already that it should be a little hollow. It had made it straight, and at the time I was too afraid to mess it up so I left it straight. It has now apparently curved the wrong way. This can cause a buzzing sound when the strings do not have enough clearance from the fingerboard. I think I will also work on the sound post. Other than being crooked it was also too tight. It will be a good exercise to try to properly fit the sound post. I maybe lost my patience last time. It is not all that easy to put the sound post in and out and know what to do with it to get a good fit. I probably gave up a too early. My plan is now to do those 2 things and then take it back to Guy and let him finish it off. I want to give it a try myself as I want to learn this stuff, but I also want to get the best sound out of the cello. Pekka had mentioned that the sound of the cello could be improved by thinning out the bridge. The bridge transmit the vibrations of the string to the front and via the sound post to the back. A lighter bridge vibrates more freely and should in theory open up the sound. So that is what I set out to do today. The feet of the bridge were 10.5 mm thick and the top of the bride was 2.6 mm thick. I found some measurements for a 1/2 cello from www.alangoldblatt.com/specs/Cello.pdf. It specifies the foot thickness as 9.3 mm and the sop thickness as 2.2 mm. So that's what I did. I am sure these are not necessarily the optimal measurements for this bridge and this cello but I do not have the experience to do otherwise. After the modifications to the bridge Elias played a few of the pieces he practices now and I think I can hear the difference. But maybe that is only because I hear what I want to hear. Interesting to see if Elias' teacher notices anything in his next practice.
This was the final thing I knew I needed/wanted to do on the cello. Now I call it officially finished. Still not sure what to do next. It will be either a 3/4 cello or 4/4 cello. It could be that the time Elias needs a 3/4 cello will be quite short so it might not be worth the trouble to build one that size. On the other hand it would be another practice cello before the "final" 4/4 cello. Elias has been playing this cello for over a month now and has gathered some experience with it. He getting well used to the bigger size. In his opinion the cello is good which is nice to hear.
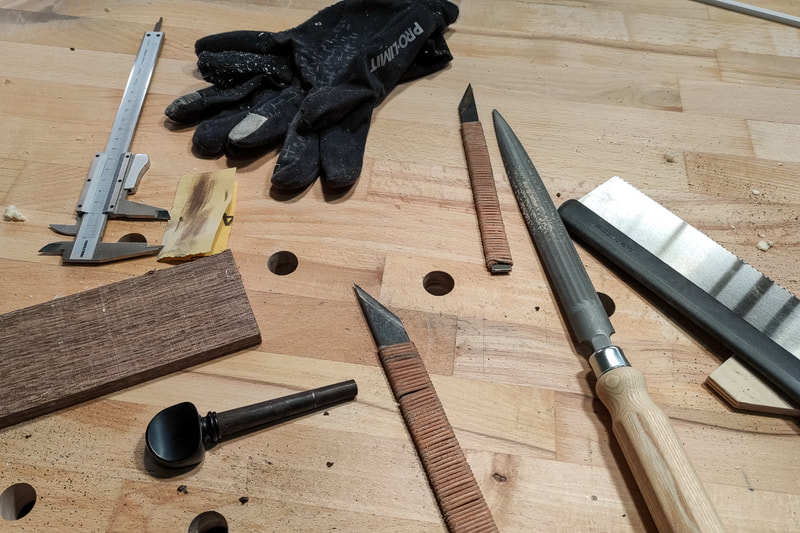
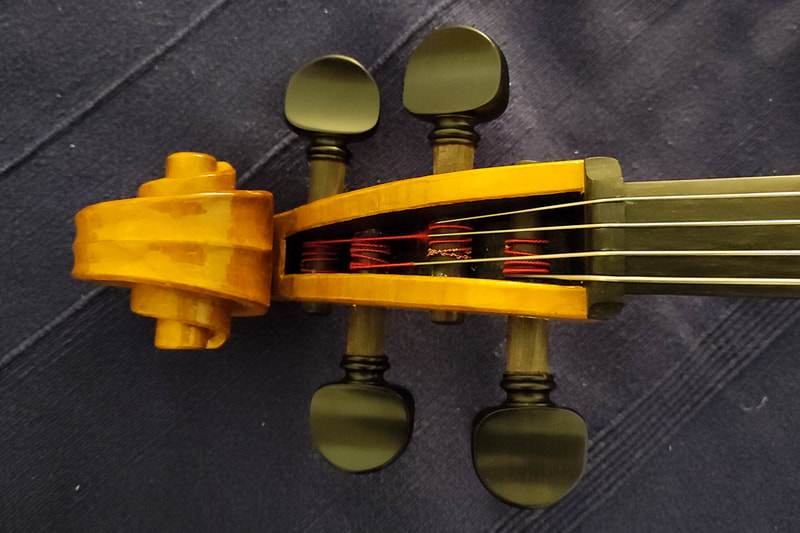
There was strange buzzing sound with some notes in the beginning on the A string. It seemed to come from the peg box. Maybe the ends of strings or something was vibrating at a particular frequency. We haven't heard it in a while now. I had left the pegs long in case something needed adjusting. Today I shortened the pegs so that they look neater. I also added some dry soap and chalk onto the pegs to make them turn a little smoother. It is pretty cold now in Finland and it gets below -20 °C in the night. My workshop is unheated so it gets below zero there too. Hence I need to use gloves when working in the winter. Luckily the pegs were done quickly. When I last saw Pekka he said I could thin the bridge out. That still needs to be done. Elias' cello teacher also said the sound could be more open. Thinning the bridge could help that. I will tackle that next. It is a great to see and hear Elias play the cello. It should all fit together again, this time for real. The nut and the saddle are as they should, the fingerboard has been cleaned from varnish and polished, the bridge has it's little details and of course the cello is varnished. Last time when I had setup the cello I somehow got my ratios mixed up. I had made the string "nut to bridge" length 5x the "bridge to tailpiece" length. It should have been 6x. This creates the correct difference in the resonance frequencies of those pieces of string. The only thing I can adjust is the tailpiece so I brought the tailpiece closer to the bridge. The nut to bridge distance is 600 mm and the "bridge to tailpiece" length is 100 mm more or less.
So the cello is (almost) finished!!! I say almost because the sound post position could still be optimised, the pegs are too long and the wolf sound eliminator is missing. But I do not plan to do any of that on my own. What a journey it has been. It started 16 months ago when I loaned the first books from the libraries and started to look for information, mostly videos, online. The build really started only in the spring of this year. I have learned a lot and done something I never thought I would do. It has also been interesting to see how everybody has been very skeptical to begin with but have slowly started to see that it is going to be not only something but an actual instrument. I am very happy with the result so far and I hope any possible issues with the sound can be fixed by tweaking the set up. I did various small things today.
First I cleaned up all the ebony parts from varnish. I started with a scraper, then used some sandpaper up to 2000 grit with some oil to get a really nice surface. I did that for the saddle and the fingerboard. Secondly I worked on the bridge. The height, thickness etc. are already finished. Maybe some work needs to be done if the cello doesn't sound right or is not good for Elias to play. In stead, I worked on the details. Some of the edges are chamfered and refined. One also tries to remove as much extra material as possible to reduce the weight and allow the bridge to vibrate more freely. Strobel in his book shows where to remove material and chamfer the bridge. I also found a really good post by Sally Mullikin on the topic, trianglestrings.com/newcellobridge. I really liked the way the width of the chamfer changes in some parts and tried to do that. I will not attempt to get the "kneecaps" as refined as she's done though. Something again for the next cello. The chamfers are quite subtle. In the photo below I have done the right side of the bridge. Not sure if you can make any sense of that. Check Sally's page for more details. After having created the blending, I varnished the neck with the provided "Giffpolitur farblos". I think it is just pure shellack in some alcohol. Before finishing the neck I was reading in some forums that one often leaves the neck untreated to leave it smoother and more slippery which makes it easier to play. Some say that a French polish or shellack may be used. Since the set Have includes this grip polish, I think it is exactly the French polish that some use. It's really quite clear. Maybe I should have stained the neck before hand as the colour wasn't quite even. Oh well, something to do differently in the next one.
|
AuthorMy son is outgrowing his cello soon. Could there be a better reason to learn how to make one :). Archives
April 2021
Categories
All
|
