|
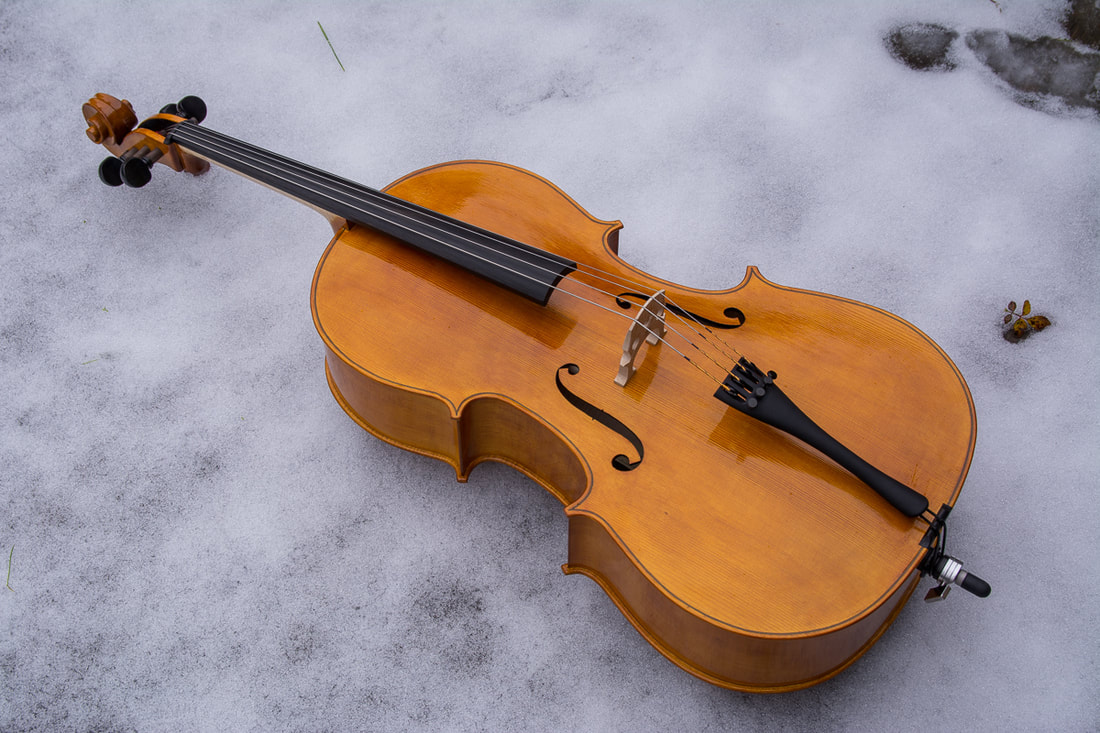
It should all fit together again, this time for real. The nut and the saddle are as they should, the fingerboard has been cleaned from varnish and polished, the bridge has it's little details and of course the cello is varnished. Last time when I had setup the cello I somehow got my ratios mixed up. I had made the string "nut to bridge" length 5x the "bridge to tailpiece" length. It should have been 6x. This creates the correct difference in the resonance frequencies of those pieces of string. The only thing I can adjust is the tailpiece so I brought the tailpiece closer to the bridge. The nut to bridge distance is 600 mm and the "bridge to tailpiece" length is 100 mm more or less.
So the cello is (almost) finished!!! I say almost because the sound post position could still be optimised, the pegs are too long and the wolf sound eliminator is missing. But I do not plan to do any of that on my own. What a journey it has been. It started 16 months ago when I loaned the first books from the libraries and started to look for information, mostly videos, online. The build really started only in the spring of this year. I have learned a lot and done something I never thought I would do. It has also been interesting to see how everybody has been very skeptical to begin with but have slowly started to see that it is going to be not only something but an actual instrument. I am very happy with the result so far and I hope any possible issues with the sound can be fixed by tweaking the set up.
0 Comments
Leave a Reply. |
AuthorMy son is outgrowing his cello soon. Could there be a better reason to learn how to make one :). Archives
April 2021
Categories
All
|
