|
I started with the sound post today. First I made a sound post setter. It's just a piece of thick wire with a sharp end to put the sound post in and a bendy end to move the sound post around. I got a little frustrated when trying to fit the sound post it kept falling of the setter in the cello. And so I decided to stop before I would do something stupid again like when reaming the end pin hole.
0 Comments
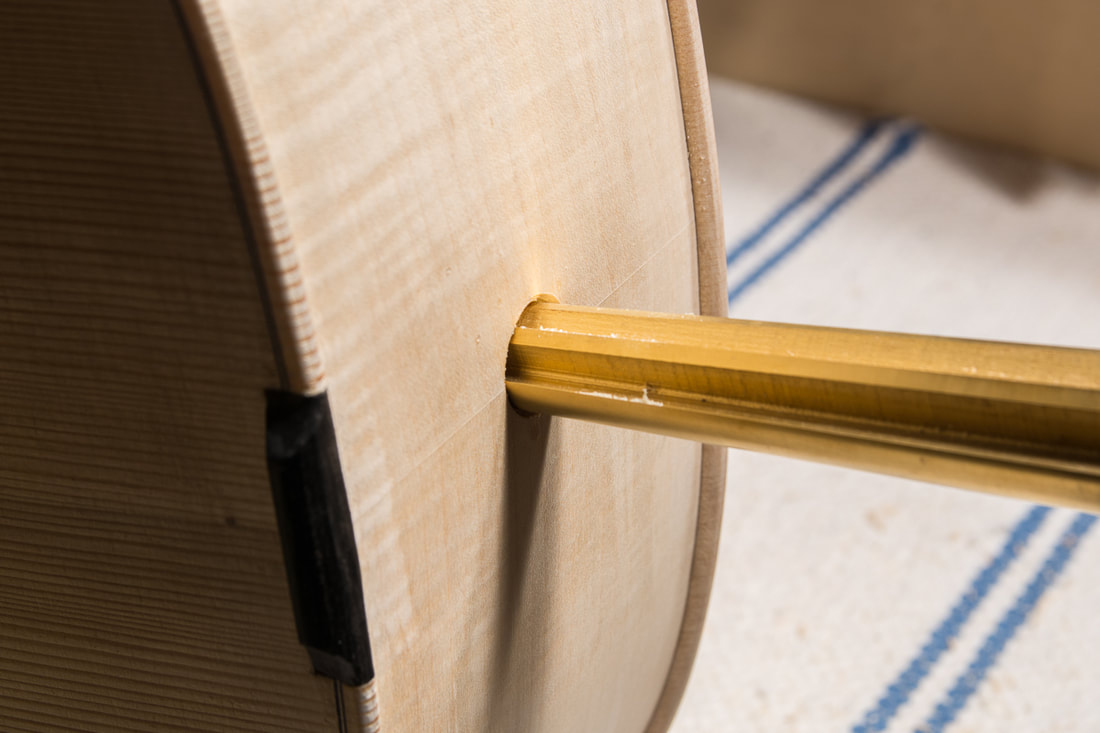
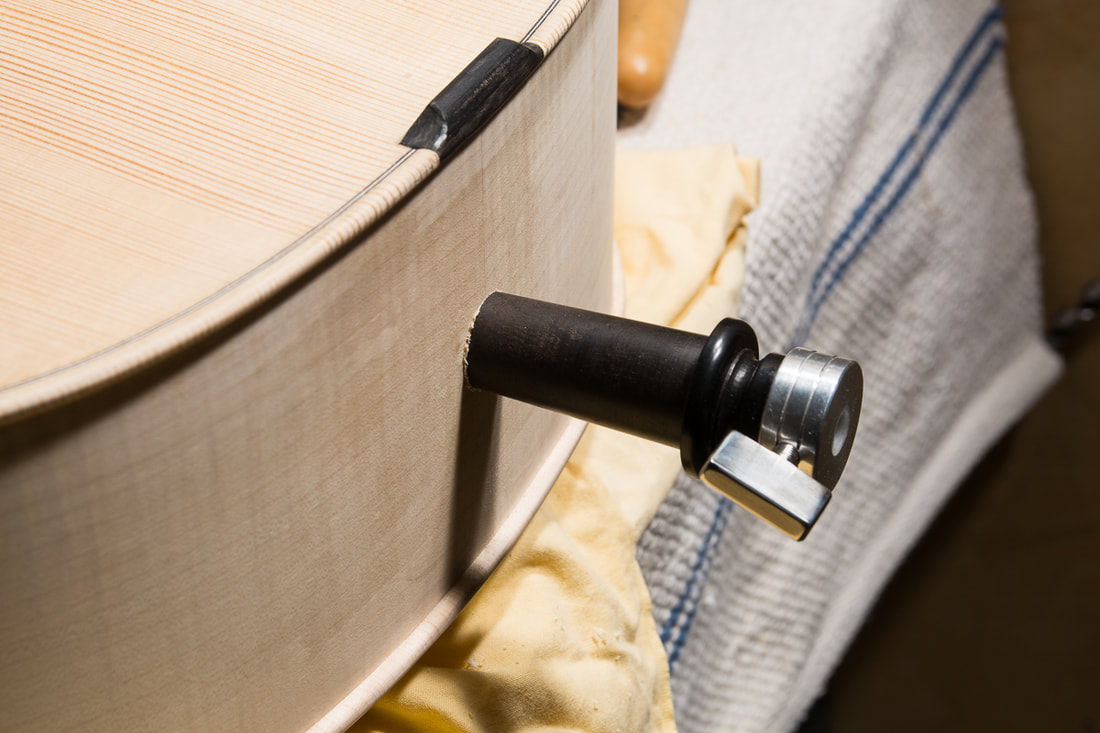
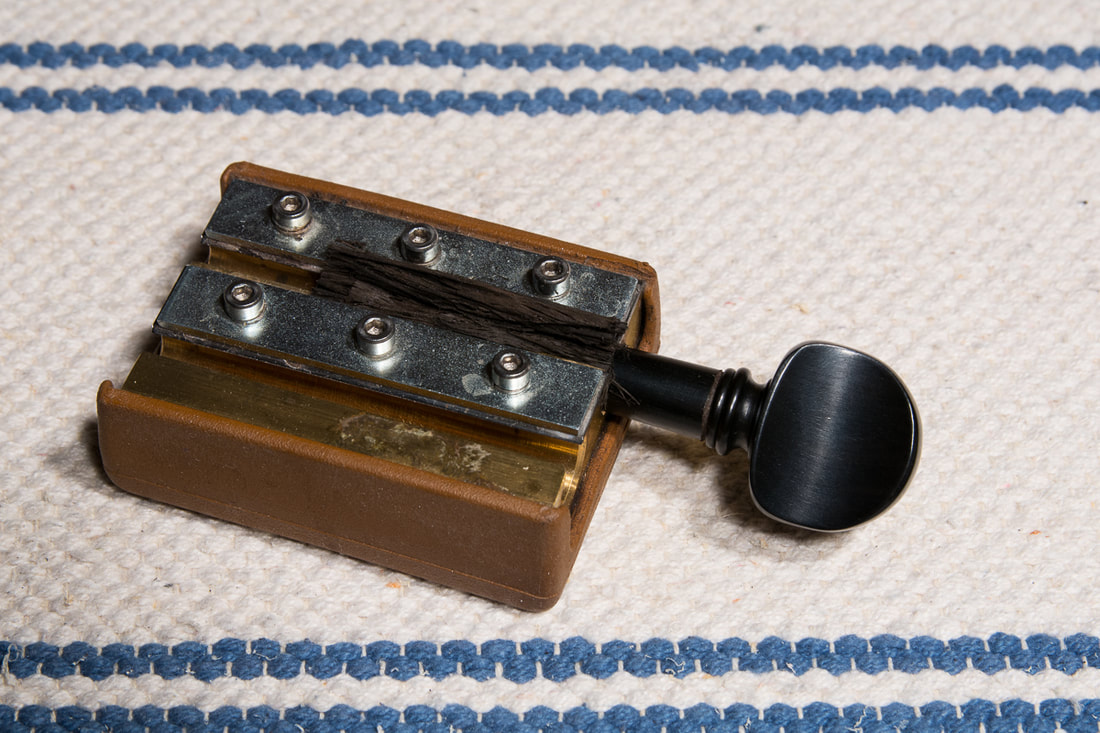
I also got the reamer for the end pin from Pekka. He told me that it would be good if the end pin pointed a little towards the back and to the left. It would make the end pin support the cello better once in the playing position. I got everybody to help with drilling the larger pilot hole for the end pin. My wife checked the direction from the side, the children help the cello, and I drilled the hole. That went really well. Pekka had told me that wetting the wood some what would make it easier to ream the hole. So that is what I did. I reamed slowly so that I managed to get the end pin in. We tested it with Elias so that it was good and I only needed to make the end pin go a few more centimetres further in. And then I did a mistake. I don't know why, but I thought the direction was too much to the side and thought I could still correct it. There was at least 2 cm more for the pin and I thought that it enough to start fixing the direction. Well it wasn't. The end pin is now too loose. I don't quite know what to do now. One option would be to glue the end pin in place. Another to try to fill the hole and start again. And yet another to get a bigger end pin and try to fit it. Disappointing. So far I have managed to avoid any bigger mistakes. And now this. I was probably too eager to get the first notes out of the cello. On this new thing I should have just done things really slowly and carefully. Especially with the experience with the first peg. Oh well. Need to think of something now. Maybe glueing the end pin in place would not be too bad. I will call Pekka tomorrow and see what he thinks. I met Pekka Untamala again today. We had a good discussion on the next steps. He instructed me on the important things to consider with the pegs, the end pin and the bridge. On top of this he also lent me some of his tools needed to fit them. I first started to fit the pegs. With the first peg I learned how slowly one needs to go so that the pegs do not end up too loose. With the first one I made the mistake. Luckily I had shaved the peg smaller than it came and so I could fit one of the other pegs into that hole, just needed to shave less off of that so that it would be OK. I left all the pegs now too long and they all go only a little through the hole. I want to do the final fitting with Pekka. I got a new book today. It was recommended to me by a luthier. So far it really seems excellent. Very detailed with good illustrations and photos. I checked what they write about the grain direction of the blocks. This is what I found: "...so that the blocks can be glued to the mould with the fibres running away from the top. This will aid carving later, especially when the neck mortice is cut out." That is spot on and I hope I had had that advice earlier. I think none of the other books I have read put it so clearly. I think they mention splitting the blocks and etc. But this one not only says that but also that one should even ensure the fibres are running away from top. Anyways, I am very happy with the book. It wasn't cheap but I think money well spent. 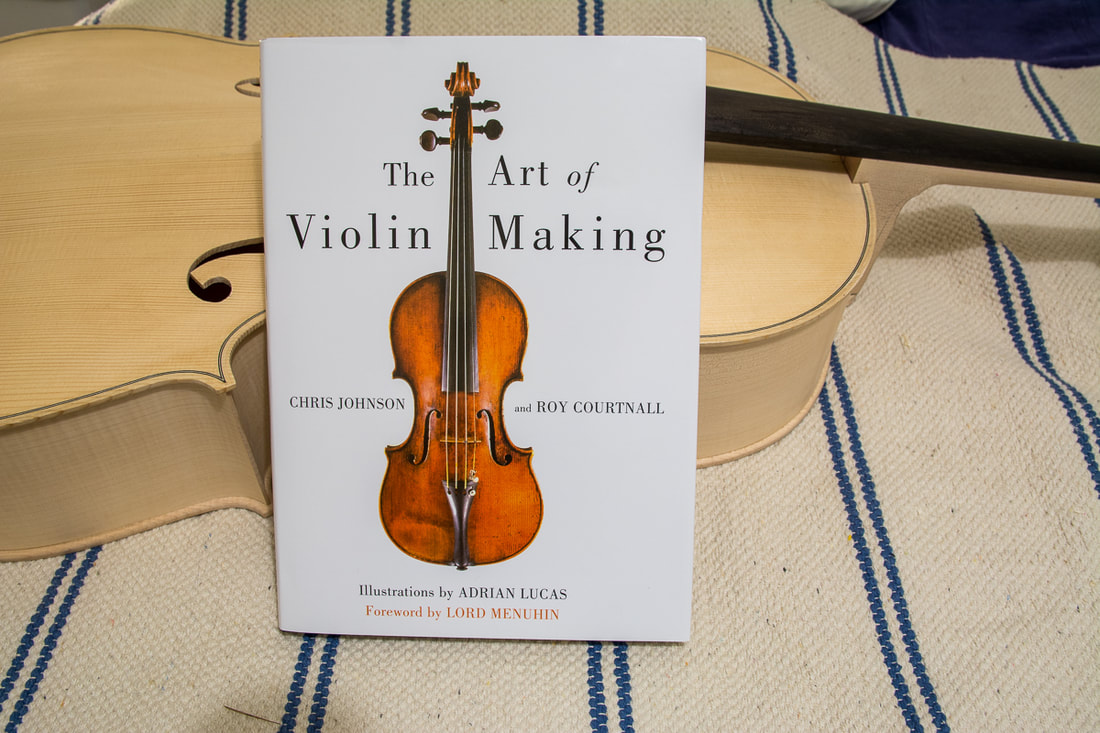 No progress on the scroll today. But I made two scrapers to finish the scroll. They are basically the same but have the bevels on opposite sides. Hopefully tomorrow I can work on the scroll. Maestro Kimon has a video on making scarpers and he also provides the shapes on a downloadable file. Check it out at www.youtube.com/watch?v=xMg8lQa1fQ8. 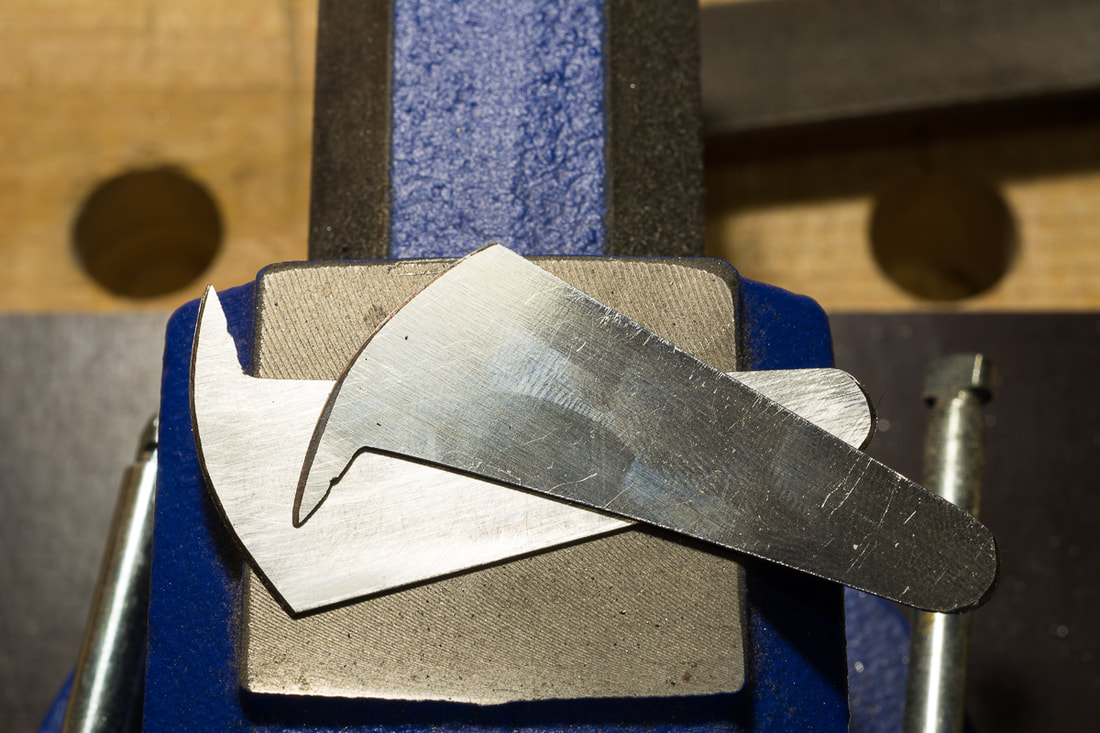 I did good progress this weekend. I continued with the arching. I got pretty close to the the final shape. Still need make sure the arching is nice and even. I also made two more knives, a 12 mm left handed and a 18 mm right handed. Now I have a nice set to work with. Today I cut out the second ff-hole. Nothing too special there. In one spot I sawed to the line. I hope it didn't go much too far. Both ff-holes are now roughly sawn out. I stayed pretty close to the line when sawing so that I don't have all that much to clean up with the knife. The next thing on the front plate is to bring it to final thickness and so finish the graduation. After the graduation is done I will then finalise the ff-holes. The front is starting to look like a cello top! I also made a small knife for refining the ff-holes. I took the measurements for #VK025R from www.hocktools.com/products/knives.html. I made the blade from a piece of O2 steel which I bought with my last order from Dictum. I got the idea for making my own knives from Uri Tuchman, for example Making a Tree Shaped Kiridashi. Look also for other videos by Uri, he has some great projects. 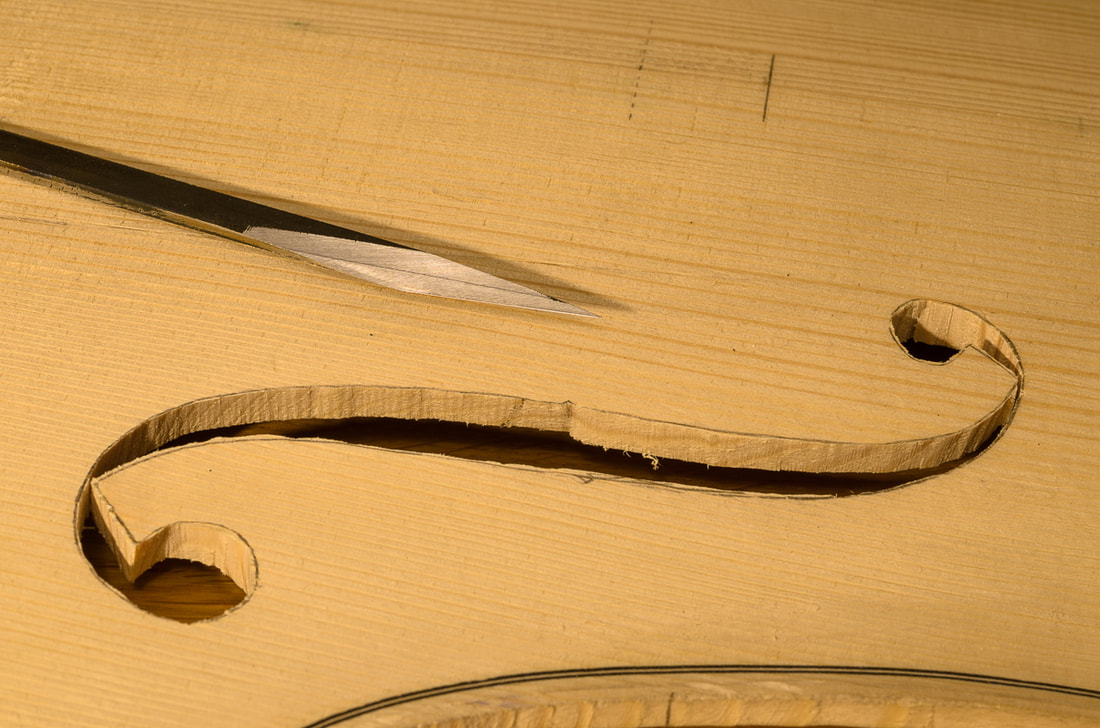 I had time today to also make a graduation punch. It will be used during the graduation of the plates are brought to final thickness. The punch has a sharp point whose distance for the peg underneath can be adjusted. The idea is the same as when drilling the hole during hollowing. With the punch one can mark the areas of the plate which are thicker than the distance between the peg and the point. Once the areas have been marked one can the easily remove material from the correct spots. 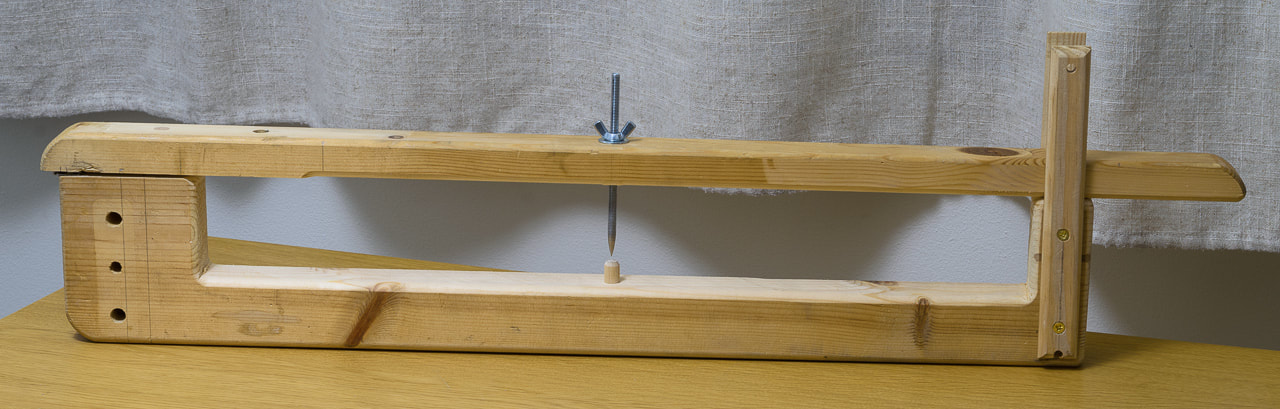 |