|
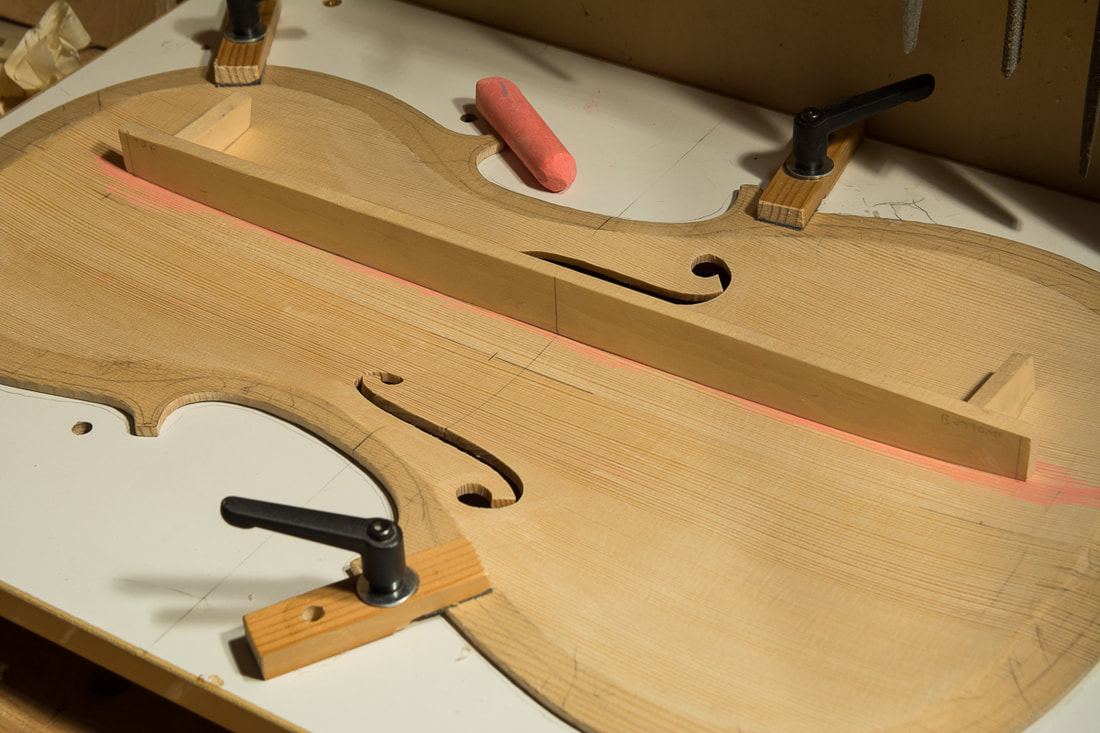
Getting a "perfect" fit on the bass bar was surprisingly easy. Pressing the bass bar against the chalked front and wiggling it around a bit left clear chalk marks on the bass bar and it was quite straightforward to get it to fit so that chalk is all over the bass bar. It was only once I had a perfect fit that I started to think what is really needed. The bass bar should not have a perfect fit on the front, with out any pressure there should actually be a little gap at the ends. This is so that the bass bar provides more support for the front once the strings pull down the bridge. Baker in her books says 1 mm for a cello, Strobel says 2-3 mm. So getting wasn't quite so straight forward. What I did was to mark a tapering pencil line on the perfectly fitting bass bar which I then roughly planed out. I then proceeded with the chalk method this time making sure I pressed the bass bar from the ends of the bass bar only. And now I made sure not to remove any material from the and or from the middle. This way I could keep the gaps at the ends of the bass bar but still get a good fit. Although a little more complicated, this worked out also pretty nicely. Now I need to glue the bass bar to the front.
0 Comments
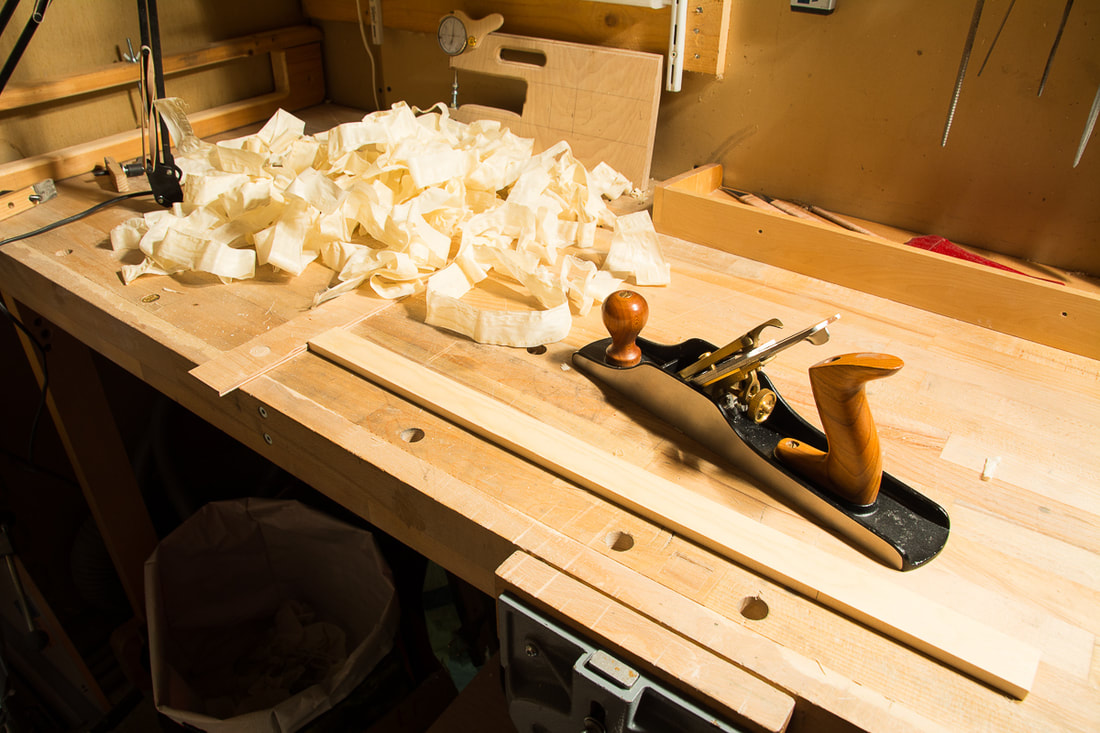
I started fitting the bass bar. First I planed the bass bar to right thickness. For this 1/2 cello Baker in her book specifies a thickness of 9.5 mm. This again matches well with the scaled thickness of the bass bar in Strobel's cello book. I don't know why I keep being amazed by the consistency between the two. Some how I can't below one can just scale all dimensions by the same factor. Apparently one can though. Once the bass bar had the correct thickness I clamped the bass bar to the front plate an used a large washer to roughly mark the shape of the front on the bass bar. I did that on both sides since the front is curved also perpendicular to the bass bar. I also marked the length of the bass bar. A spokeshave quickly removed the extra material. I also attached two block on the front plate with double sided plate to ensure the bass bar is always in the same position and angel relative to the front plate. Next step is to carefully fit the bass bar to the front. This is usually done by putting chalk on the front plate and placing the bass bar on its place. If the chalk is not evenly on the bass bar, then one knows where to remove a little wood at a time from the bass bar. I think I might be there with the graduation. The thicknesses are now in the right ball park to where they should be. Getting better is maybe out of my reach for now. I don't want to build a system to measure the Chladni patterns. And anyways I don't really know what I should do to change the patterns. I have also had some trouble measuring the tap tones. Maybe I'll post some of the spectra I have measured. I maybe don't quite know the right position where to hole not where to tap. So I maybe see is mixture of frequencies of all sort of modes. The final step for the front would be to add the bass bar. Then I think I would be ready to glue it up. I now think that I will be put it all together and once I am sort of ready I maybe try to find a luthier with whom I could set up the cello. If I then need to open up the body and adjust the plate thicknesses then maybe it is not too bad. I finished the ff-holes today. I tried with a file at first thinking it would be easier to deal with the differences hard and soft grains of the wood. But that wasn't so. I found it difficult to control the file and ended up always taking more of the oft wood out than I wanted. So used the knives I had made earlier. They worked great. I used all knives in the end. The very thin blade was great at the tight spots where as the wider ones allowed me to get nice smooth shavings elsewhere. It was good to have a left handed blade also. The ff-holes aren't in fact quite finished, I didn't do the nicks yet. Had a good day today. I have now graduated the back close to where I think it should be. Hopefully still a little on the thick side. I had a couple of millimetres to remove so I did go to back to my trusty finger plane. The graduation punch and the finger plane together worked really well. In the end I used the pencil gauge and a scraper to even things out and slowly near the desired thickness.
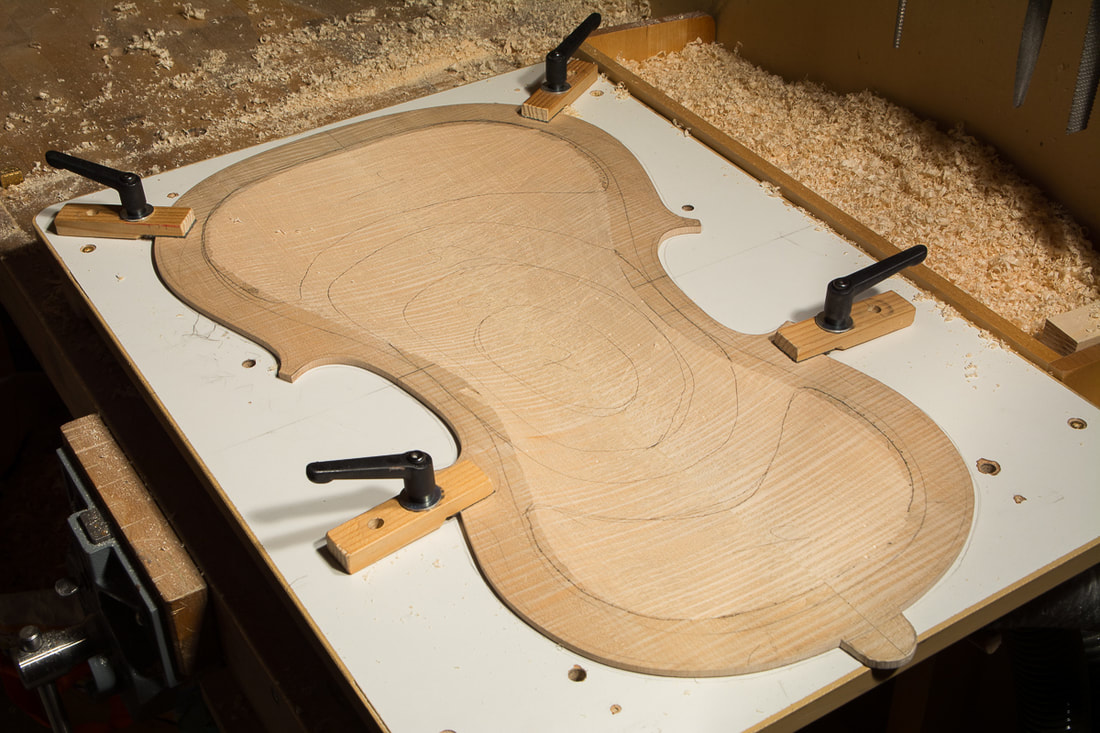
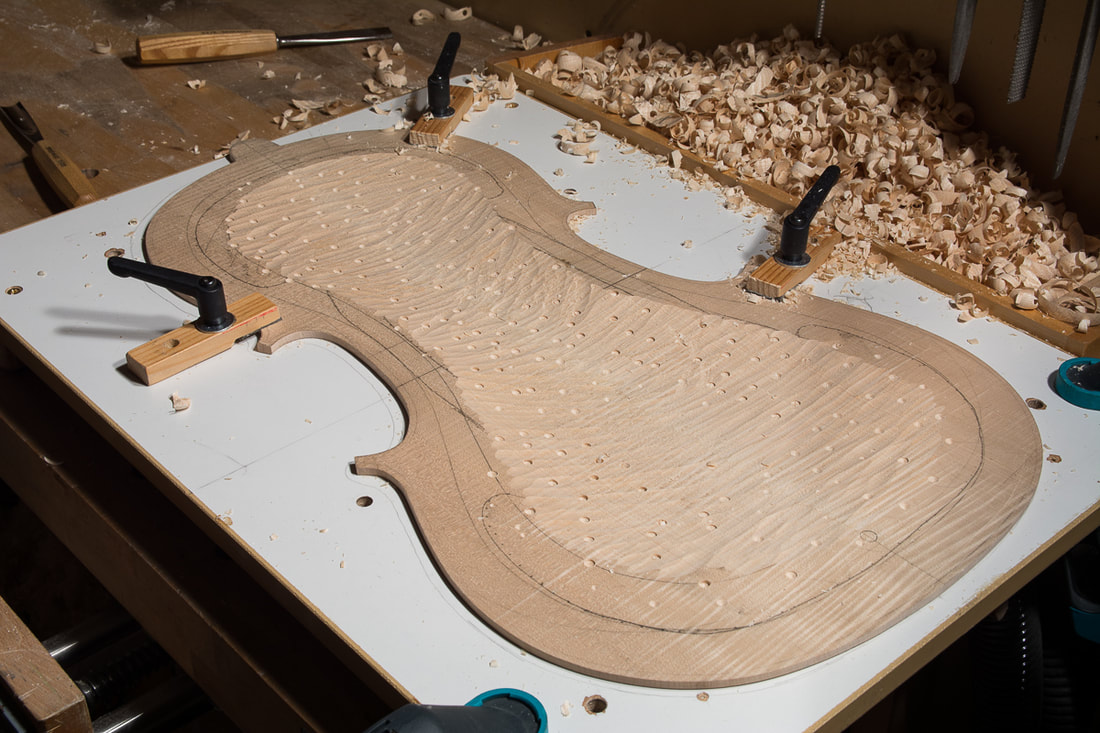
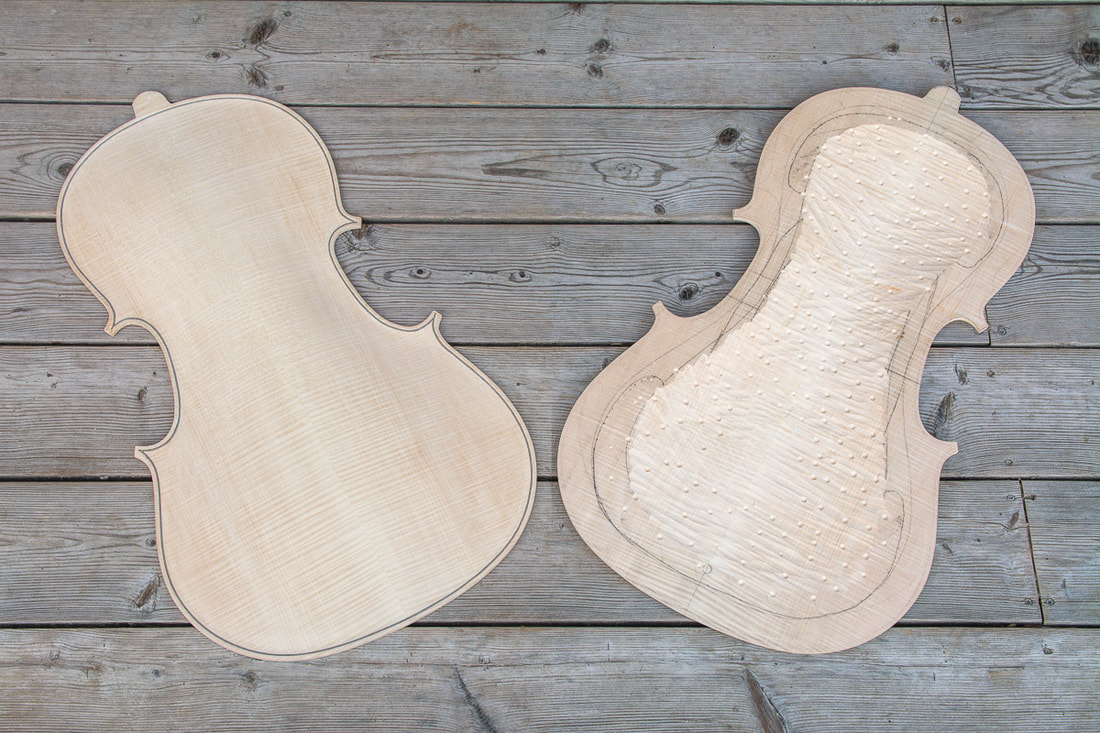
I didn't do too much today. I started with the graduation of the back. I retraced the contours roughly from the template once more and used the graduation punch to prick to indicated depth + 1-2 mm. I then scraped the surface mostly clean. The thickness region (7 mm) is almost there already. Quite a bit to remove elsewhere still. I don't dare using anything more aggressive than a scraper. But a sharp scraper is amazingly effective, and there is no worry of tear out. 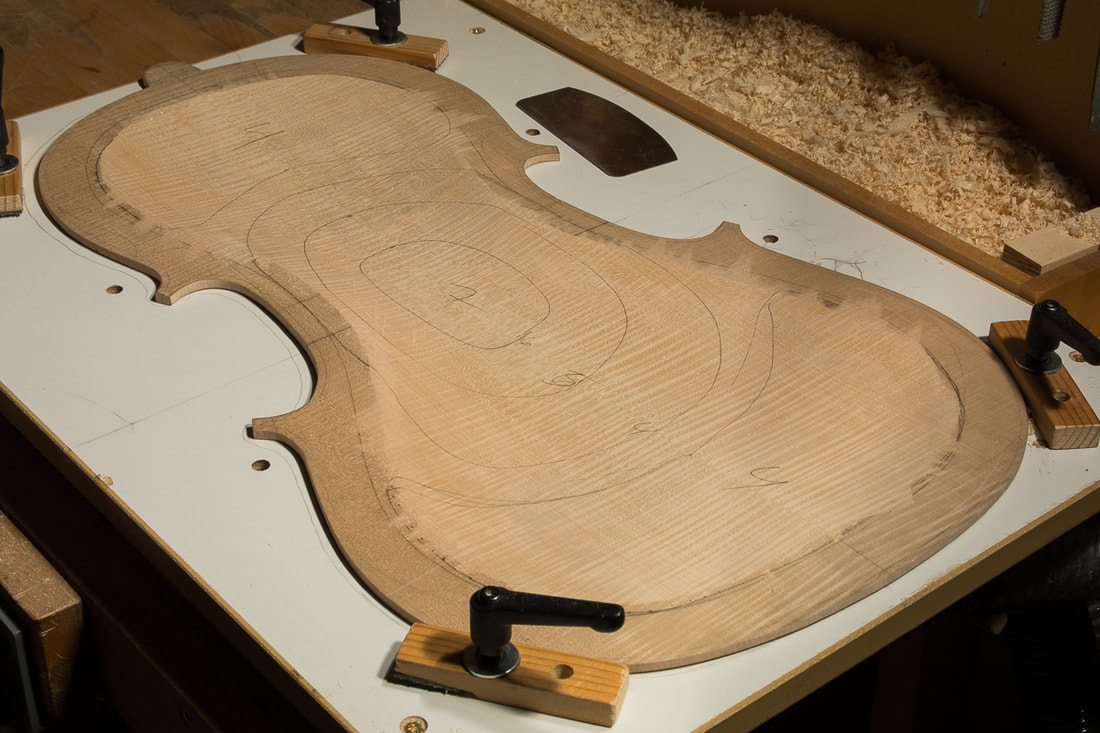 I finished the hollowing out by planing and scraping the bottom surface smooth. Maybe too smooth for what it would need to be at this stage. Anyways, I now have a nice surface to start the graduation. I hollowed out the back with the gouge as far as dare. None of the holes are completely gone, but I think I will want to do the rest with planes. The curly maple is hard work. I'm sure to have sore muscles tomorrow. I didn't really know what to do with the contour lines I drew yesterday. I didn't see any point in drilling them to depth since I didn't want to so close to the final thickness. I decided to ignore them for now. I can retrace them from the template later when doing the graduation. The last photo is again a double exposure showing both sides of the back simultaneously. I didn't mention it yesterday, the back got some dents from the drilling the depth holes. I was a little surprised as I didn't have any problems with the softer spruce front. Maybe spruce just bounces back. I read somewhere that one can wipe the surface with hot water. The water swells the dented wood back. It worked really well. Wetting the wood also lifted the wood fiber but I could fix that quickly with a little scraping. I started hollowing out the back today. I transferred the graduation lines from the templates to the back. I also drilled with the dowel method the depth indicators to roughly desired thickness + 2 mm. The depth stop on my drill press is quite flimsy so I added another one made from a piece of wood and a nut and bolt. This was much more sturdy and I could confidently drill the holes to the desired depth. Next I will hollow out the back with a gouge so that the holes disappear. Scraped a little more off the front. It weighs now 418 grams. Now I don't dare take any more off before I have made progress on the back. Below is a double exposure showing both sides of the front at the same time. 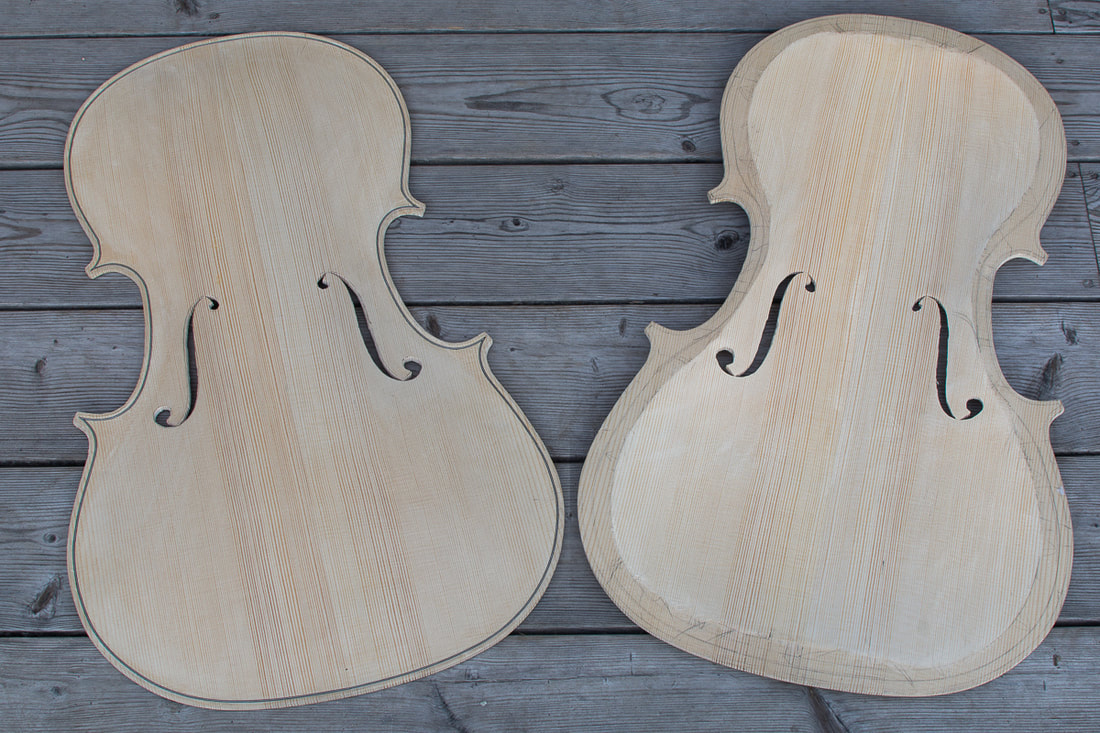 |