|
The fingerboard should be a little hollow to allow the strings to vibrate freely. Although I had made the fingerboard initially straight it has lived and was actually convex. In order to fix the fingerboard, I removed the upper nut and with a block plane set for very fine shavings I planed the fingerboard to be ~1 mm hollow in the middle. The photos below show the fingerboard before and after. I was worried that I would ruin something but this went pretty nicely. To finish off the fingerboard, I also sanded the fingerboard to be silky smooth and oiled it with fingerboard oil. In the end I still glued the nut back on its place.  
0 Comments
It should all fit together again, this time for real. The nut and the saddle are as they should, the fingerboard has been cleaned from varnish and polished, the bridge has it's little details and of course the cello is varnished. Last time when I had setup the cello I somehow got my ratios mixed up. I had made the string "nut to bridge" length 5x the "bridge to tailpiece" length. It should have been 6x. This creates the correct difference in the resonance frequencies of those pieces of string. The only thing I can adjust is the tailpiece so I brought the tailpiece closer to the bridge. The nut to bridge distance is 600 mm and the "bridge to tailpiece" length is 100 mm more or less. So the cello is (almost) finished!!! I say almost because the sound post position could still be optimised, the pegs are too long and the wolf sound eliminator is missing. But I do not plan to do any of that on my own. What a journey it has been. It started 16 months ago when I loaned the first books from the libraries and started to look for information, mostly videos, online. The build really started only in the spring of this year. I have learned a lot and done something I never thought I would do. It has also been interesting to see how everybody has been very skeptical to begin with but have slowly started to see that it is going to be not only something but an actual instrument. I am very happy with the result so far and I hope any possible issues with the sound can be fixed by tweaking the set up. 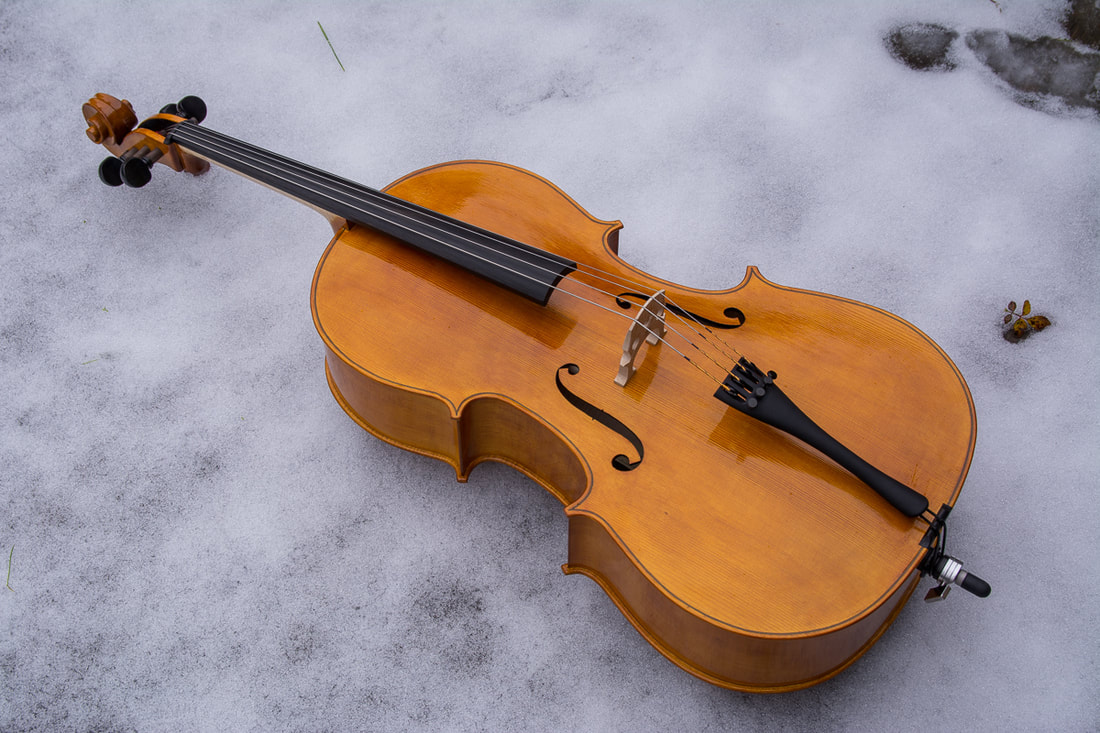 After the fingerboard I glued the nut on. I reduced it's height a little as the strings were too far from the fingerboard. That means that the player needs to push the strings stronger and further than necessary to get a good clean sound from the cello. 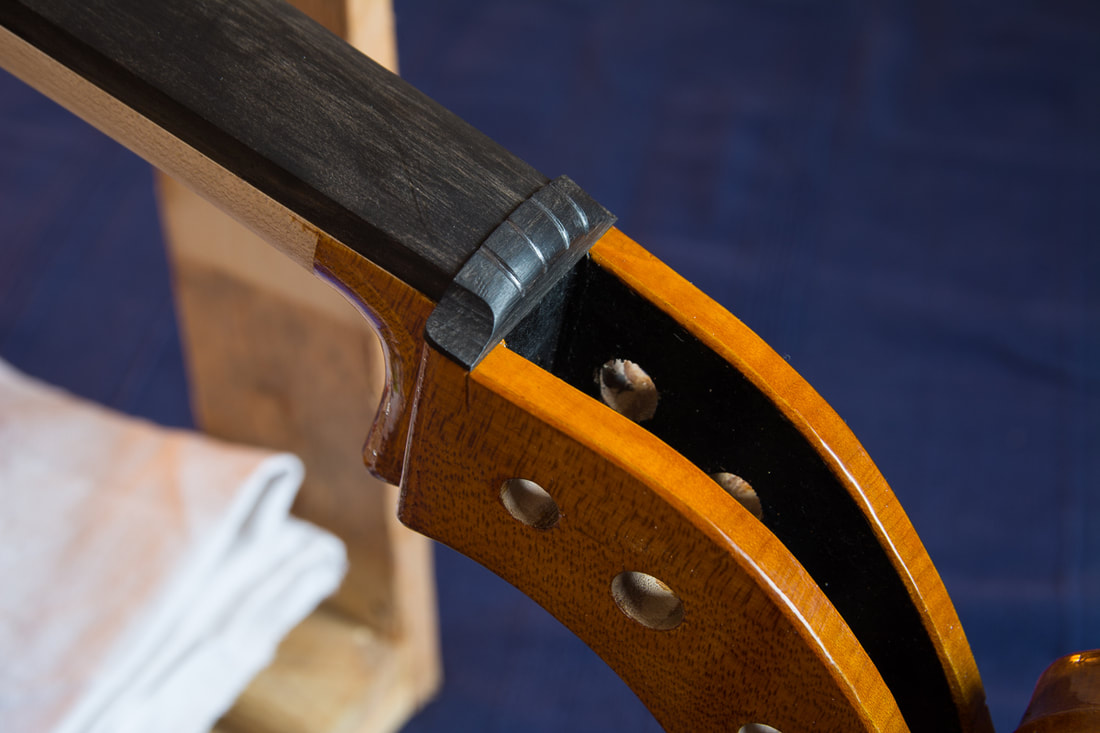 Now that the sound post is in place it is time to finish the nut. At least mostly. I will prepare it so that I can put the strings on but will not fine tune the clearances to the fingerboard before the final set up. They are quite close so Elias should be able to play it like this too. I used a file to round off the nut towards the pegbox. The edge towards the fingerboard should stay crisp. The nut is the final missing piece. It supports the strings at the neck. I can use the left over piece from the saddle to make the nut. I first angled the side towards the pegbox appropriately to follow the angle of the pegbox. After that I filed the top surface of the nut to follow the curvature of the fingerboard, leaving ~2 mm proud. Once that was done I could shape the ends. The top still needs to be shaped nicely so that the strings can gracefully turn from the fingerboard into the pegbox. I cannot quite finish the nut now. I had left the fingerboard a little long and need to finish the end of the fingerboard properly before I can really match the nut. That probably needs to wait until after varnishing since to finish the fingerboard I need to take it off the neck which I plan to do for the varnishing anyways. |


