|
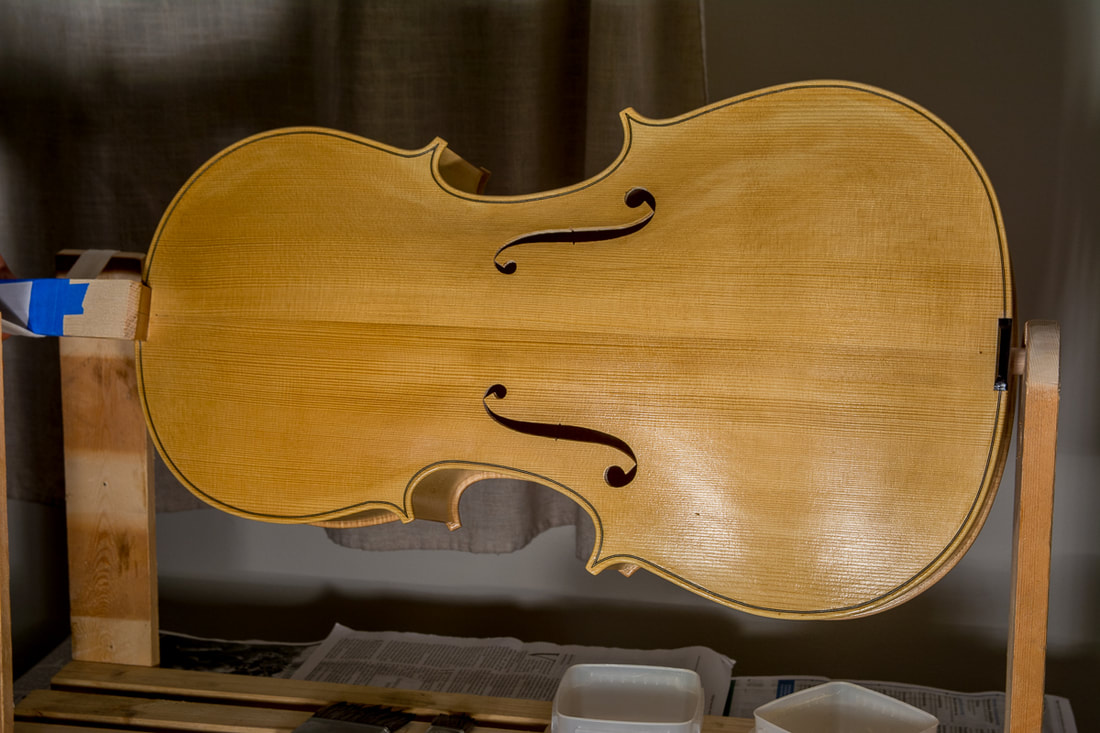
The first layer of primer needed to dry 12 hours. Before putting the second layer on, I sanded the whole cello with the included sandpaper (400 grit). The second layer went on pretty well. But it does dry very quickly and trying to correct anything later on is not possible. Luckily I didn't need to, I just noticed that very shortly the varnish is a sticky film and should be left alone. Already the first layers of varnish have made the surface nice and shiny which really bring out the nice flaming of the back. The front has a little uneven colour. I think it was a bit visible already before, but I couldn't get rid of it. I hope the coloured varnish will hide the imperfections. Before the first coloured layer can go on, I need to smoothen the surface with rottenstone powder and water first.
0 Comments
Today I managed to put the stain and the first layer of varnish (primer). The stain is put on and then the cello is left in the sun light for 2-10 hours according to the instructions. The colour of the stain changes in the light and once the desired colour has been achieved the first layer of varnish is on. I assume that the layer of varnish stops the stain from changing colour. I left the cello by the window for 6 hours. I actually didn't see too much change in the colour after the first 20 minutes. Maybe the winter sun in Finland just isn't strong enough. Anyways, I thought it would be better to have too light a colour than too strong. The varnish wasn't too bad to put on. I have read so much about the difficulty of spirit varnish that I was expecting it to be a lot trickier. The first layers of primer are pretty clear so that probably also makes it easier. Anyways, I managed to put the first layer on without it running or needing to go over the same spot many times. I am glad I still have another layer of the primer to put on to practice my varnishing skill. |