|
Elias has been playing this cello for over a month now and has gathered some experience with it. He getting well used to the bigger size. In his opinion the cello is good which is nice to hear.
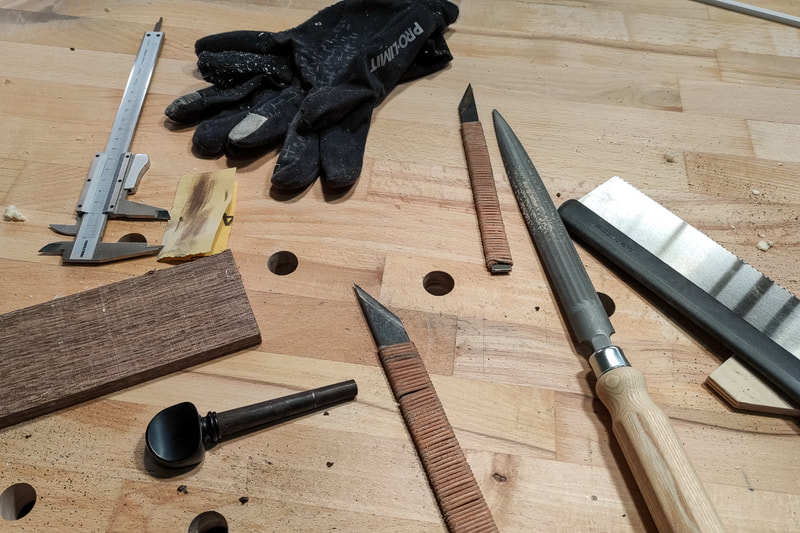
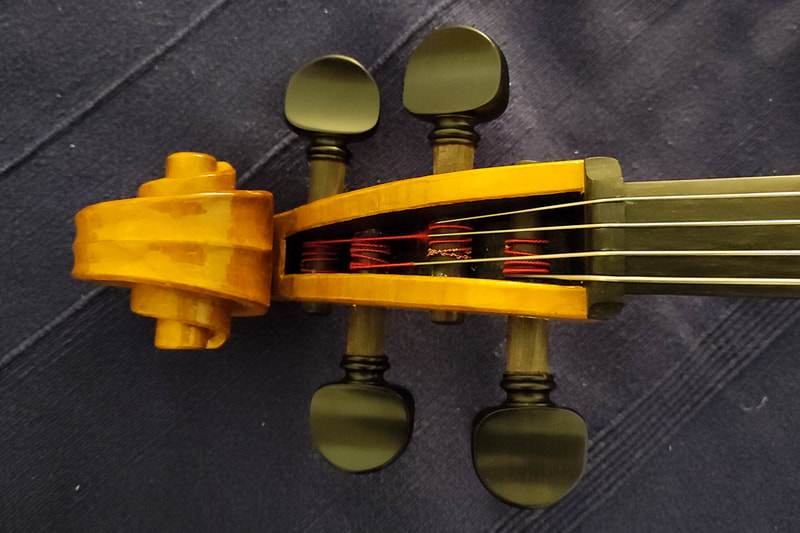
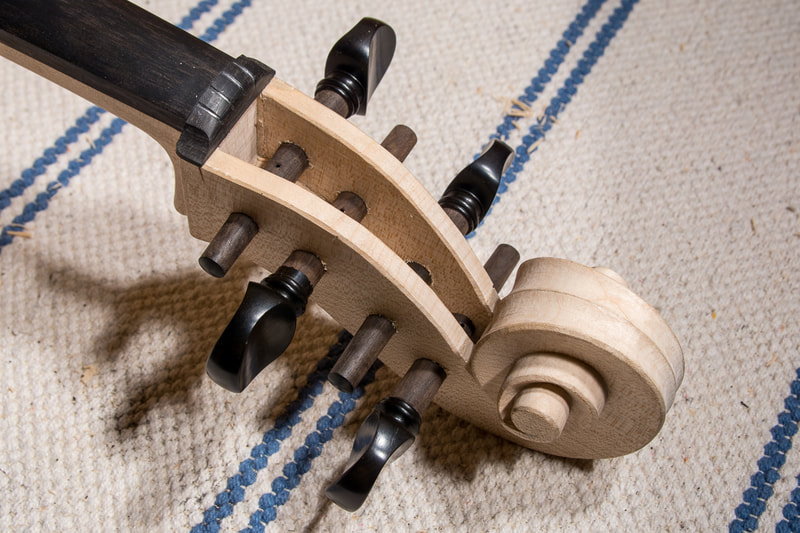
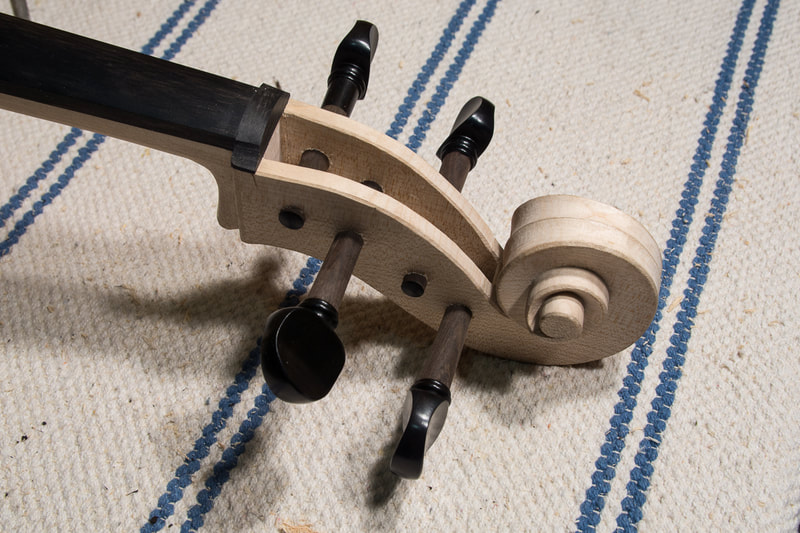
There was strange buzzing sound with some notes in the beginning on the A string. It seemed to come from the peg box. Maybe the ends of strings or something was vibrating at a particular frequency. We haven't heard it in a while now. I had left the pegs long in case something needed adjusting. Today I shortened the pegs so that they look neater. I also added some dry soap and chalk onto the pegs to make them turn a little smoother. It is pretty cold now in Finland and it gets below -20 °C in the night. My workshop is unheated so it gets below zero there too. Hence I need to use gloves when working in the winter. Luckily the pegs were done quickly. When I last saw Pekka he said I could thin the bridge out. That still needs to be done. Elias' cello teacher also said the sound could be more open. Thinning the bridge could help that. I will tackle that next. It is a great to see and hear Elias play the cello.
0 Comments
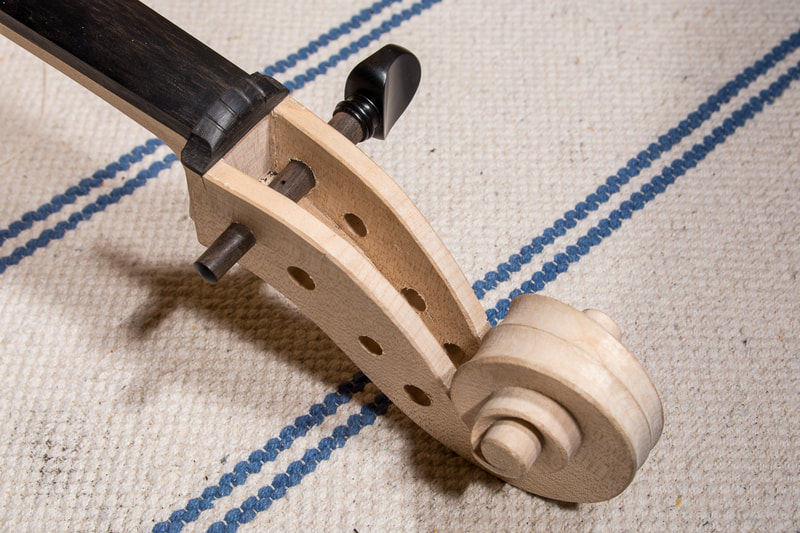
I had fit the pegs so that they only just went through the peg box. My first idea was that I would do them properly with Pekka. But now I want to put the strings on and don't want wait until next week. So I will do all by myself first and only check with Pekka afterwards.
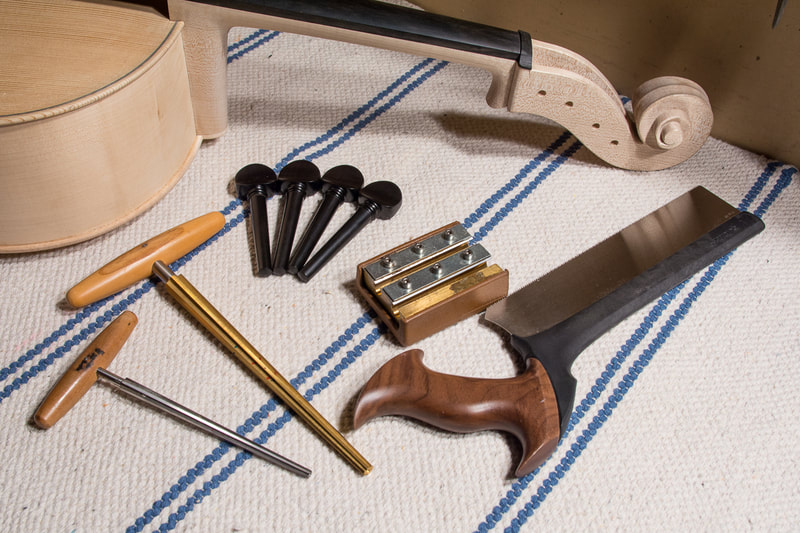
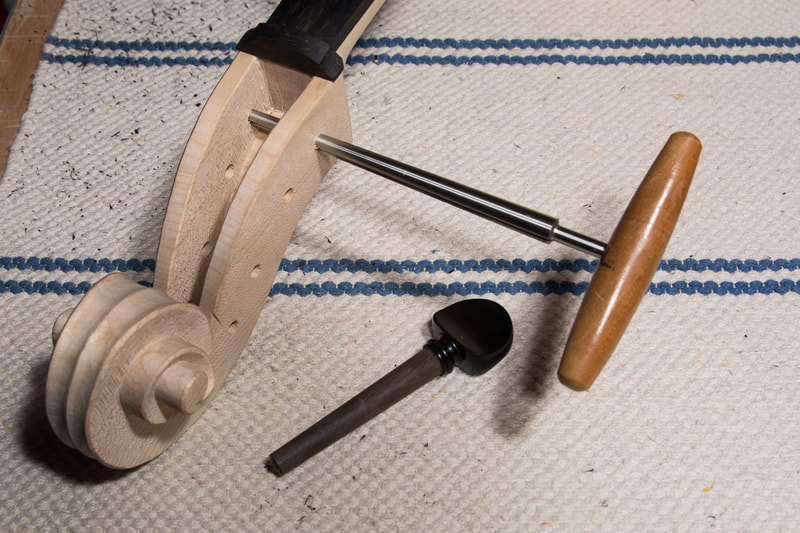
So I reamed the holes bigger until the shaft of the peg was about 15 mm. Did I mention already that I really need to practice reaming. The pegs are not straight. But I will let that not disturb me too much now. After the pegs went deep enough, I drilled a 1.5 mm hole in each for the string. All that remains now is to put the strings on and tune it! I met Pekka Untamala again today. We had a good discussion on the next steps. He instructed me on the important things to consider with the pegs, the end pin and the bridge. On top of this he also lent me some of his tools needed to fit them.
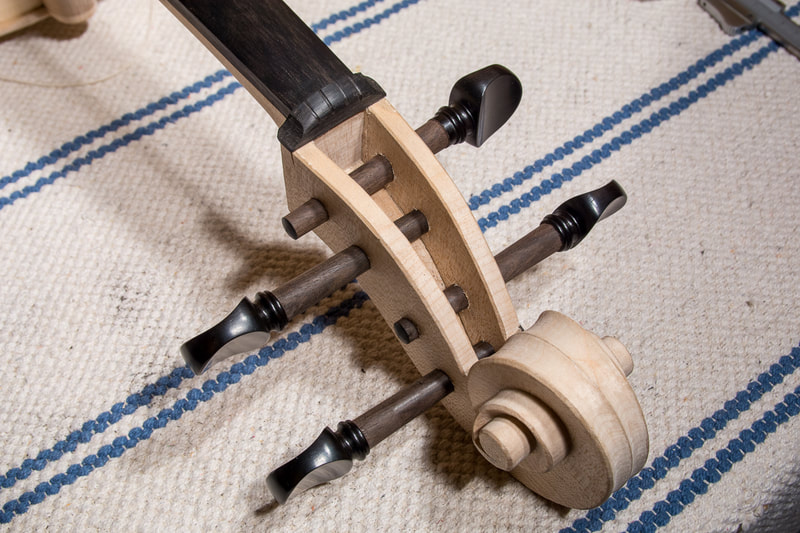
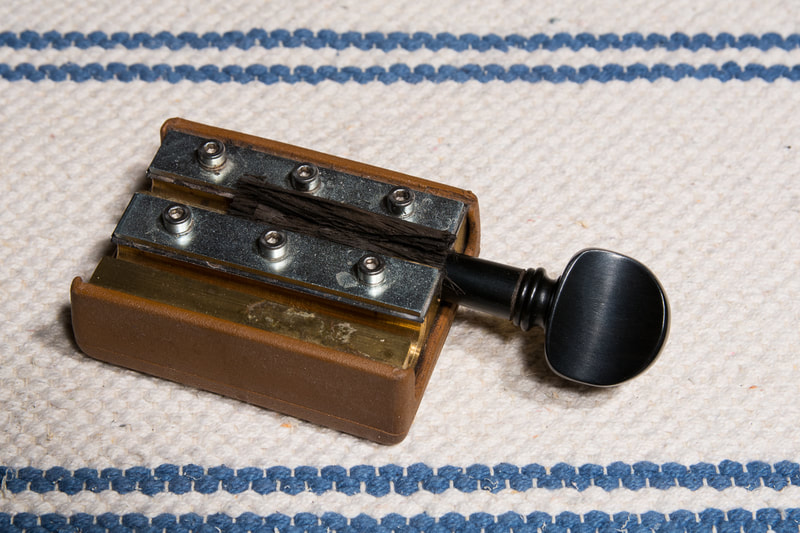
I first started to fit the pegs. With the first peg I learned how slowly one needs to go so that the pegs do not end up too loose. With the first one I made the mistake. Luckily I had shaved the peg smaller than it came and so I could fit one of the other pegs into that hole, just needed to shave less off of that so that it would be OK. I left all the pegs now too long and they all go only a little through the hole. I want to do the final fitting with Pekka. |
AuthorMy son is outgrowing his cello soon. Could there be a better reason to learn how to make one :). Archives
April 2021
Categories
All
|
