|
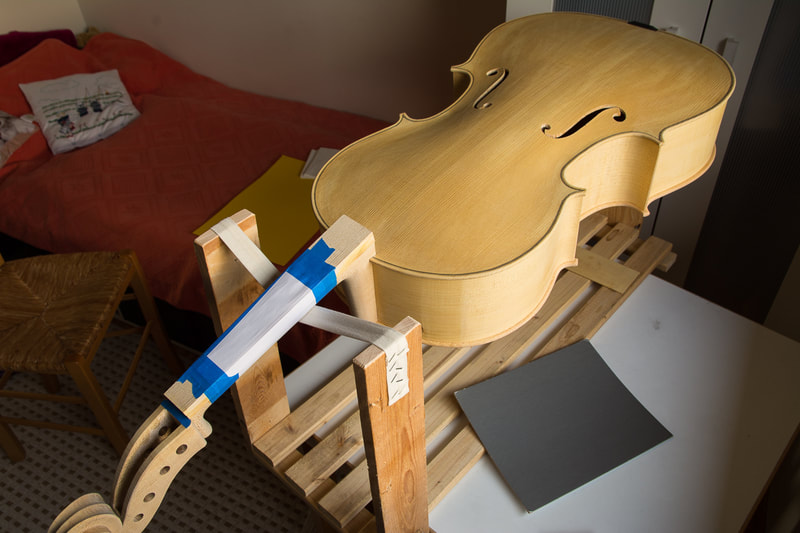
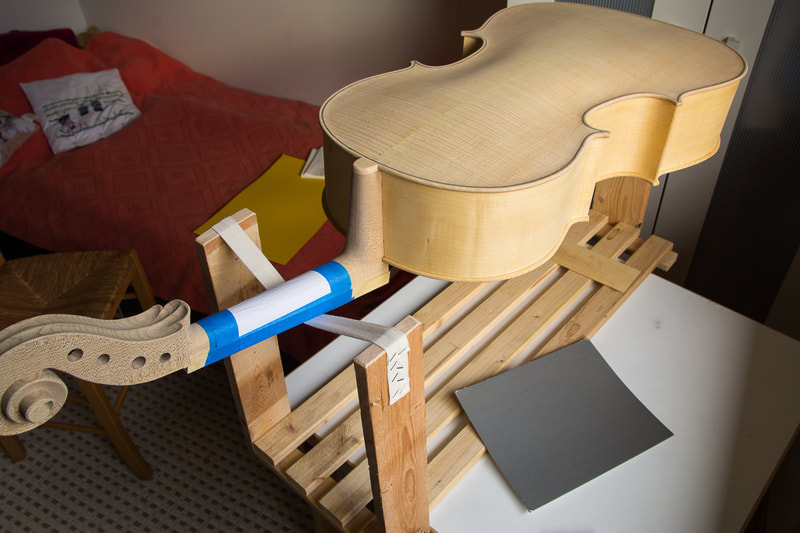
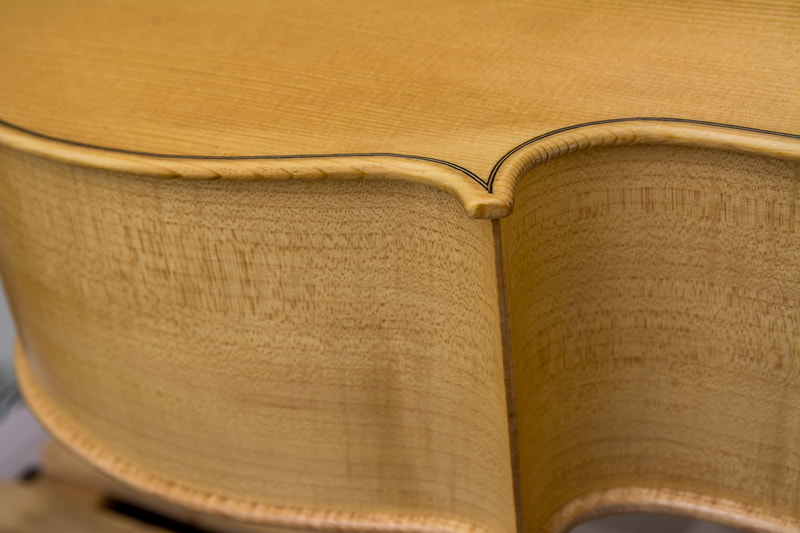
Today I managed to put the stain and the first layer of varnish (primer). The stain is put on and then the cello is left in the sun light for 2-10 hours according to the instructions. The colour of the stain changes in the light and once the desired colour has been achieved the first layer of varnish is on. I assume that the layer of varnish stops the stain from changing colour. I left the cello by the window for 6 hours. I actually didn't see too much change in the colour after the first 20 minutes. Maybe the winter sun in Finland just isn't strong enough. Anyways, I thought it would be better to have too light a colour than too strong.
The varnish wasn't too bad to put on. I have read so much about the difficulty of spirit varnish that I was expecting it to be a lot trickier. The first layers of primer are pretty clear so that probably also makes it easier. Anyways, I managed to put the first layer on without it running or needing to go over the same spot many times. I am glad I still have another layer of the primer to put on to practice my varnishing skill.
0 Comments
|
AuthorMy son is outgrowing his cello soon. Could there be a better reason to learn how to make one :). Archives
April 2021
Categories
All
|


