|
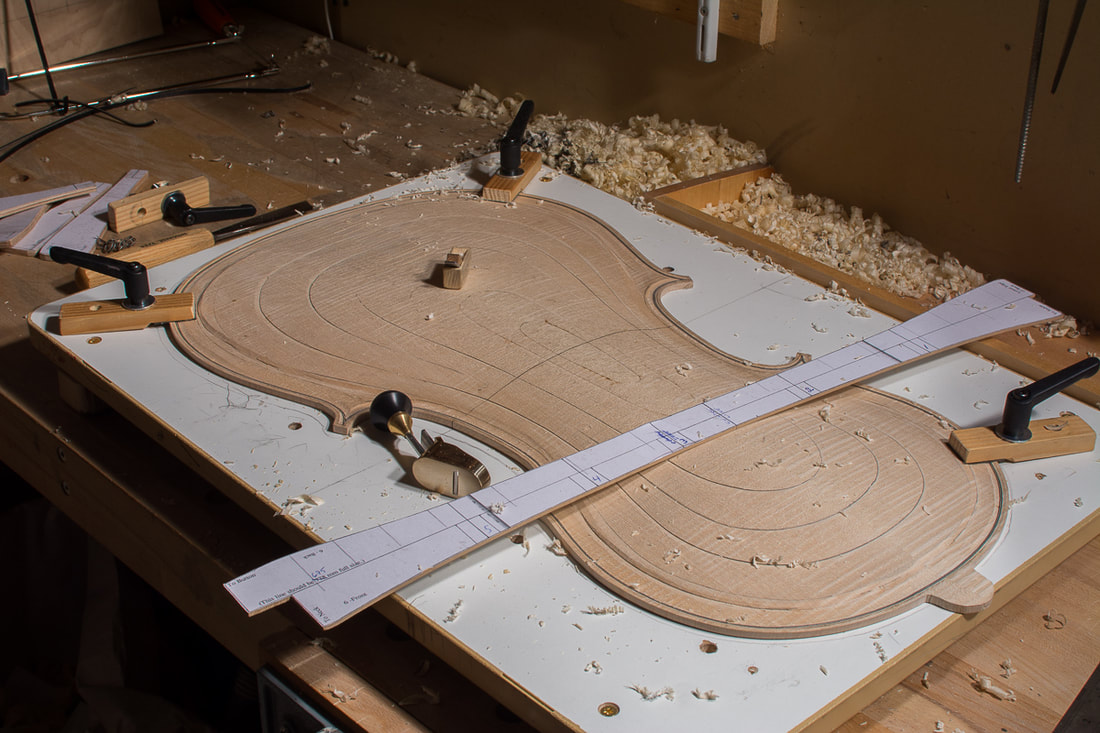
I decided to start with the transverse templates next. I started by planing each template position to down most of the way and finally smoothed the surface between the stations. I didn't go all the way yet, there is ~1-2 mm more material to remove fairly consistently still everywhere. I don't want to have nasty surprises with the curly maple when I come to finish it with a scraper. I only managed to do one side today.
0 Comments
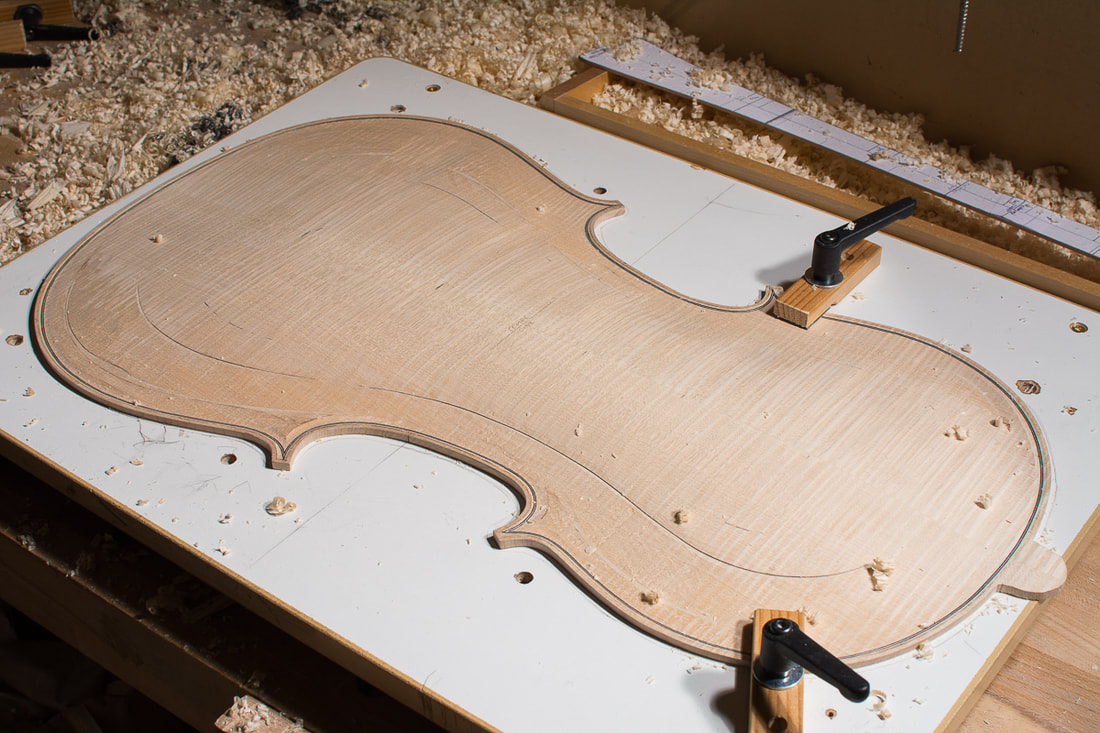
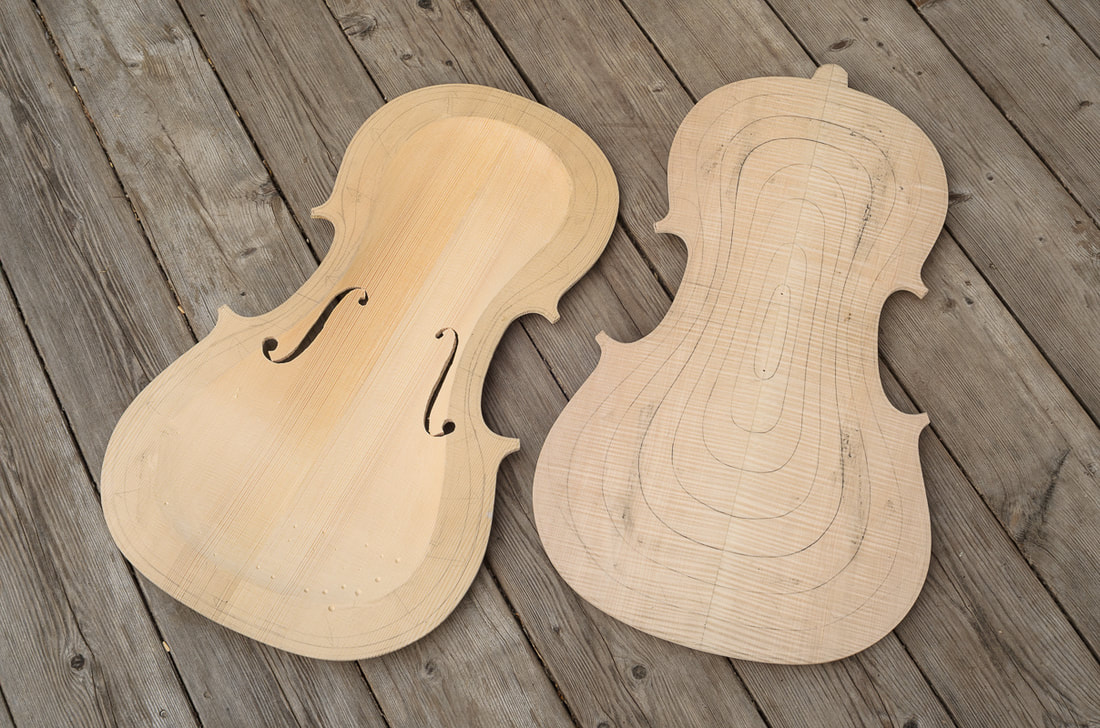
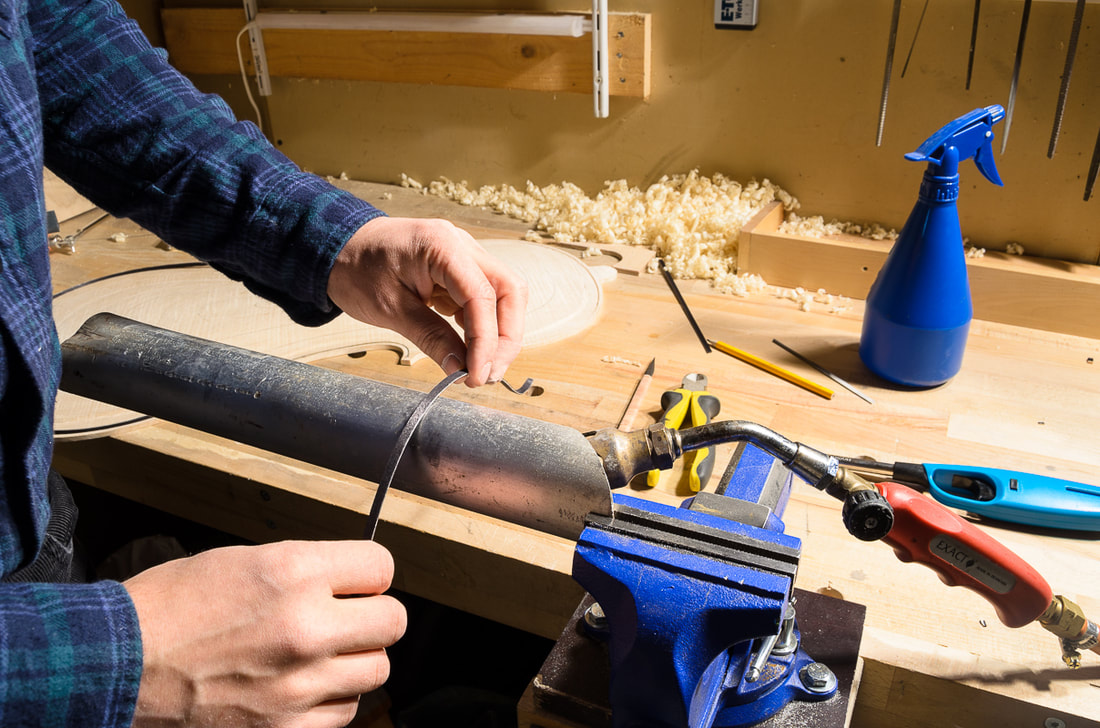
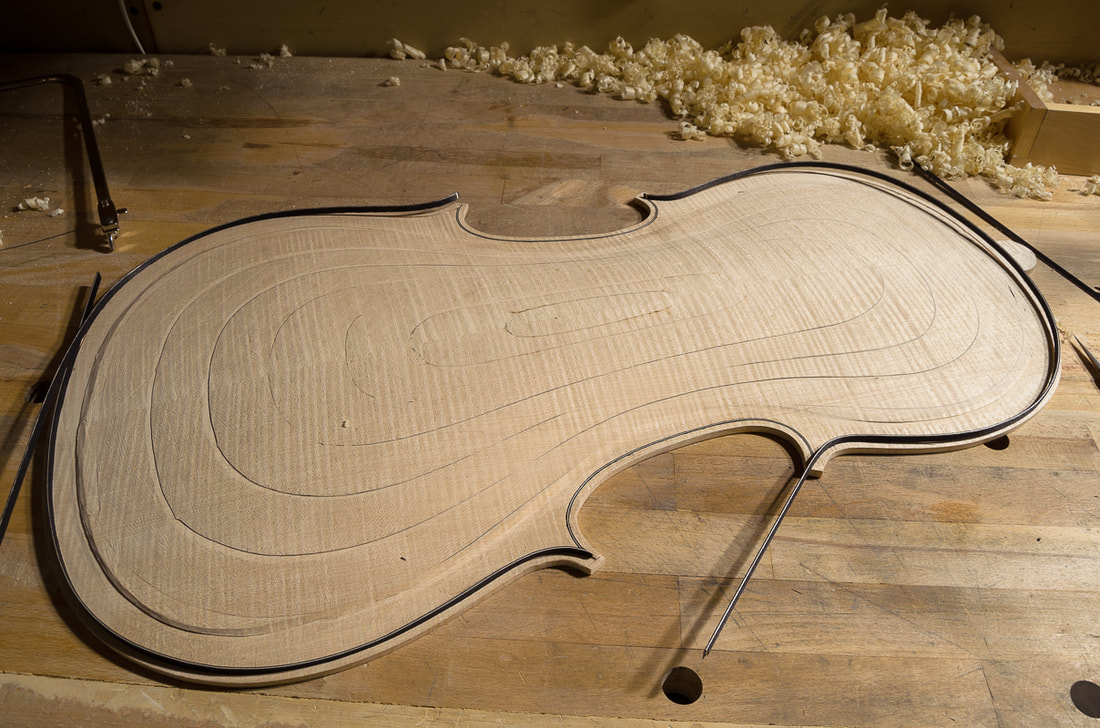
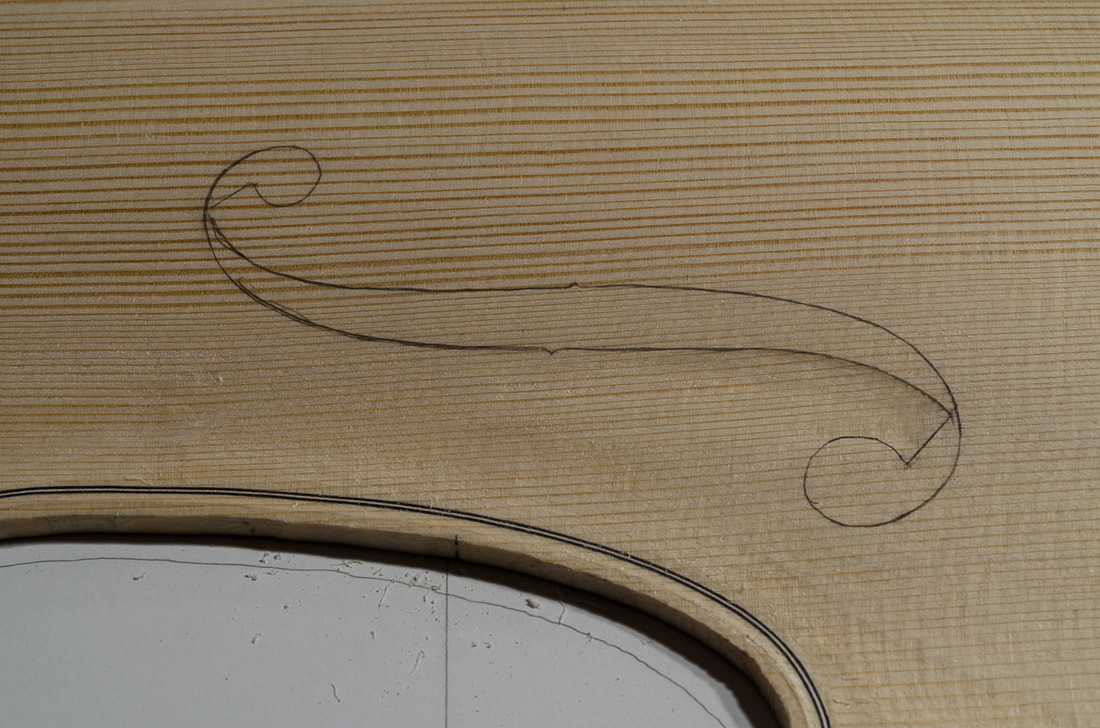
I started the final arching of the back. I am first fitting the longitudinal template. I thought I went too close to the final shape with the rough arching of the front so I made sure to leave more material for the back. As a result I have a lot more to remove this time. But it is not too bad actually. I have a chance to use the plane a bit and get used to the curly maple. It is easier going than I thought. I tried with a block plane (which seemed huge after the small fingerplanes) and a larger fingerplane, but I seem to always come back to the small fingerplane. It fits the fingertips so well and has great sensitivity. I didn't yet quite where I want to get to with the longitudinal template, need to continue tomorrow. The gorgeous pattern of the maple is starting to emerge. I did the first part of the fluting today. I went with a 10 mm sweep 7 gouge around the edge up to the line drawn 2.5 mm from the edge. The next step is to widen it and merge with the arching of the back. No much progress on the cello today. One of the buttons on my old Nikon D7000 stopped working reliably. I've had it for many years now and bought it second hand so I am not too disappointed. I like it lot though and it was a shame to realise that fixing it would likely cost more than what I originally paid for it. Luckily somebody close to where I live wanted to sell the D7100 for a very reasonable price. Anyways, finding and getting the camera took most of my free time today. I did manage to shape the transverse arching guides for the back and marked the edge for the back. Tomorrow I can start the final arching of the back with the fluting around the edge. The photos show how the plates look at the moment. Both have the purfling all round. The front plate has been arched and hollowed, and the ff-holes have been roughly cut. I still need to do the graduation and finish the ff-holes. The back has been roughly arched and has the purfling. The arching needs to be finalised next and then the plate needs to be hollowed. And both plates need to be tuned up. Today I finished the purfling on the back. It went pretty smoothly. I first bent the purfling to fit the groove on the back of the cello and then carefully cut the ends to match the purfling on the c-bouts which I had glued on already earlier. For the lower bout I had to make a splice. For the front I had made the splice in the "wrong" direction which I rectified this time. I had much more trouble getting a good spline this way. The photos below show my setup in preparing the purfling. The blowtorch isn't on when I am bending the purfling. I didn't take photos from the glueup. I used a large injection needle to put the glue in the purfling groove. Keeping the needle in the hot gluepot made sure it stays hot and liquid. Today I cut out the second ff-hole. Nothing too special there. In one spot I sawed to the line. I hope it didn't go much too far. Both ff-holes are now roughly sawn out. I stayed pretty close to the line when sawing so that I don't have all that much to clean up with the knife. The next thing on the front plate is to bring it to final thickness and so finish the graduation. After the graduation is done I will then finalise the ff-holes. The front is starting to look like a cello top! I also made a small knife for refining the ff-holes. I took the measurements for #VK025R from www.hocktools.com/products/knives.html. I made the blade from a piece of O2 steel which I bought with my last order from Dictum. I got the idea for making my own knives from Uri Tuchman, for example Making a Tree Shaped Kiridashi. Look also for other videos by Uri, he has some great projects. 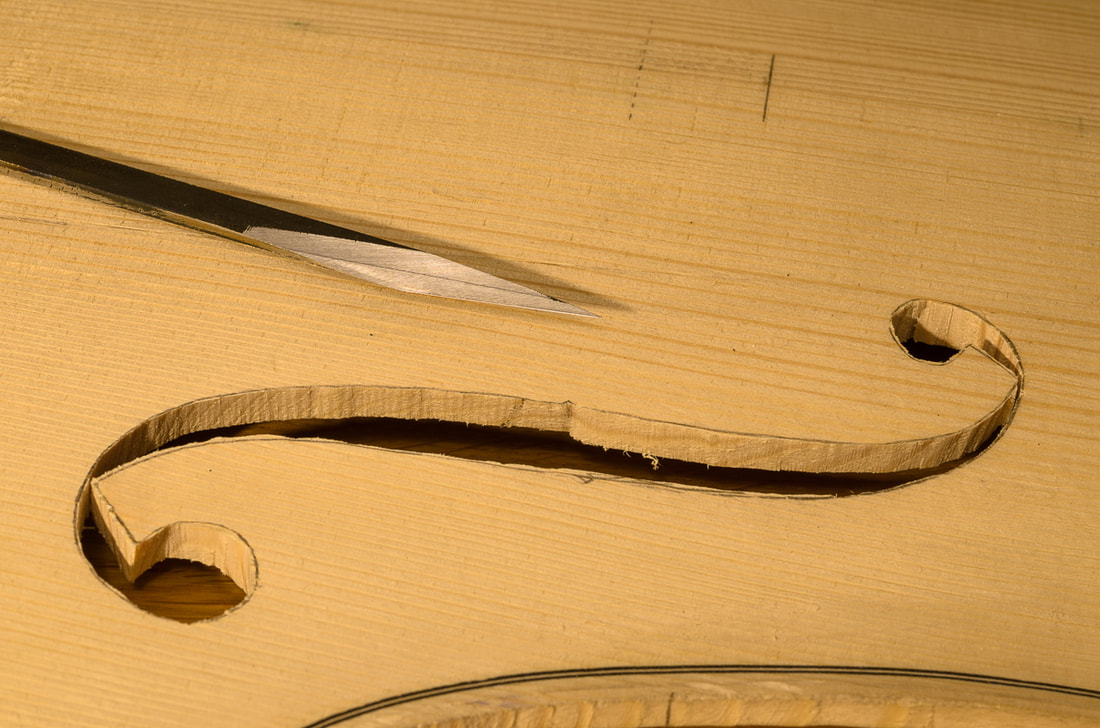 The next step now that the front has been hollowed out is to start working on the ff-holes. First I needed to add the fluting of the lower wings. The instructions are mostly quite short on this and the cello my son currently has doesn't have fluted ff-holes so I wasn't too sure what I was aiming for. I added some but not all that much. Maybe I should done a stronger fluting. The good thing is that the fluting is purely decorative and shouldn't affect the sound. After having added the fluting to both sides it was time to cut out the first ff-hole. I first drilled two holes so that I could insert the saw blade. And then sawed the ff-hole open. The corners around the ends are very delicate so one needs to be careful when cutting out the holes. One should always go with the grain, and first cut the corner open while it is still well supported. I didn't have time to cut both ff-holes today. And maybe anyways I'll finish the first one first so that I can learn from my mistakes on the first one before doing the second. Some good references:
Today I tried out my new graduation punch. After punching a few holes with the graduation punch I had three kinds of marks on the plate. The larger holes still left from the drilling, the small holes from the graduation punch, and some scribbles from the pencil gauge. Using my favourite fingerplane, I removed material until almost all the marks were gone. The hollowing out is now done for the front. The thickness is still a couple of millimetres more than the final thickness. This will be reduced in the graduation phase. I had time today to also make a graduation punch. It will be used during the graduation of the plates are brought to final thickness. The punch has a sharp point whose distance for the peg underneath can be adjusted. The idea is the same as when drilling the hole during hollowing. With the punch one can mark the areas of the plate which are thicker than the distance between the peg and the point. Once the areas have been marked one can the easily remove material from the correct spots. 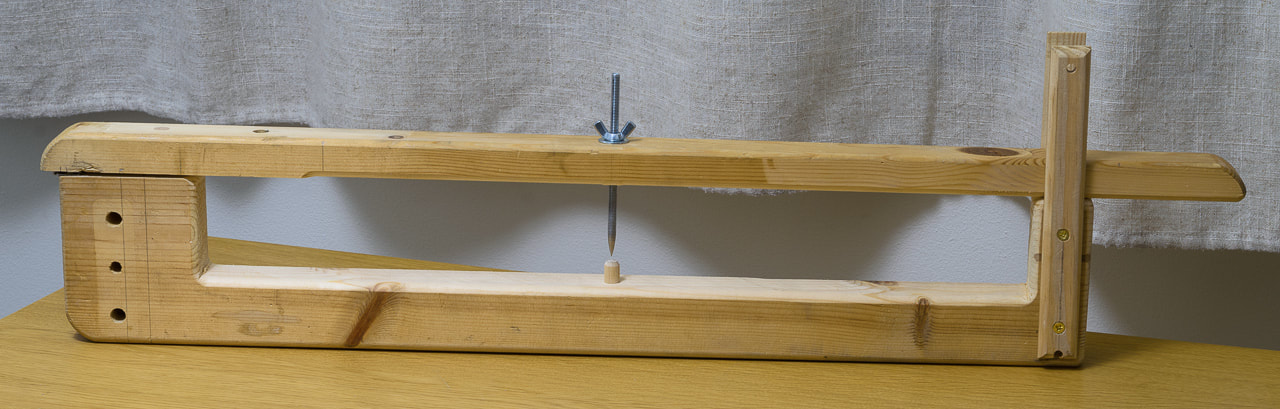 |