|
I've done a few test drives now. Some tens of kilometres here in the neighbourhood. It has been some trouble getting the carburetor settings right but I think I am close to it now. In some drives the engine didn't run well around half throttle. Based on some post in the net I thought this could be due to a lean mixture so I set the needle from the middle groove to the lowest one. Now it runs pretty well. I haven't checked the spark plug after the last drive yet. But hopefully it looks good. The spark plug in the engine is now a little hotter than the one recommended in the manual. I don't know if this has been a conscious decision by a previous owner or by accident. I'll check the spark plug before my next ride but I think I will change it back to the recommended one. This post has been pretty good on carburetor settings, www.cycleworld.com/story/bikes/kevin-cameron-explains-how-to-tune-carburetors/. I also found this YouTube video from Rolling Wrench really good www.youtube.com/watch?v=rCo6dJAxi64. 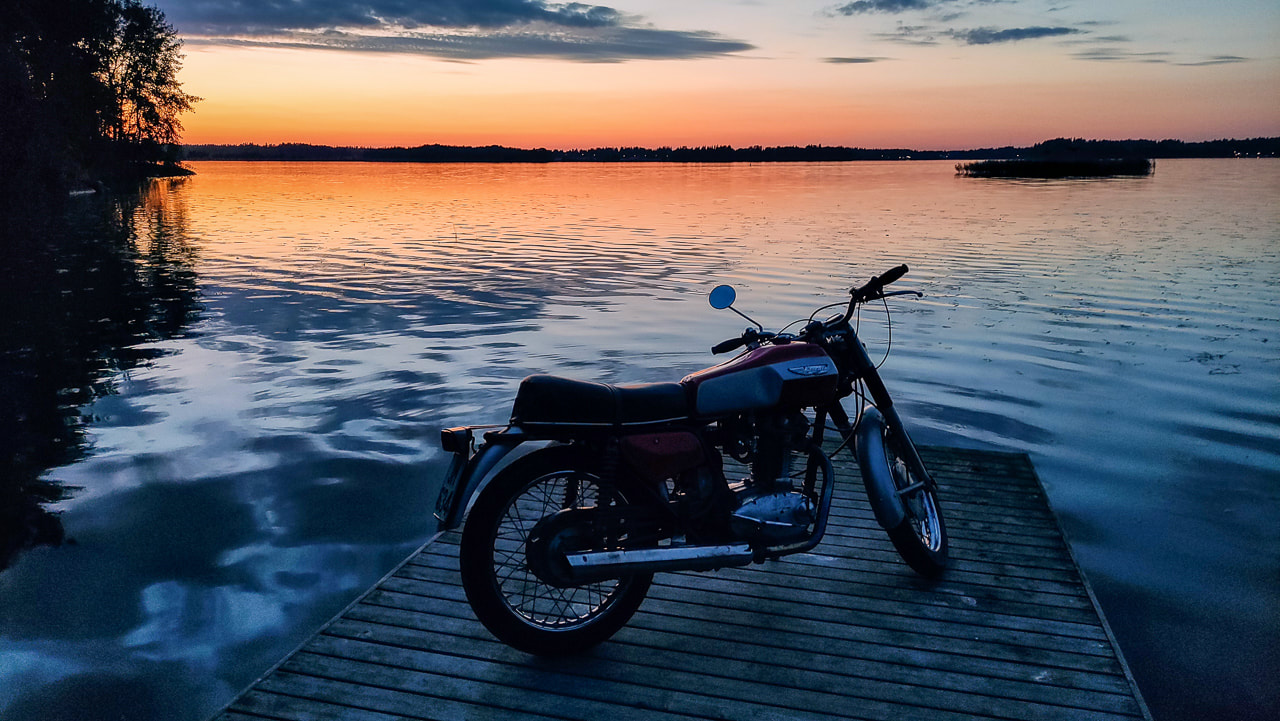
0 Comments
I can start using the bike again after more than 10 years. It's a great feeling. The restoration isn't over though. There are many things which need replacing:
But it runs and that's enough for now! 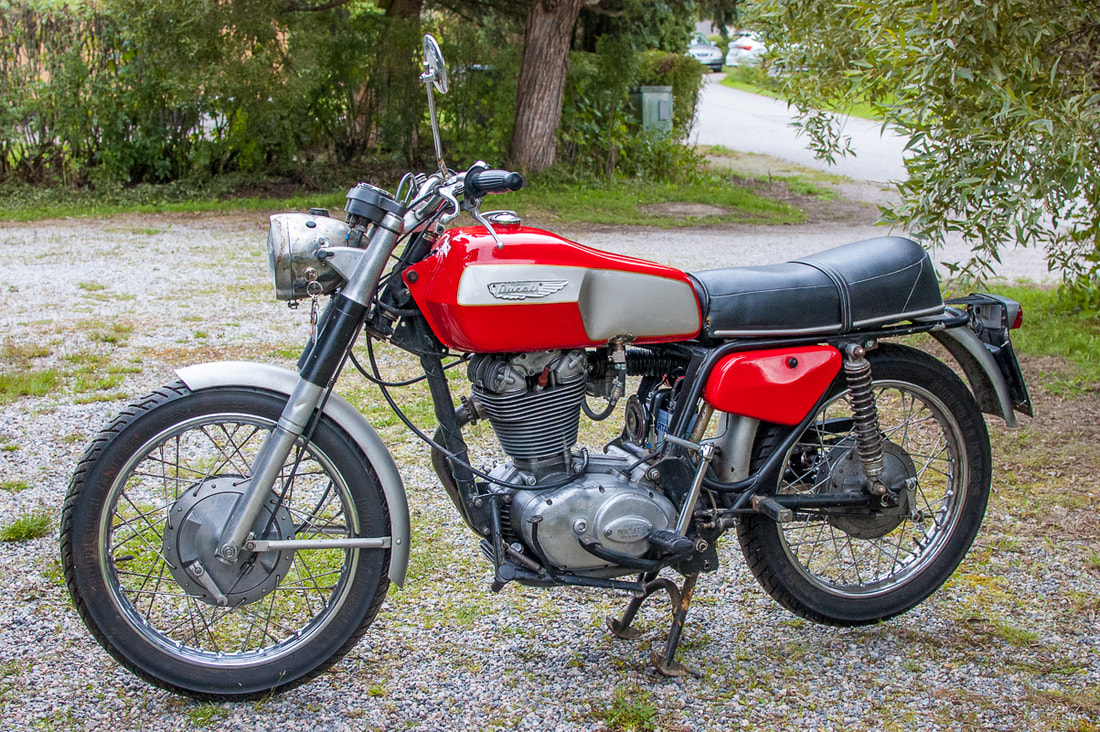 It finally runs! I first tried if charging the battery really full would help. That didn't seem to do too much. Already yesterday I had tried rotating the distributor 180° but that hadn't helped. So maybe the two things together did the job. The distributor is really quite stupidly done. Maybe for a reason but I can't understand why. The distributor fits in the right most gear in the photo on the left. As you can see the gear has a straight indent in it. The distributor fits there in two orientations. As far as I understand the distributor rotates once for every two rotations of the crankshaft. We want a spark only every four strokes after all. With the distributor 180° off phase I was probably getting the spark at TDC which started the intake stroke. No wonder the engine couldn't run. However this is when all the dots align on the gears. Both on the ignition side at the bottom and valve timing side at the top. So I assumed the the spark should also occur at this TDC and adjusted the distributor timing to happen at exactly TDC as for this 450 cc model the static timing should be exactly at 0° TDC. The distributor has a mechanical system to advance the timing at higher revs. Anyways, The engine runs and I took the bike for a short test drive around the block. It was wonderful! The battery I hard ordered didn't come in time. When I checked with the shop, they said it would take another month! I am not going to wait so long so I checked with a motorcycle shop near where I live. They didn't have the exact model but another one with a similar capacity and size. So I bought that one and installed it on the bike. But couldn't make it start :(. The fuel seems to flow and there's a spark on the spark plug. I don't quite know what to do now. I also put the new oil in. The manual specifies 20W-40 oil which I couldn't find. I don't know how important these things are so I am happy that I found this oil specifically for older vintage engines. 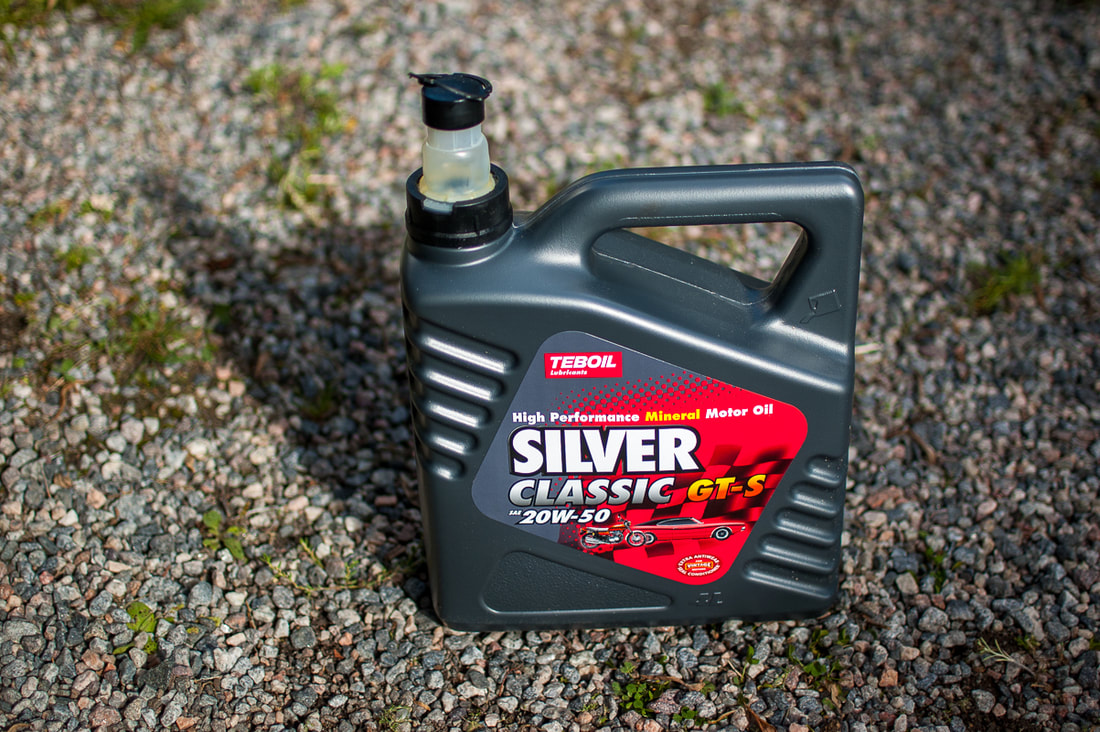 I am going to go put everything together even without the battery now. I probably need to dismantle something again in order to get the battery in but that shouldn't be too much work. Today I put the carburetor and the exhaust. And with them the little boxes on the sides. This right one contains the air filter. The rubber tube connecting the carburetor to the air filter is in pretty bad shape, I should have ordered a new. I have noticed a few other items which still need to be renewed. I am making a list of those and once I know everything I need I will plan my next upgrades. This one is on the top of the list. Time for the front sprocket and the chain. The front sprocket was really tight, I almost thought it doesn't fit. It did in the end. The chain lengths is quite awkward. With the now fitted lengths it is a little too long, but I cannot make it any shorter as I would not be able to close it then. I bought the sprockets from www.ducativintagestore.com. They didn't have any 32 tooth rear sprockets so I went for this 35 tooth sprocket. Maybe the slightly larger diameter of this one makes it so that the chain needs to be just a little longer than before. In addition to putting the engine on the frame I also did various other little things. I attached the rear sprocket to the back wheel, adjusted the back and front brakes as well as the speedometer and tachometer. The engine is back on the frame. It was quite fiddly to get it in the tight spot on my own but the wooden block I have was just the right height so that I managed without too much trouble. The engine is closed again! I repaired a damaged thread using a thread repair insert. First one drills a hole which is slightly bigger than the original thread size, creates new threads and then an insert is screwed. After that I closed the engine and fitted the gear and kickstart levers. |
Ducati 450 Mark 3Fixing an old Ducati motorbike from 1971. ArchivesCategories |


 RSS Feed