|
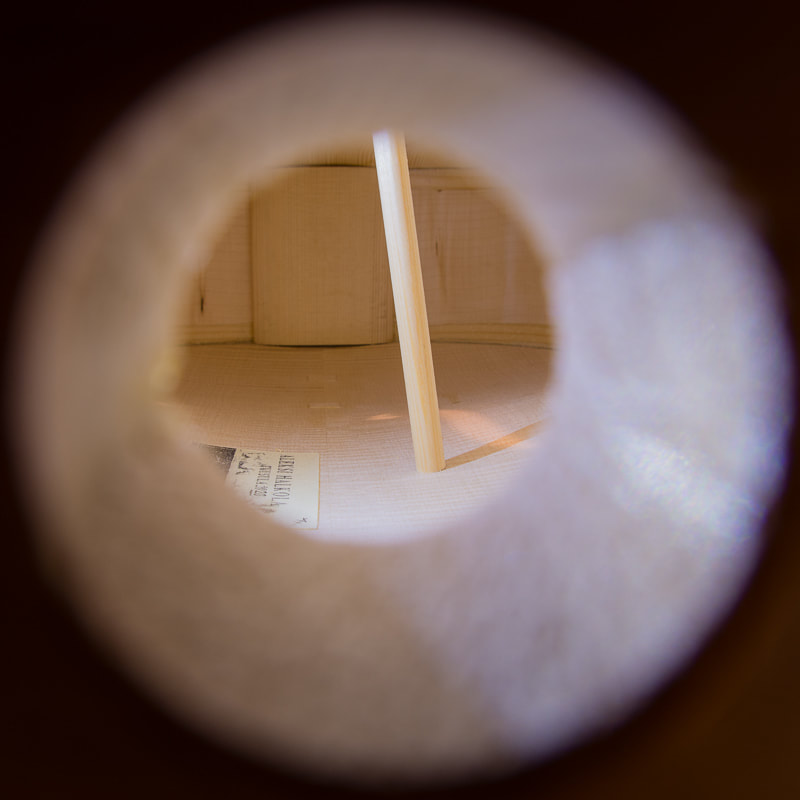
As I wrote last time, I wanted to go once more to meet Guy at www.howviolins.fi to check the sound post. I think I had done a good job at fitting the sound post but I wasn't sure if it was now one the optimal position or if it had the correct tightness (=length). So that is what I did today.
Both visits to Guy have been really good. Both for the cello and me. He said I had indeed done a good job in fitting the sound post so he didn't need to take it out. I had put it a bit too far back though which he could easily correct. Having the sound post closer to the bridge foot increases the responsiveness of the cello. Anyways, now the cello is really finished and only needs the maintenance any cello needs. I expect not to make many post in this blog anymore. Check how the second cello progresses on my second blog at Cello #2.
0 Comments
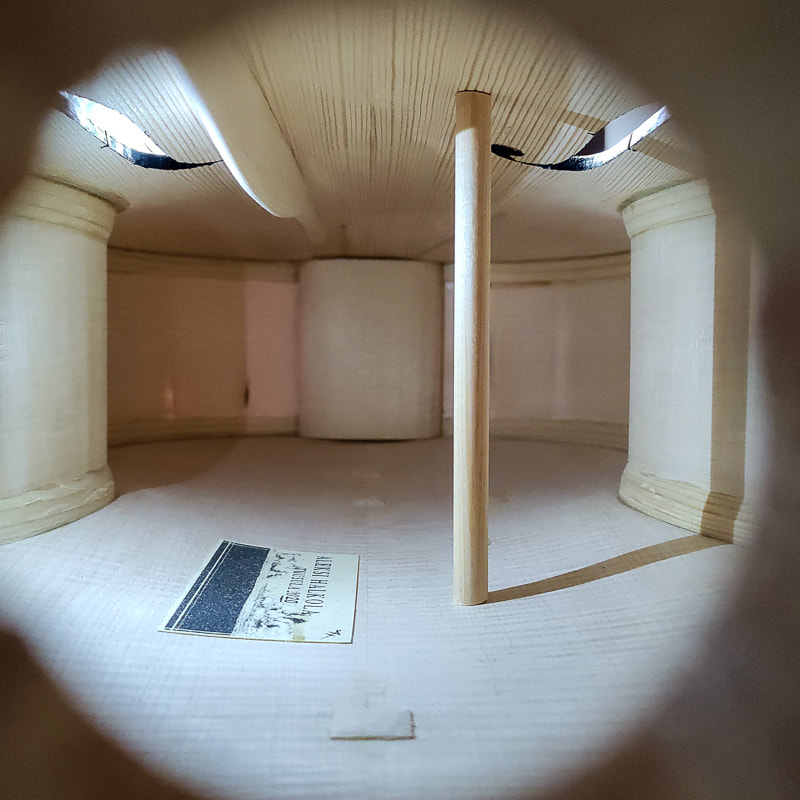
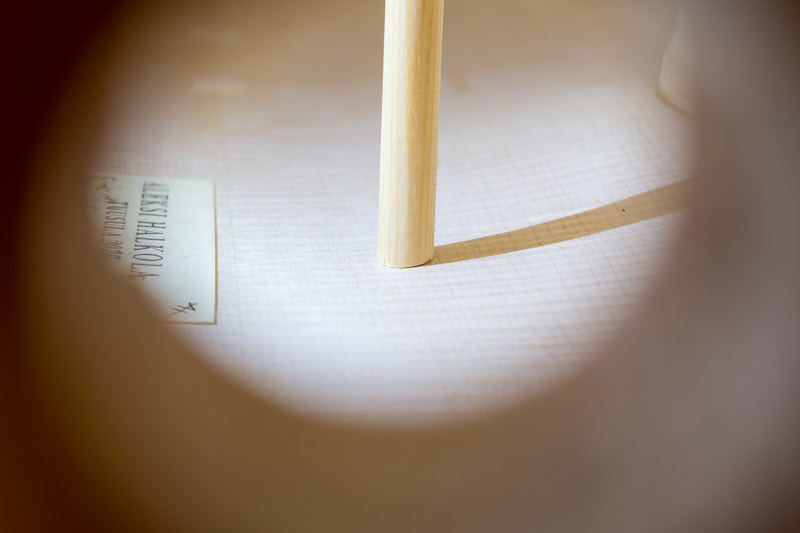
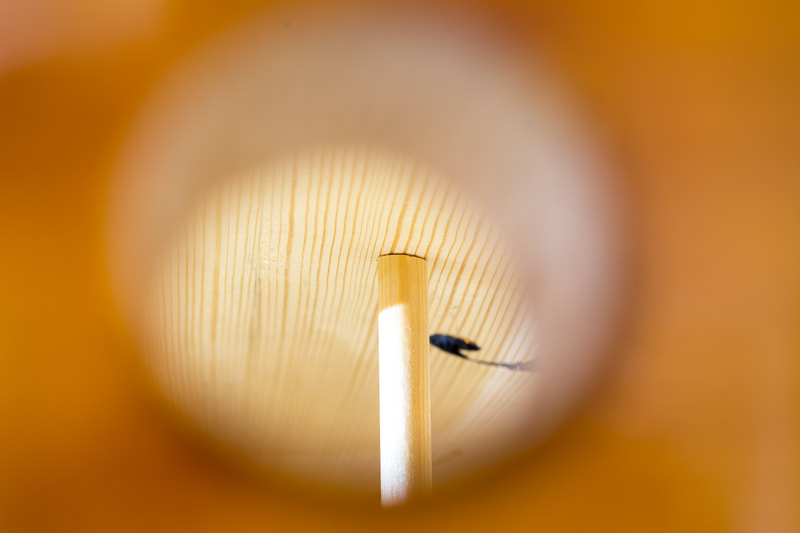
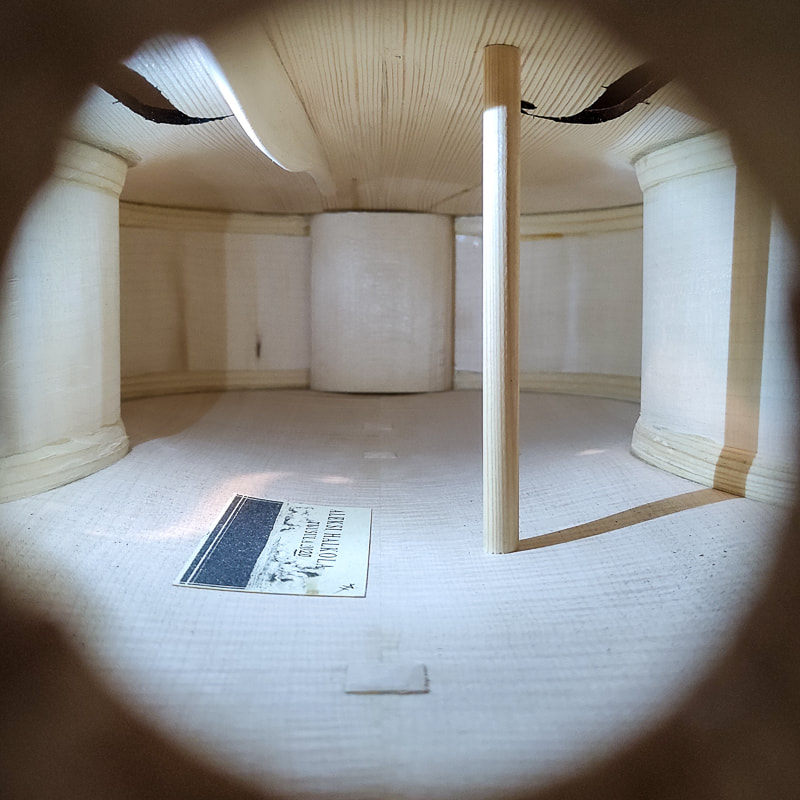
The second thing to fix was the sound post. It was too tight and not fitting too well. I started the refitting by watching a video by the Distinguished Violinmaker Edgar Russ on the topic, Ep. 28: Fitting the Soundpost. In the video he explains well how to do it with some good tips. I found especially good the idea of using a shorter post to get the angles and fit well. I don't have another sound post blank but next time I will definitely do that.
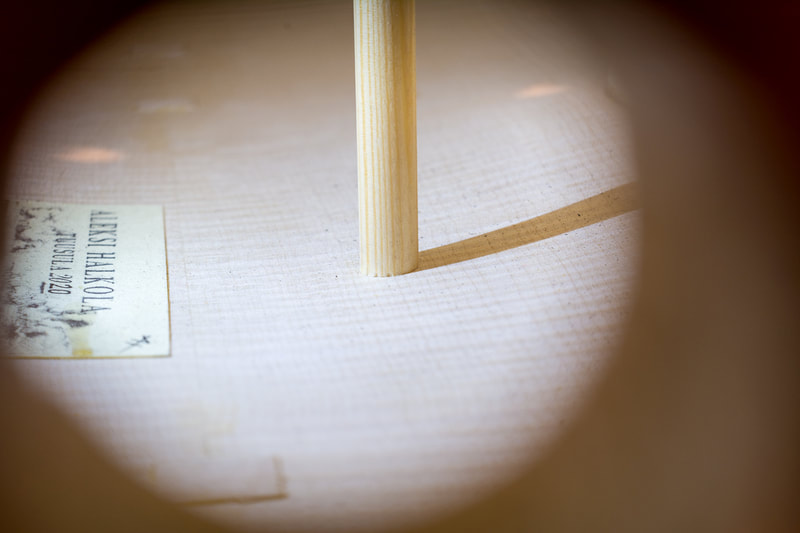
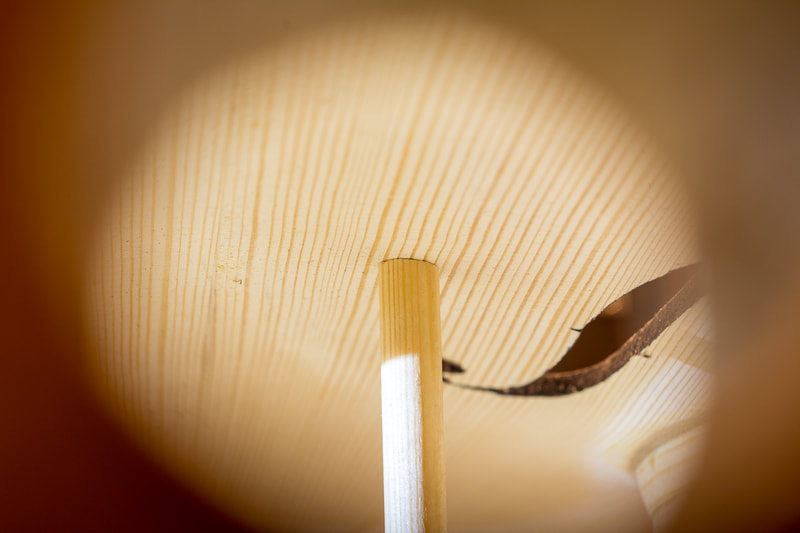
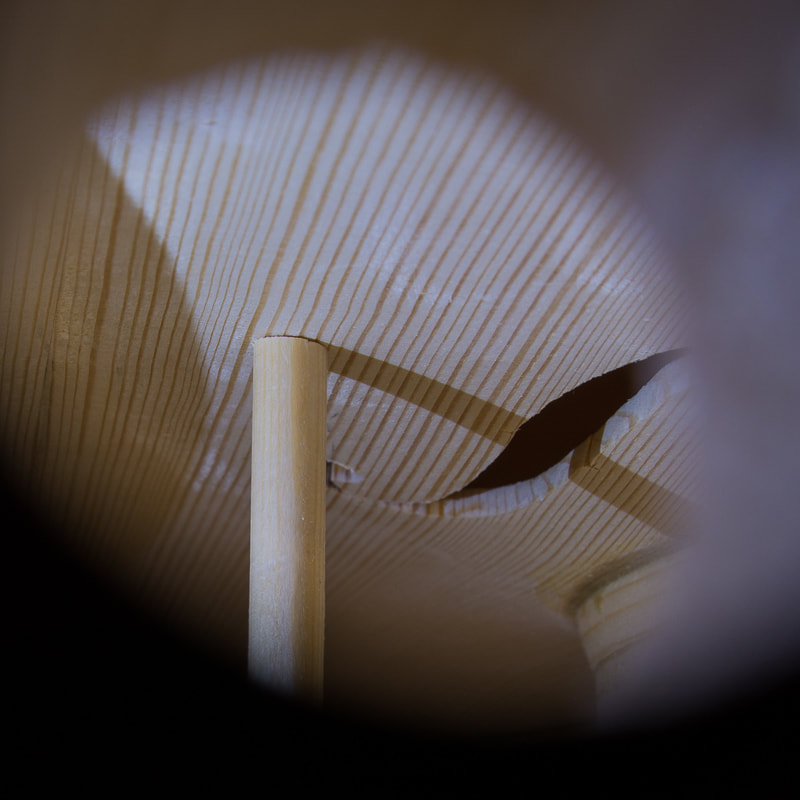
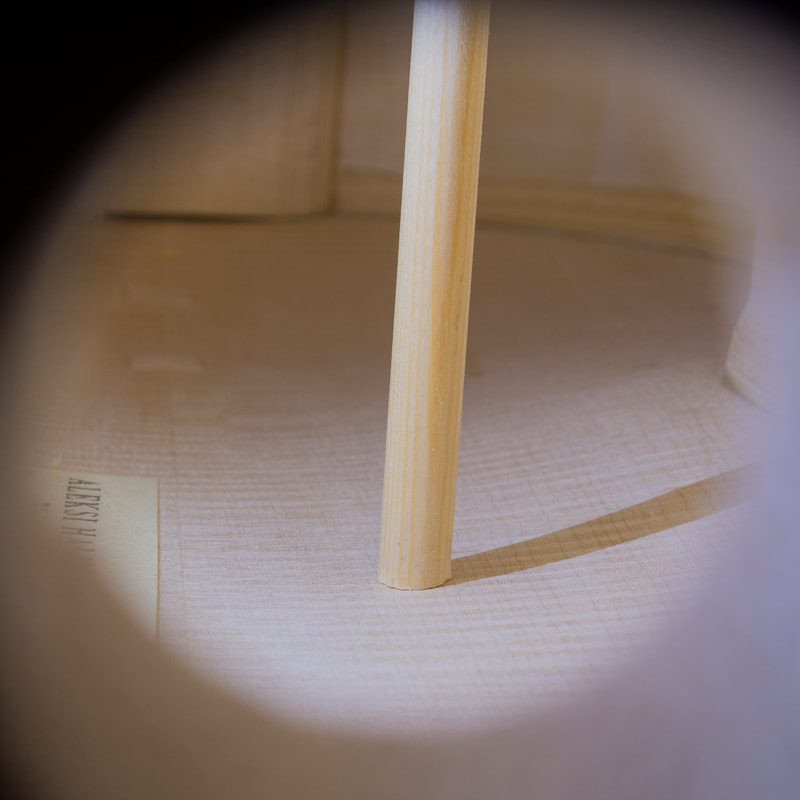
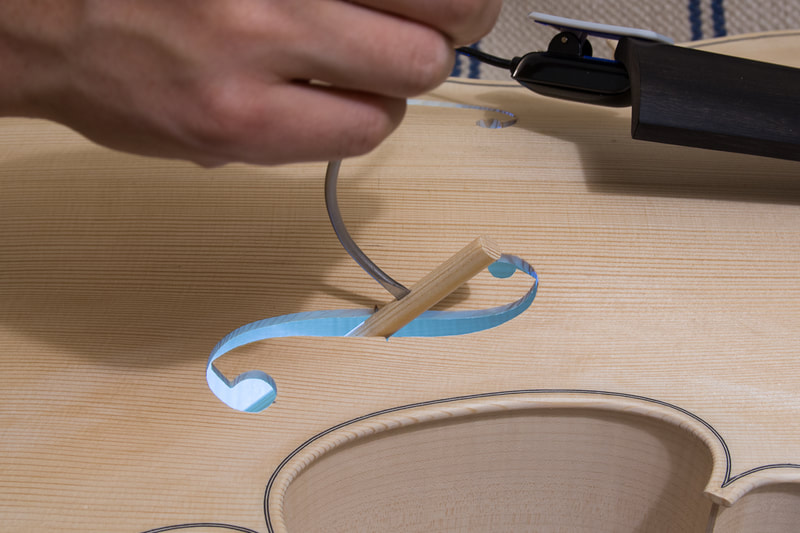
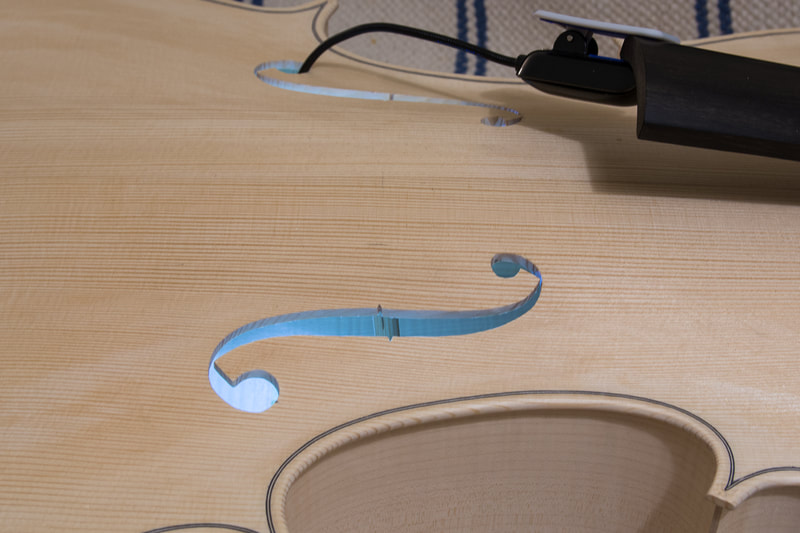
Fitting the sound post requires one to insert and extract the sound post many many times from the ff hole which is quite tricky and I kept dropping the sound post into the cello. But I think I managed to improve the fit a lot. The photos below show the fit before and after. After the adjustments the sound post fits nicely also on the other side. I didn't play around with the position of the sound post now. I put it approximately the thickness of the front behind the bridge, sideways in the middle of the bridge foot. This is something Edgar said in his video but I also read it in Strobel's book Useful Measurements for Violin Makers. My son is playing the cello as I write this. It does seem to sound a lot better now. Some how more open and balanced. It can well be that I am imagining this. I will now take the cello to Guy at www.howviolins.fi and let him check at least the sound post and refit it if he thinks it is necessary. He said the bridge could be tweaked too. I visited www.howviolins.fi today. I had contacted the keeper of the shop a little while back to see if I could buy some wood for the next cello as I had forgotten to order the blocks and the linings when I bought the rest of the wood for Cello #2. I also asked if he would have a moment to give some feedback on this first cello I built so that I could learn from my mistakes and improve on the next one.
It was a pleasure to meet Guy and spend a little time with him in his shop. He gave me honest and critical feedback on the cello. He had quite a lot to say. The neck is too large/thick and doesn't quite have the right shape, the ff-holes could be larger, the arching is not consistent, the fingerboard is curved the wrong way, the sound post is all wonky... But it was not all gloom and doom. I had done many things fairly well, and he commented that is a good effort for my first instrument. That was of course nice to hear. He had 4 concrete things which could still be improved on this cello to get the most out of it. The sound post should be set properly, the bridge could be improved (though he did say that it was actually pretty good already) and the curvature of the fingerboard should be fixed and the neck needed working. I think I will attempt some of these myself. I will try to do the fingerboard. I knew already that it should be a little hollow. It had made it straight, and at the time I was too afraid to mess it up so I left it straight. It has now apparently curved the wrong way. This can cause a buzzing sound when the strings do not have enough clearance from the fingerboard. I think I will also work on the sound post. Other than being crooked it was also too tight. It will be a good exercise to try to properly fit the sound post. I maybe lost my patience last time. It is not all that easy to put the sound post in and out and know what to do with it to get a good fit. I probably gave up a too early. My plan is now to do those 2 things and then take it back to Guy and let him finish it off. I want to give it a try myself as I want to learn this stuff, but I also want to get the best sound out of the cello. Of course I couldn't keep my hands of the cello for very long. I did a few things to make the process better. I tied a string to the sound post so that I could easily pull it out of the cello if needed. And I used some tape to attach the setter to the post. That way I could quickly put it in and out and adjust a bit. From what I have read it is important that that sound post fits exactly to the front and back. For this initial "dummy" sound post I think the fit is good enough. It is there now so that I can fit the bridge, and then the strings and get some first sound so that I can make sure there are no really, really bad problems with the sound. The final setting and tuning will anyways be done after the varnishing.
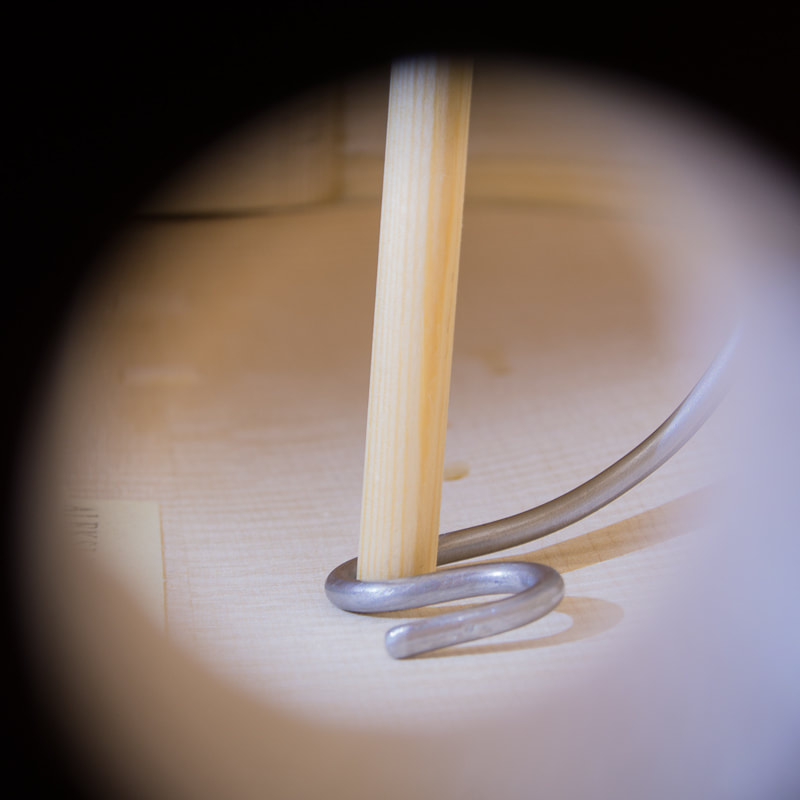
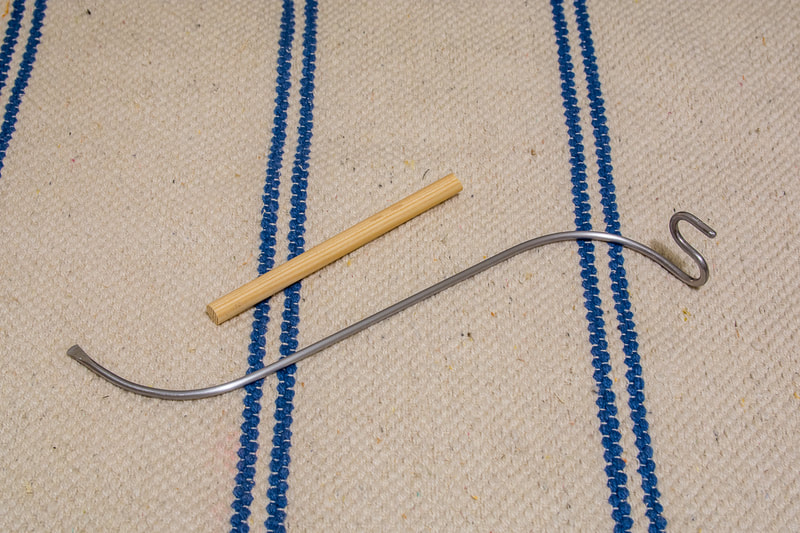
I started with the sound post today. First I made a sound post setter. It's just a piece of thick wire with a sharp end to put the sound post in and a bendy end to move the sound post around. I got a little frustrated when trying to fit the sound post it kept falling of the setter in the cello. And so I decided to stop before I would do something stupid again like when reaming the end pin hole.
|
AuthorMy son is outgrowing his cello soon. Could there be a better reason to learn how to make one :). Archives
April 2021
Categories
All
|
