|
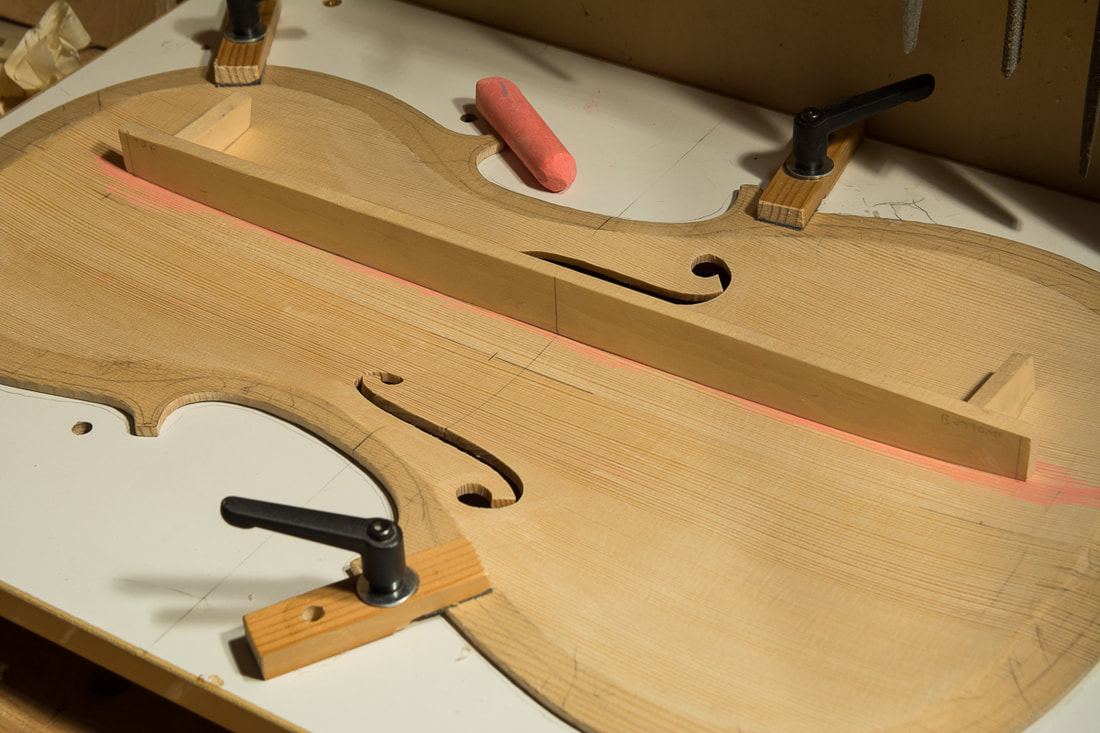
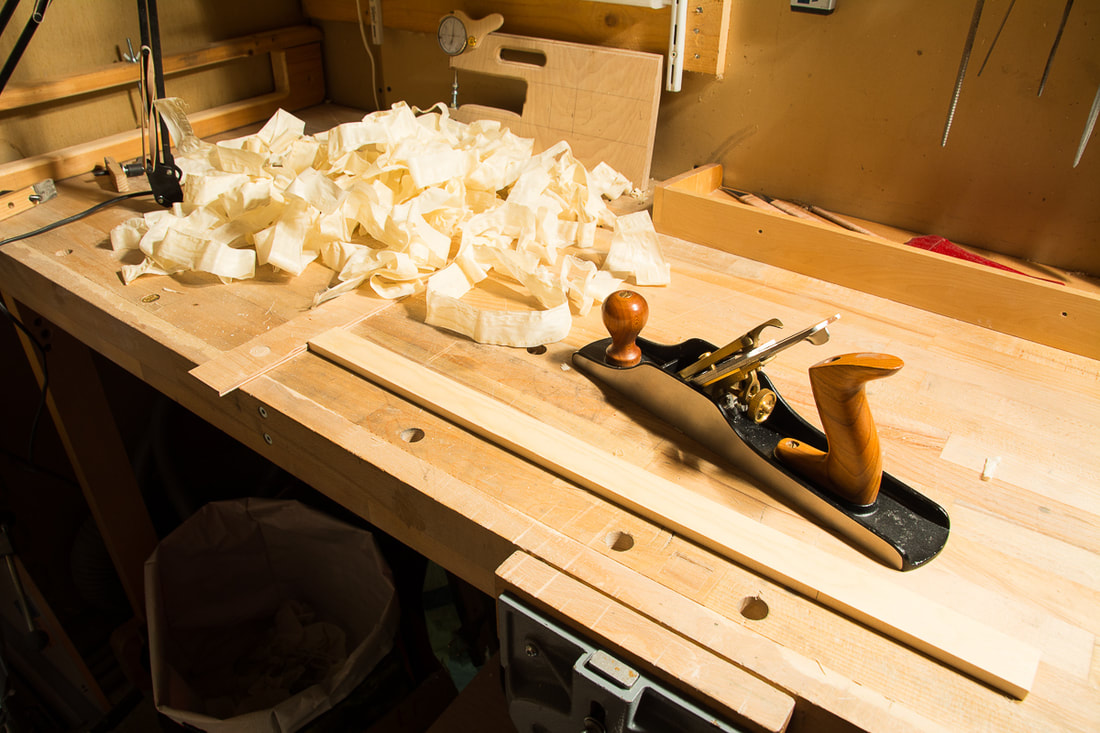
I finished the bass bar today. No tuning involved. I trusted Strobel's bass bar profile scaled down to 1/2 cello. I did the rough work using the finger planes and finished with some sandpaper. The bass bar is roughly semi-circular at the ends and more elliptical in the centre. The ends of the bass bar are cut at ~45° angle.
0 Comments
I glued the bass bar yesterday. I should have put more protection on the outside of the front, on elf the clamps left some marks. I hope I can get them away still. Otherwise the gluing went well and the bass bar fit really well. Today and transferred the scaled bass bar heights from Strobel on the bass bar and roughly cut it to shape. Strobel stresses that the bass bar was made for his cello and may not be suitable for others, on the other hand he also says that it is not as important as many make it. I will now not remove too much material from the plates, and also not pay not to much attention to the bass bar. Hopefully by the time the cello is ready I have the chance to meet up with a luthier to set up the cello and check it all round. At that point we can still open the cello and fix a few things if needed. Getting a "perfect" fit on the bass bar was surprisingly easy. Pressing the bass bar against the chalked front and wiggling it around a bit left clear chalk marks on the bass bar and it was quite straightforward to get it to fit so that chalk is all over the bass bar. It was only once I had a perfect fit that I started to think what is really needed. The bass bar should not have a perfect fit on the front, with out any pressure there should actually be a little gap at the ends. This is so that the bass bar provides more support for the front once the strings pull down the bridge. Baker in her books says 1 mm for a cello, Strobel says 2-3 mm. So getting wasn't quite so straight forward. What I did was to mark a tapering pencil line on the perfectly fitting bass bar which I then roughly planed out. I then proceeded with the chalk method this time making sure I pressed the bass bar from the ends of the bass bar only. And now I made sure not to remove any material from the and or from the middle. This way I could keep the gaps at the ends of the bass bar but still get a good fit. Although a little more complicated, this worked out also pretty nicely. Now I need to glue the bass bar to the front. I started fitting the bass bar. First I planed the bass bar to right thickness. For this 1/2 cello Baker in her book specifies a thickness of 9.5 mm. This again matches well with the scaled thickness of the bass bar in Strobel's cello book. I don't know why I keep being amazed by the consistency between the two. Some how I can't below one can just scale all dimensions by the same factor. Apparently one can though. Once the bass bar had the correct thickness I clamped the bass bar to the front plate an used a large washer to roughly mark the shape of the front on the bass bar. I did that on both sides since the front is curved also perpendicular to the bass bar. I also marked the length of the bass bar. A spokeshave quickly removed the extra material. I also attached two block on the front plate with double sided plate to ensure the bass bar is always in the same position and angel relative to the front plate. Next step is to carefully fit the bass bar to the front. This is usually done by putting chalk on the front plate and placing the bass bar on its place. If the chalk is not evenly on the bass bar, then one knows where to remove a little wood at a time from the bass bar. |