|
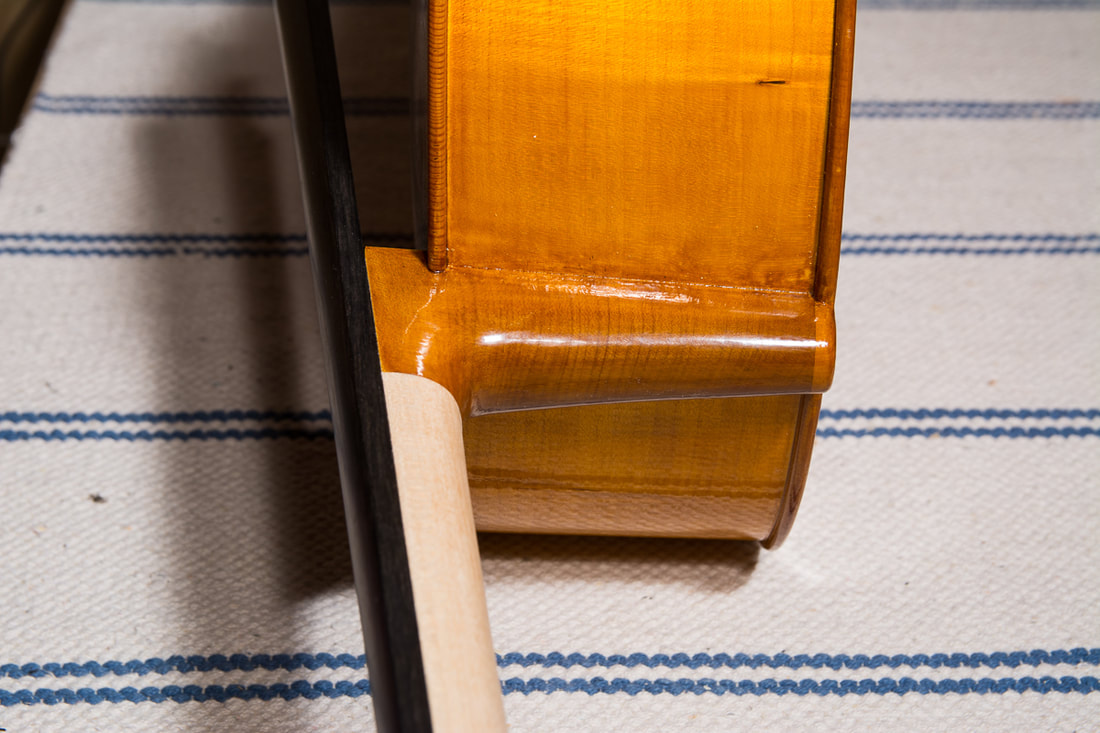
The neck still needs a finish. I faded out the earlier varnishing first with a scraper and then with some sandpaper . It was surprisingly difficult to get a nice long smooth transition. So I stopped trying. The varnish for the neck also has a little colour so I hope that improve the blend. Maybe the spirit will also help there.
0 Comments
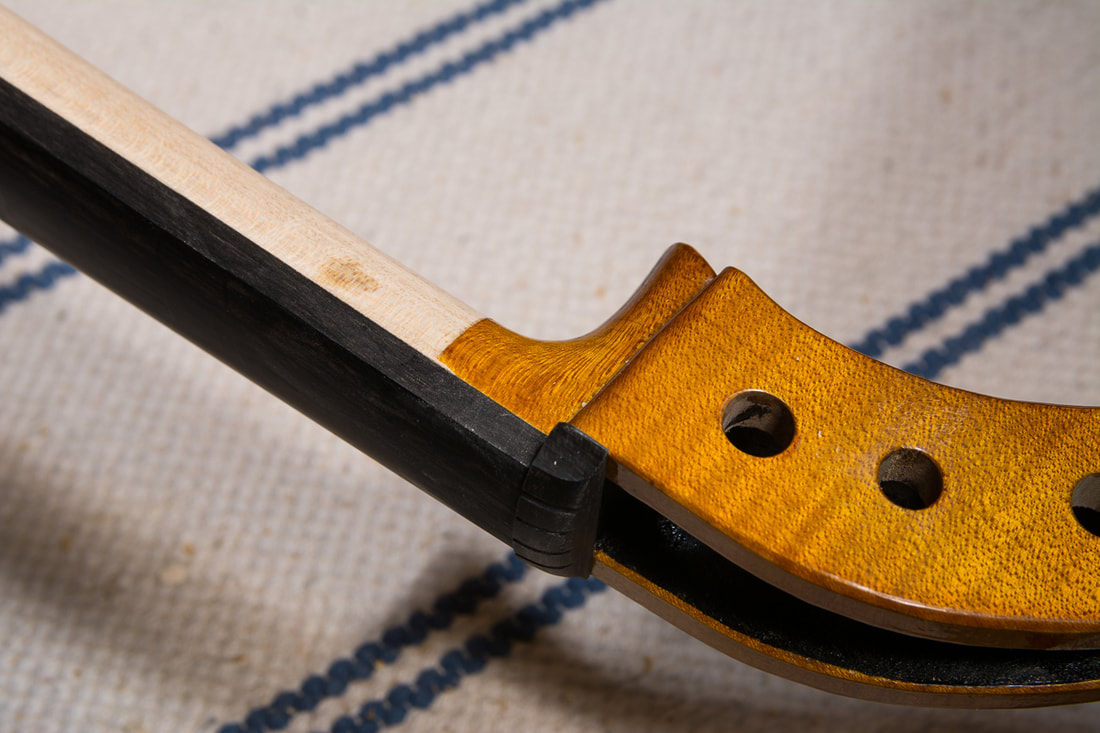
After the fingerboard I glued the nut on. I reduced it's height a little as the strings were too far from the fingerboard. That means that the player needs to push the strings stronger and further than necessary to get a good clean sound from the cello. 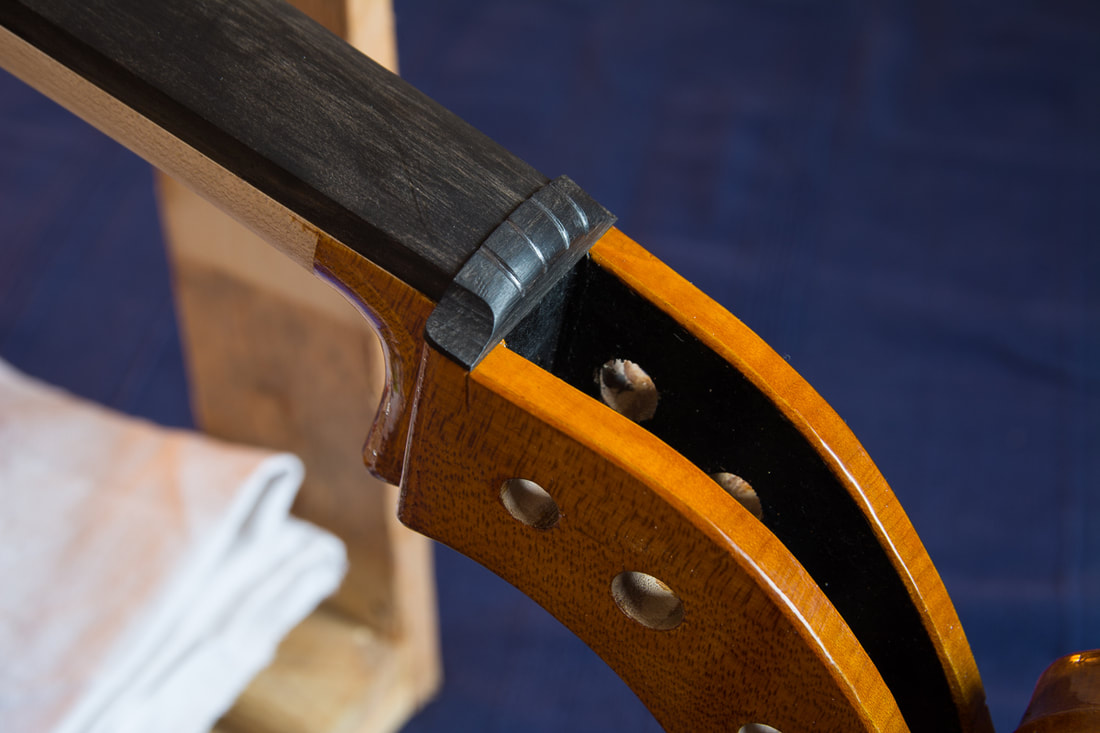 Time to put it all together again. First ip is the true fingerboard. During the varnishing a false fingerboard was glued on. I cleaned up both the neck and the fingerboard glueing surface an glued the two together using some thin glue. The fingerboard might have to come again at some point so the joint shouldn't be too strong. In principle I could also have glued on the upper nut but I thought I'l leave it for later in order not to mess up anything. Two weeks has gone and the last coat of varnish has dried the minimum recommended time! So I can start polishing. The final polishing is also done with rottenstone but this time using oil instead of water. I went through the whole instrument every once in a while adding some oil and rottenstone to a linen cloth. The polishing somewhat reduces the glassy shine of the varnish to a nice sheen.
Next I should re-glue the fingerboard in place and work on the varnishing of the neck I need to fade out the varnish before applying the finish there. My daughter has been in need of a night table for a while now. As I need to wait for the varnishing to dry on the cello I decided to tackle the night table now. I had many ideas in my mind when I accidentally came by furniture made by Seth Rolland. It was actually the video below by Fine Woodworking that introduced me to Seth. Some of the furniture is made out of one piece of wood with clever slicing to allow it to open up in a shape he wants. I used maple for the tabletop and ash for the legs. Each leg is a single piece of wood with slice cuts to allow the top of the leg to fan out and provide a very strong joint for each leg. I'm pretty happy with the result. Some of the joints could be tighter but it looks good as it so I didn't start fixing them. I painted the edges of the ff holes and the pegbox black. I think it looks really nice and gives a finished look to the instrument. While reading about this learned that doing this isn't as standard as I had thought. Some say that painting them black like this makes the instrument look cheap. One of these days I would like to have a really good look at some instruments by good luthiers. I haven't seen all that many cellos until now. I have now mostly used my sons current cello as an example but for the next one I would like to have a nicer cello to take inspiration from. The surface looks good everywhere, my accidental touch left no trace. 10 layers of varnish will do! Now I should wait a couple of weeks to allow the varnish to harden before the final polishing can be done. That will be difficult.
This just might be the last layer! The instruction says to put at least 2-3 top coats. There are now three. I accidentally touched one spot after having varnished it. It could be the surface isn't quite as good there as elsewhere. On the other hand the surface will still be polished later. There are a total of 10 coats now. I suppose I will tomorrow check how good the surface now is and then decide how to continue. After the last layer of varnish, the varnish should dry for 2-4 weeks before the final polishing with rottenstone and oil. So the cello may just get finished this year still! The end is close. The top coats are going on quite easy. I don't have very good lighting in the room where I varnish. I have plenty of it but somehow not well. It is sometimes difficult for me to see where I have already varnished and how thick the new layer of varnish is. This time I think I put it on a little too thickly near the left ff-hole. The front has some nice grain structure and now in one spot it is almost disappearing due to the too thick a layer of varnish. I don't dare try to fix it anymore. I need to figure out a better lighting for the next time. I did the thumb check and since there was no fingerprint left anywhere I proceeded with the first layer of clear top coat. Nothing special here, I first went over the surface with rottenstone on a linen cloth, then cleaned that up, and put first a coat of varnish on the neck, then did the rest to avoid any issues in the corners. I am again confident in varnishing and that helps to get nice results. Once again, practice makes perfect (or at least better). |