|
I visited www.howviolins.fi today. I had contacted the keeper of the shop a little while back to see if I could buy some wood for the next cello as I had forgotten to order the blocks and the linings when I bought the rest of the wood for Cello #2. I also asked if he would have a moment to give some feedback on this first cello I built so that I could learn from my mistakes and improve on the next one.
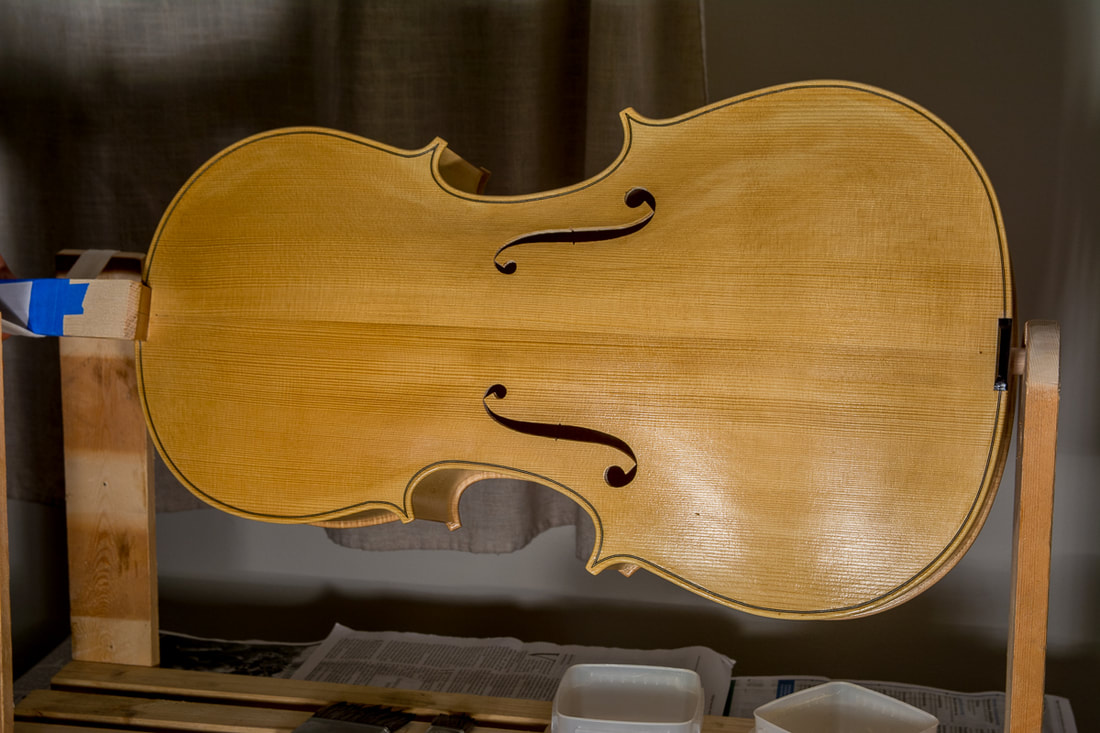
It was a pleasure to meet Guy and spend a little time with him in his shop. He gave me honest and critical feedback on the cello. He had quite a lot to say. The neck is too large/thick and doesn't quite have the right shape, the ff-holes could be larger, the arching is not consistent, the fingerboard is curved the wrong way, the sound post is all wonky... But it was not all gloom and doom. I had done many things fairly well, and he commented that is a good effort for my first instrument. That was of course nice to hear. He had 4 concrete things which could still be improved on this cello to get the most out of it. The sound post should be set properly, the bridge could be improved (though he did say that it was actually pretty good already) and the curvature of the fingerboard should be fixed and the neck needed working. I think I will attempt some of these myself. I will try to do the fingerboard. I knew already that it should be a little hollow. It had made it straight, and at the time I was too afraid to mess it up so I left it straight. It has now apparently curved the wrong way. This can cause a buzzing sound when the strings do not have enough clearance from the fingerboard. I think I will also work on the sound post. Other than being crooked it was also too tight. It will be a good exercise to try to properly fit the sound post. I maybe lost my patience last time. It is not all that easy to put the sound post in and out and know what to do with it to get a good fit. I probably gave up a too early. My plan is now to do those 2 things and then take it back to Guy and let him finish it off. I want to give it a try myself as I want to learn this stuff, but I also want to get the best sound out of the cello.
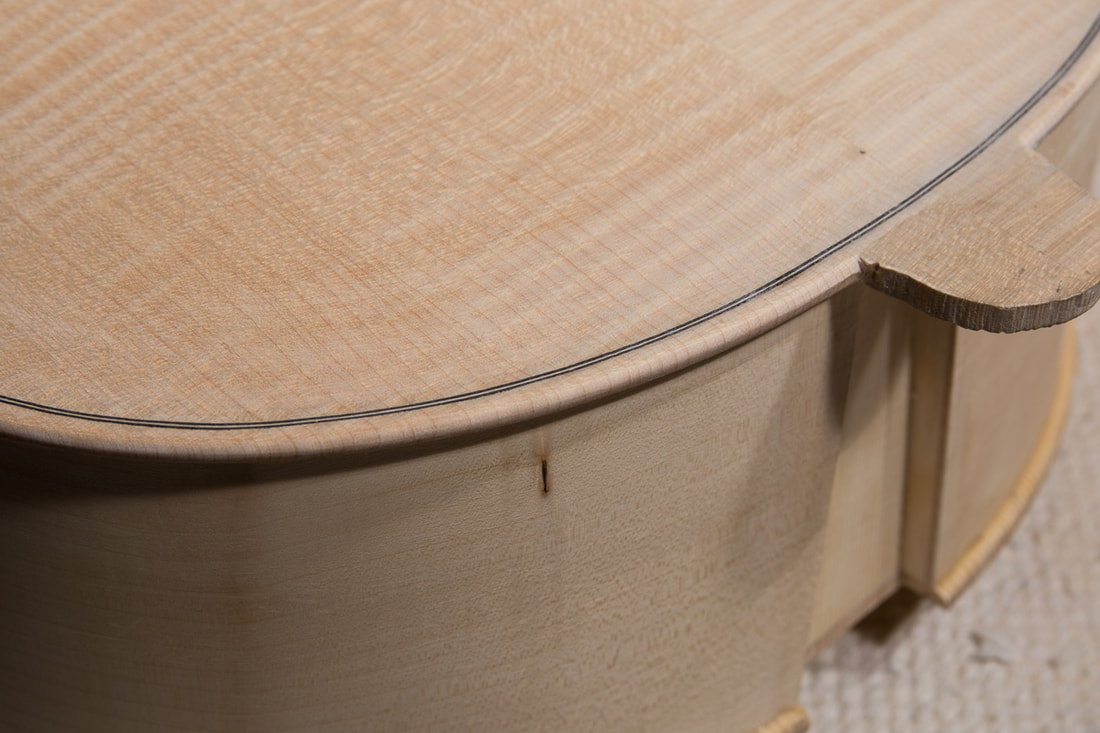
0 Comments
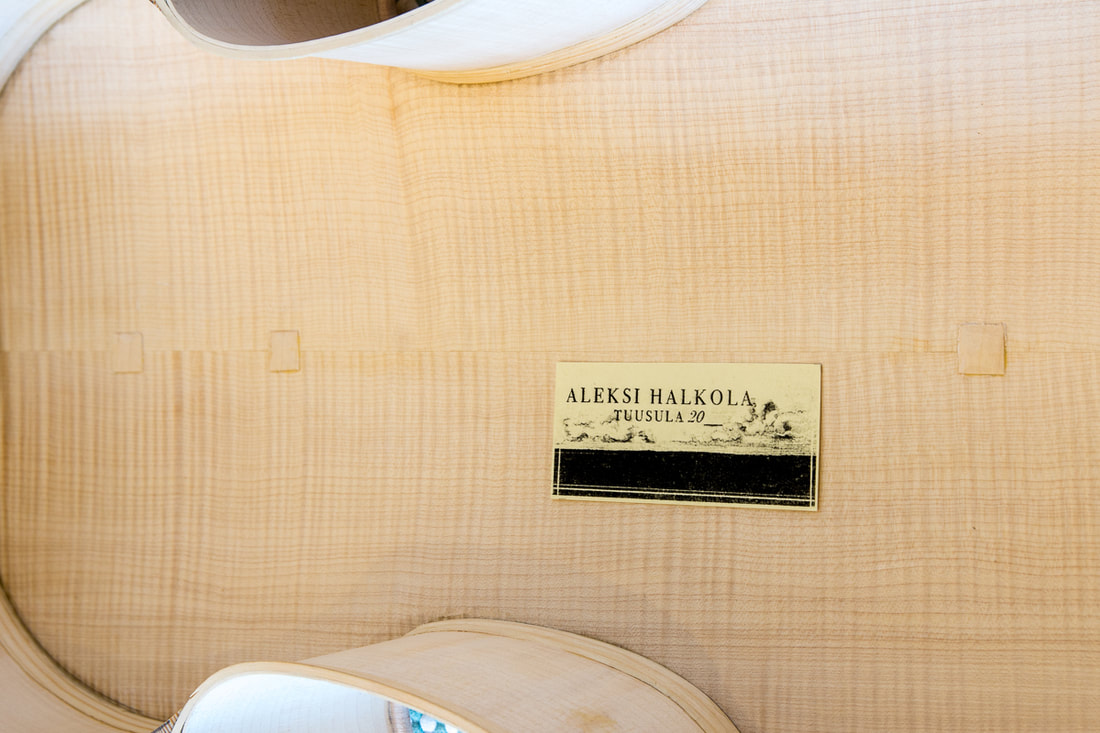
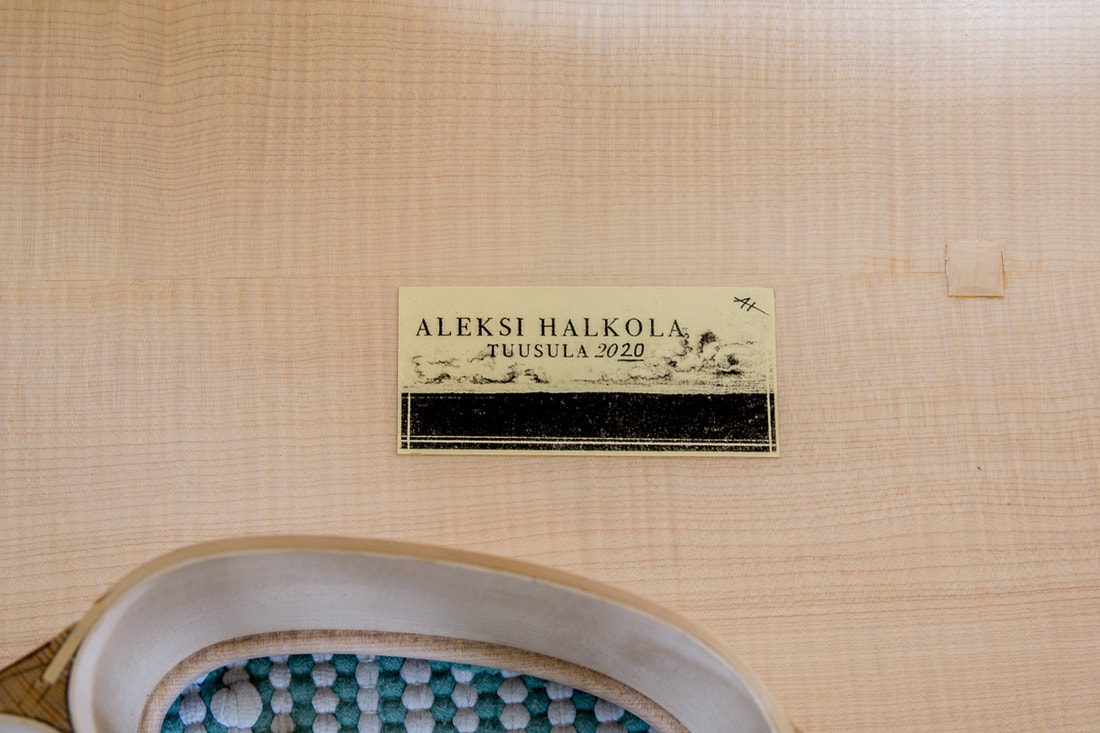
The first layer of primer needed to dry 12 hours. Before putting the second layer on, I sanded the whole cello with the included sandpaper (400 grit). The second layer went on pretty well. But it does dry very quickly and trying to correct anything later on is not possible. Luckily I didn't need to, I just noticed that very shortly the varnish is a sticky film and should be left alone. Already the first layers of varnish have made the surface nice and shiny which really bring out the nice flaming of the back. The front has a little uneven colour. I think it was a bit visible already before, but I couldn't get rid of it. I hope the coloured varnish will hide the imperfections. Before the first coloured layer can go on, I need to smoothen the surface with rottenstone powder and water first. Today I wanted to get both the body and the neck more refined before glueing them together. I had already rounded out the corner of the edges towards the ribs. Now I did the outer edge. The idea is to first make a bevel with a shallow angle, followed up with a second one with a steeper angle and then smooth the bevels with some sand paper. At first I wondered why it is done this way but I think I realised it while doing it. Making a bevel is pretty straightforward, and if the lights are correctly set one sees very clearly the flat bevel created. It is then quite easy to make sure that both the bevel angle and the width of the bevel stays constant. After having done the back and front edges I started also refining the neck. I sawed off some extra material from the heel and also started shaping. Today I finally glued the label in. I hope I really can finish the cello this year. I really like the label and think it is a perfect match for the cello. I needed to also reduce the thickness of the back further. Especially in the bouts. Since I had already glued the ribs on the back this was a little more complicated than the back. I constructed a measurement device using my drill press. I could attach a digital caliper instead of drill to the press and using a pin on the bottom I could measure the thickness of the plate. The bouts were about 5 mm thick. To mark the desired depth I put the drill on the press with a drill bit. I didn't actually drill but by setting the depth and using the tip of a brad point bit I could mark how much material to remove. I didn't actually drill, just pressed the bit agains the back. After having marked the depth, I used my small plane and a scraper to thin out the bouts. I finally had the courage to glue the back on the ribs. I took my bright halogen lights to help with the glueing. Less for the light and more for the heat that they generate. The glueing area is pretty large and the heat from the lights hopefully allow me to work without a hurry. I also used a hairdryer to warm up the glueing surfaces. I first spread glue on all the blocks, let the block suck the glue and then I applied some more glue on the blocks. I then clamped the upper and lower blocks and the corner blocks. After that I used a knife to open and spread the glue on the linings a little at a time and clamped as I went. After I had all the surfaces glued up, I took one or two clamps off at a time and cleanup excess glue. There wasn't too much actually and I think I got it out well. There was some glue on the inside too so when I glue the front I need to be more careful since after the front is glued up I can't access the inside any more. The experience was a lot less scary than I had expected. I think the lights really helped. The three parts for the body area ready to be glued up! The front and back plates are as ready as I will get the now. I hope they are good enough. I haven't done proper tuning of the tap tones. I tried holding on various places and tap and other places but I've had trouble making much sense of all that. And I am concerned that if I now remove material from either plate, I might remove too much from a wrong place I will now glue it all up and wait until the whole thing is ready before returning to it. If anything I think the top has a higher note so maybe I need to reduce the thickness of the front plate, or of the bass bar. But that can also be done later as the top should come off fairly easily. So I will now finish what I can, and once setting up the cello with a luthier I can get feedback on the general sound of the cello and maybe advice on how to fix it. 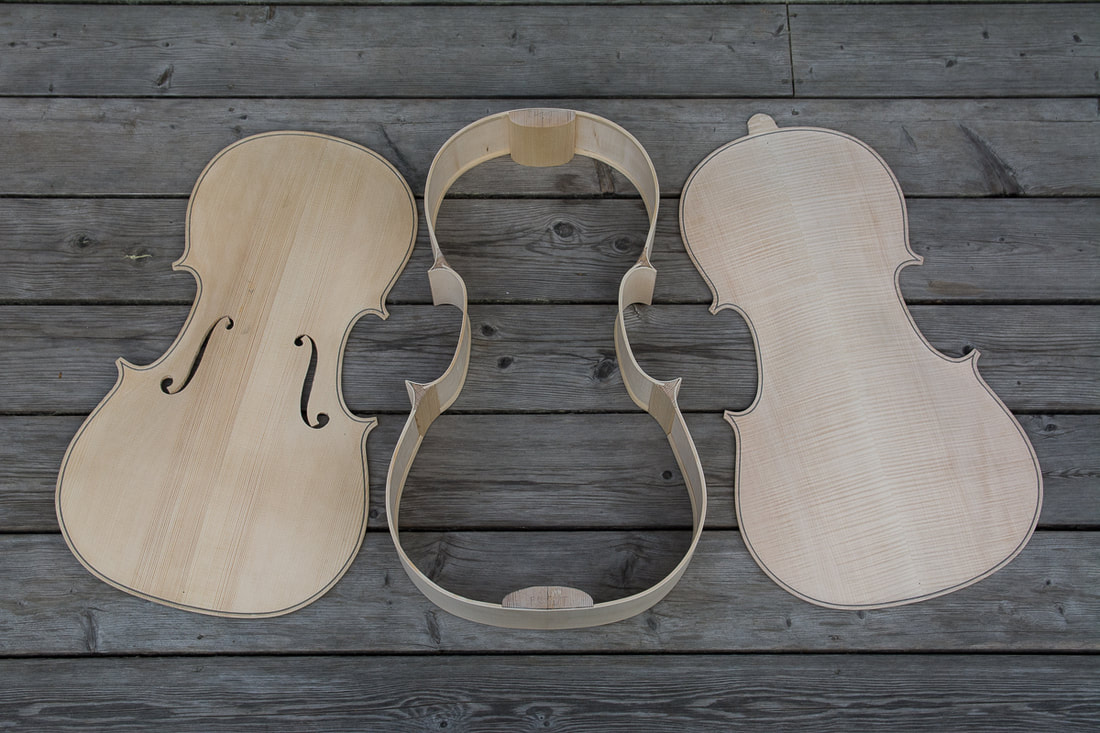 I think I might be there with the graduation. The thicknesses are now in the right ball park to where they should be. Getting better is maybe out of my reach for now. I don't want to build a system to measure the Chladni patterns. And anyways I don't really know what I should do to change the patterns. I have also had some trouble measuring the tap tones. Maybe I'll post some of the spectra I have measured. I maybe don't quite know the right position where to hole not where to tap. So I maybe see is mixture of frequencies of all sort of modes. The final step for the front would be to add the bass bar. Then I think I would be ready to glue it up. I now think that I will be put it all together and once I am sort of ready I maybe try to find a luthier with whom I could set up the cello. If I then need to open up the body and adjust the plate thicknesses then maybe it is not too bad. Had a good day today. I have now graduated the back close to where I think it should be. Hopefully still a little on the thick side. I had a couple of millimetres to remove so I did go to back to my trusty finger plane. The graduation punch and the finger plane together worked really well. In the end I used the pencil gauge and a scraper to even things out and slowly near the desired thickness.
I didn't do too much today. I started with the graduation of the back. I retraced the contours roughly from the template once more and used the graduation punch to prick to indicated depth + 1-2 mm. I then scraped the surface mostly clean. The thickness region (7 mm) is almost there already. Quite a bit to remove elsewhere still. I don't dare using anything more aggressive than a scraper. But a sharp scraper is amazingly effective, and there is no worry of tear out. 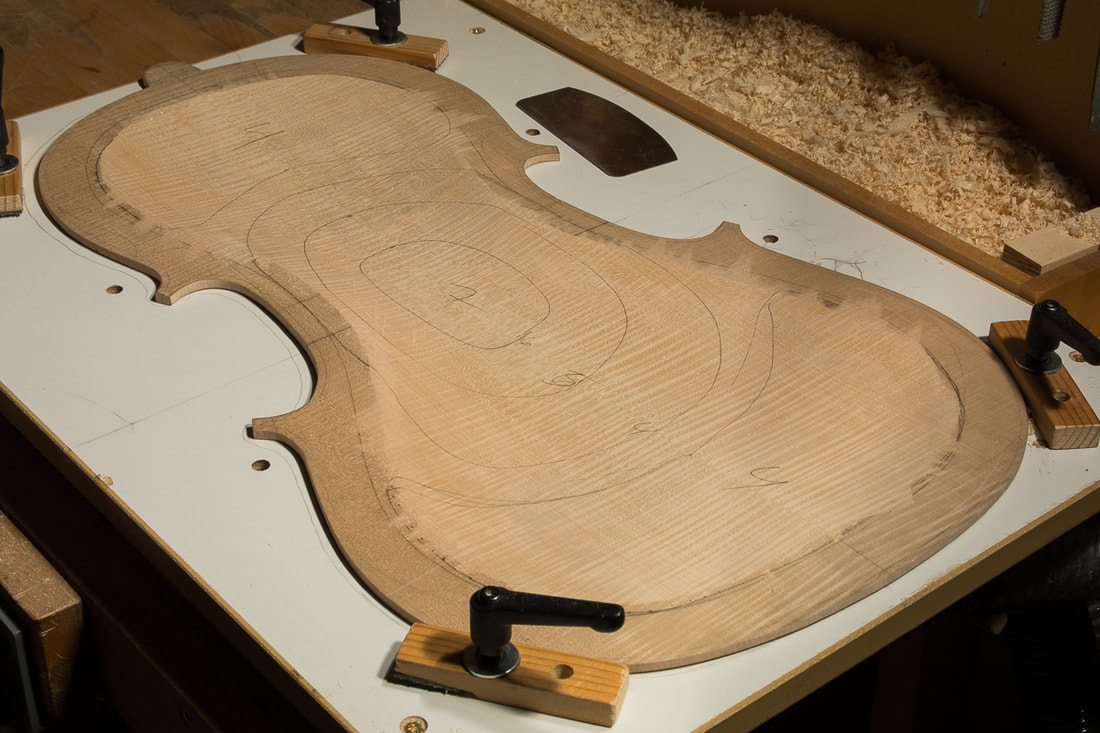 |