|
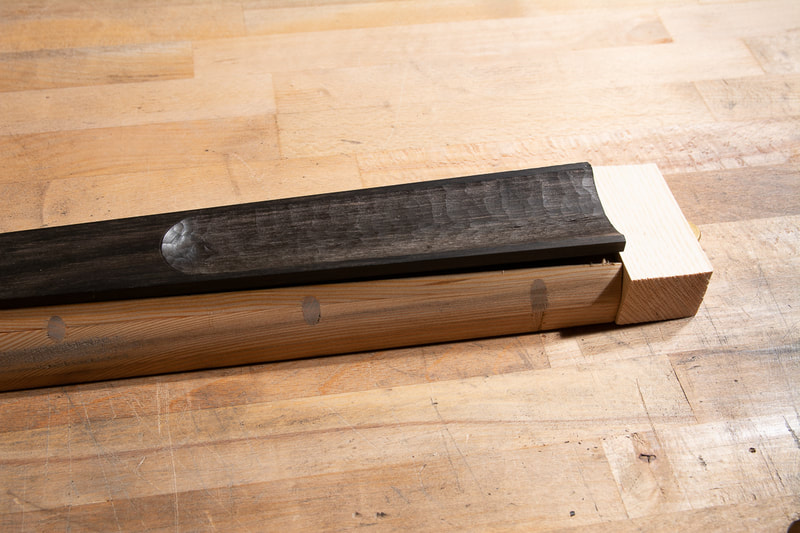
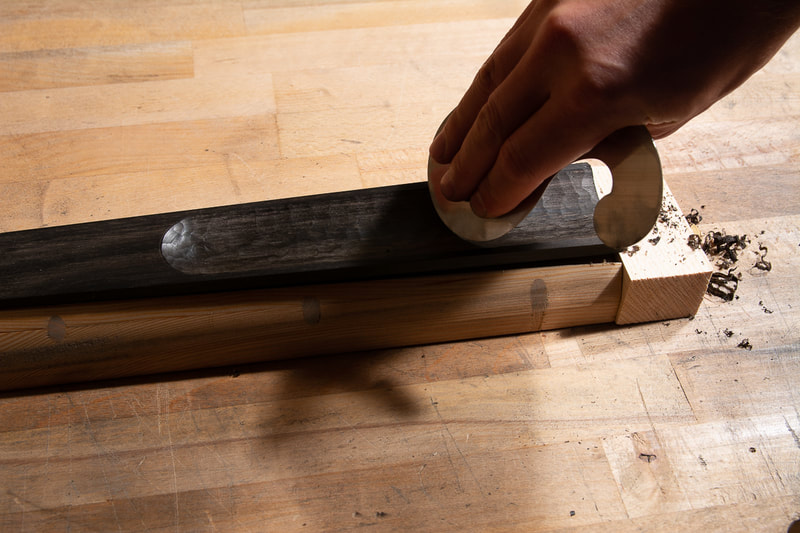
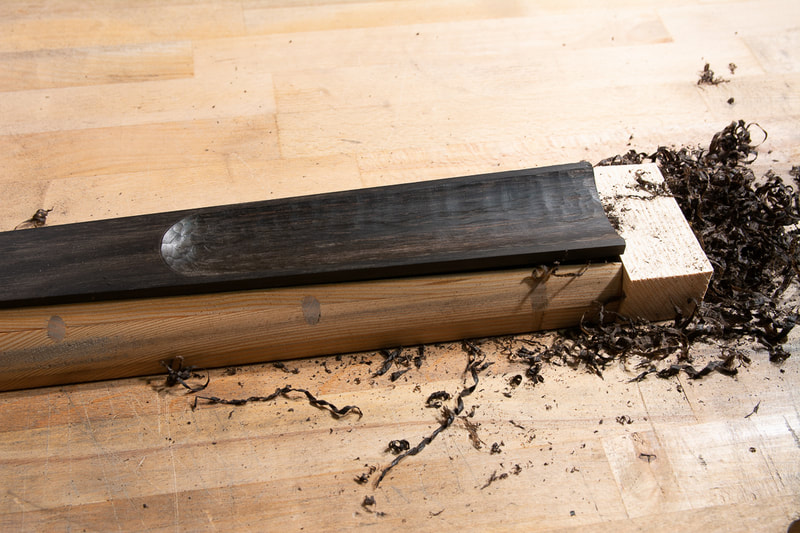
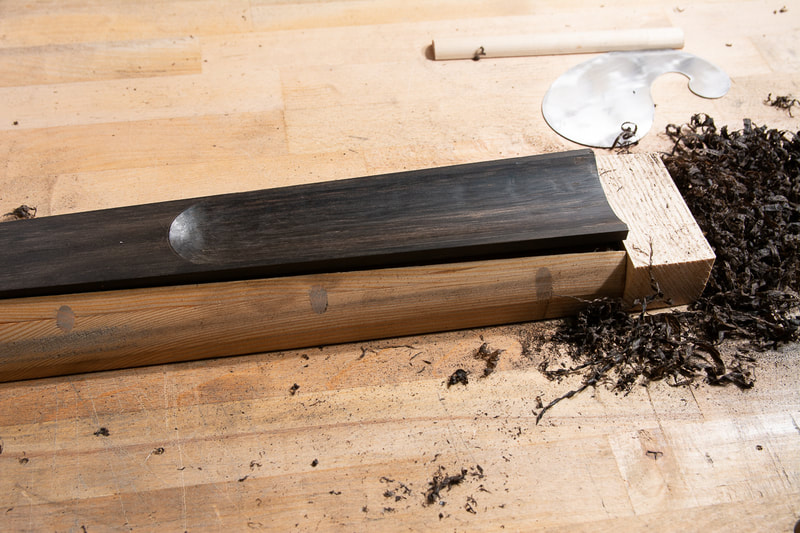
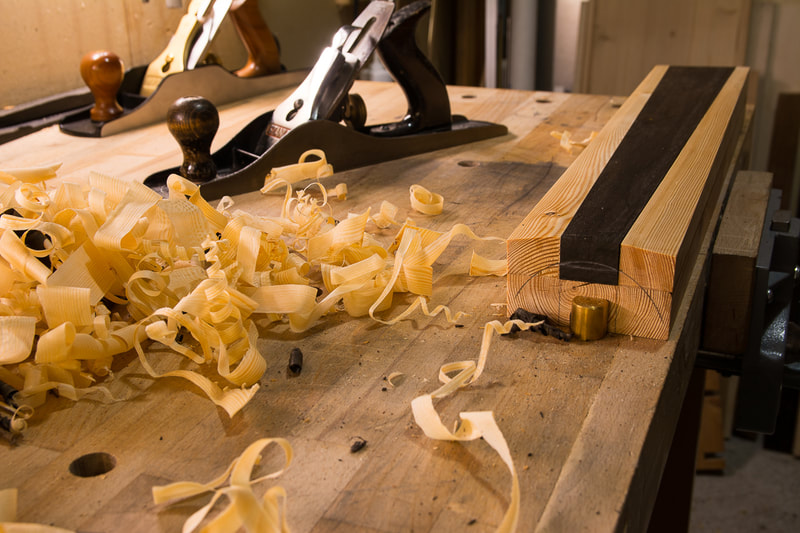
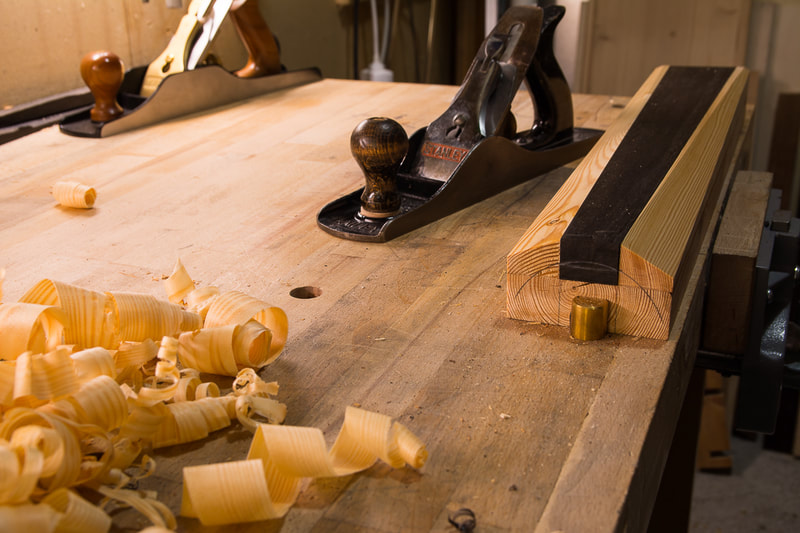
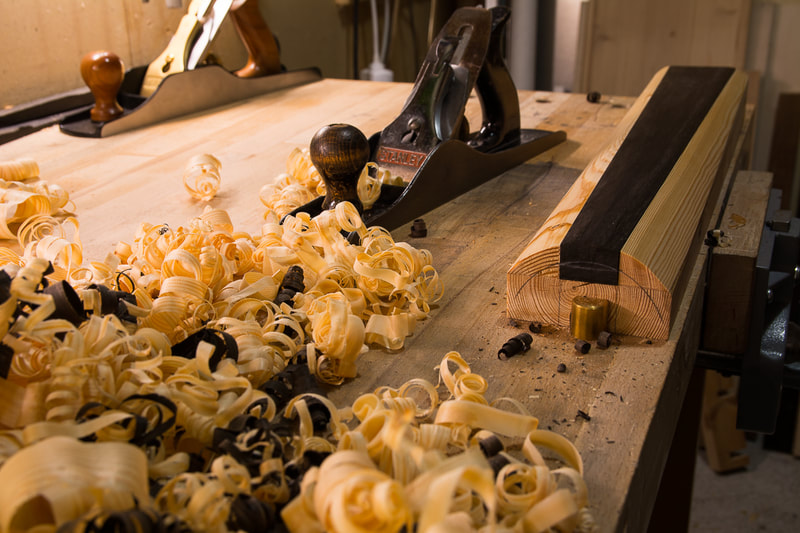
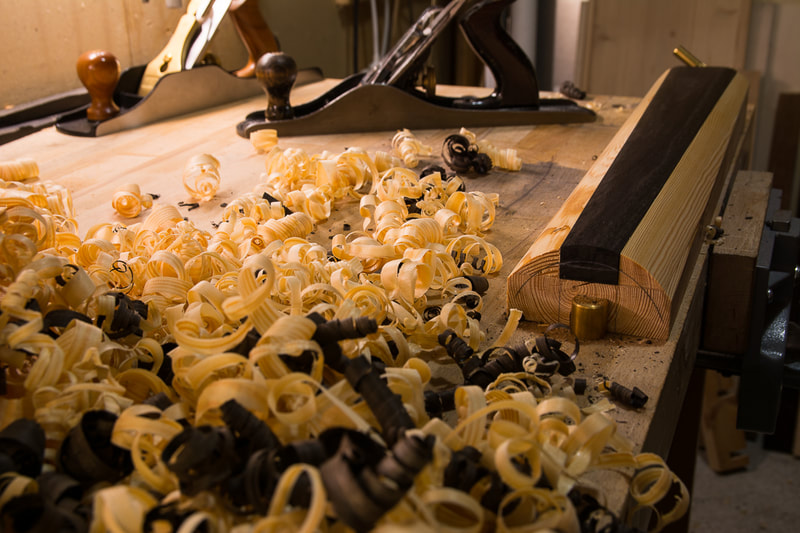
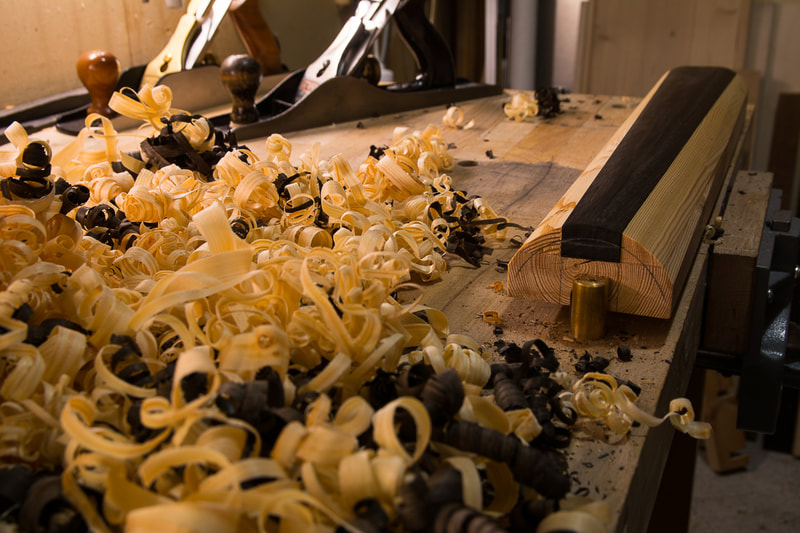
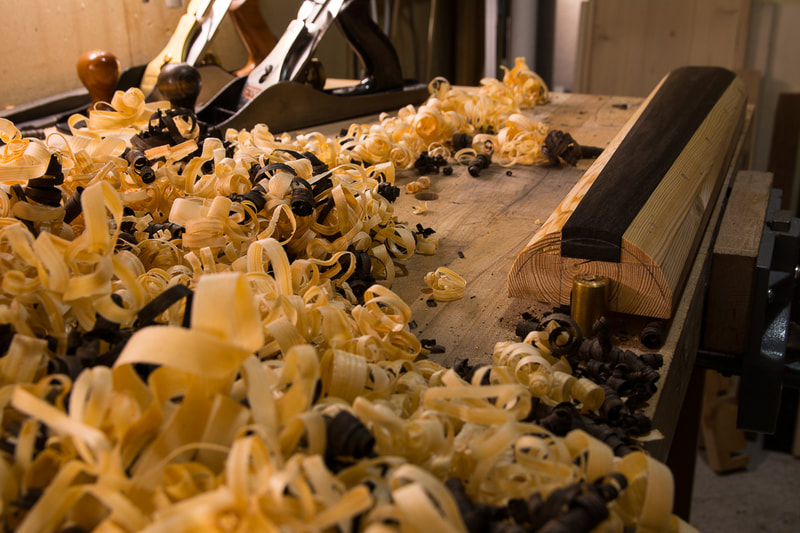
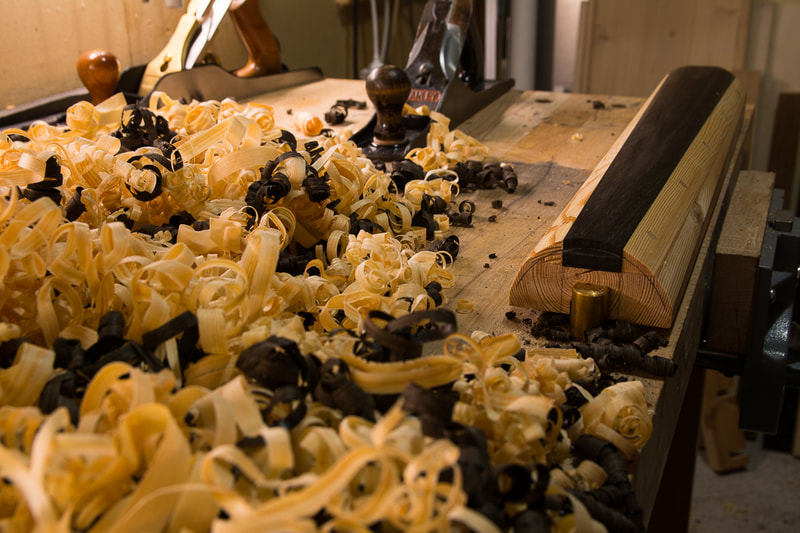
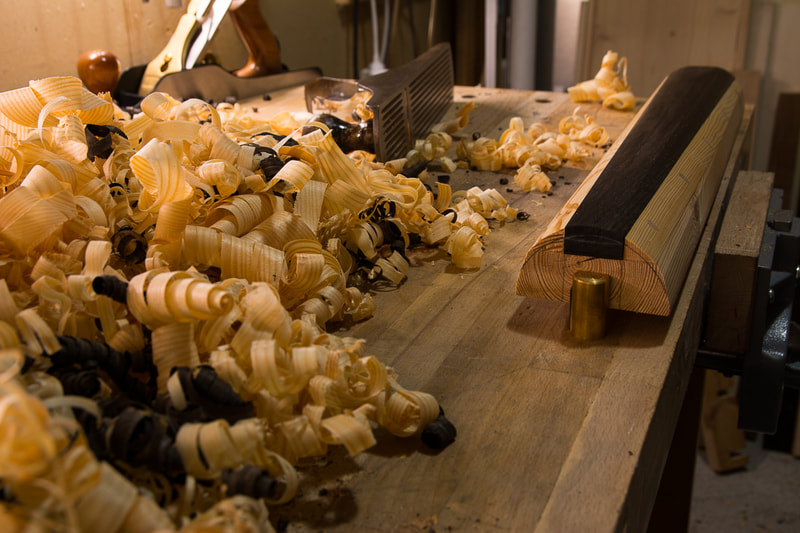
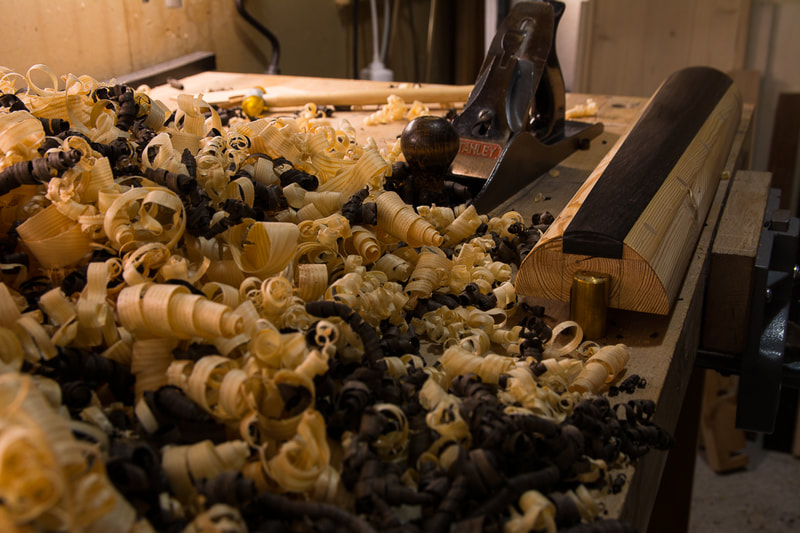
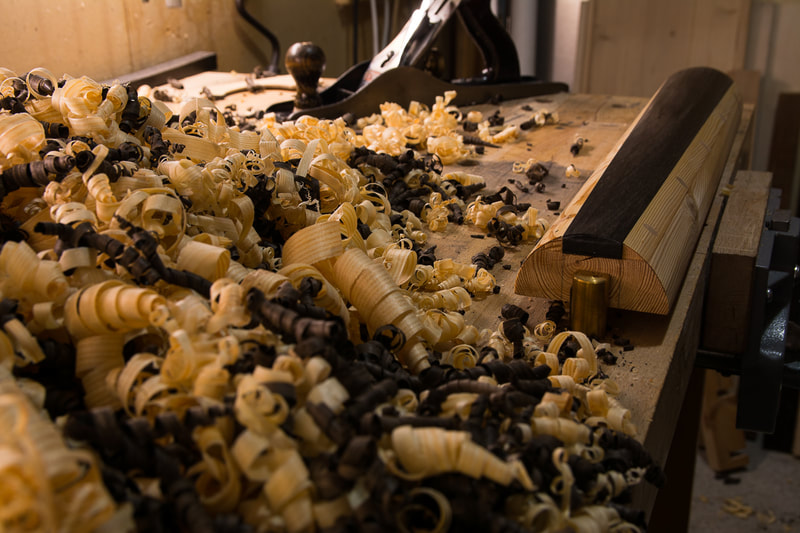
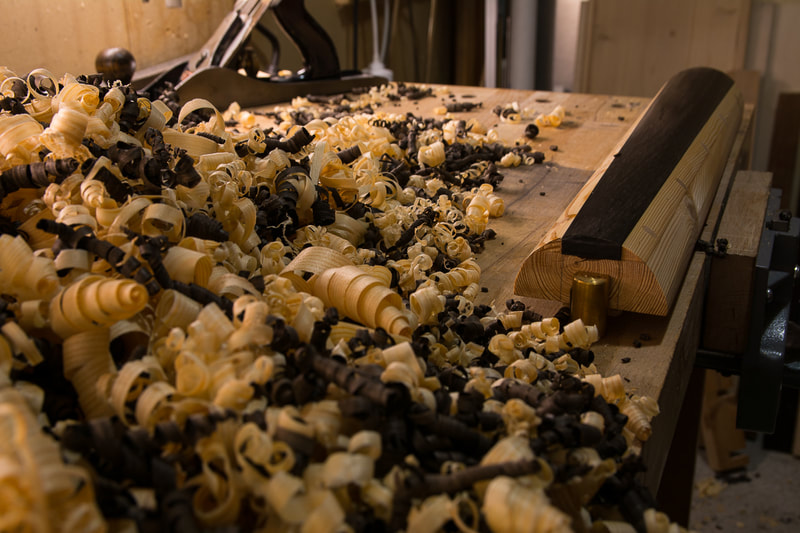
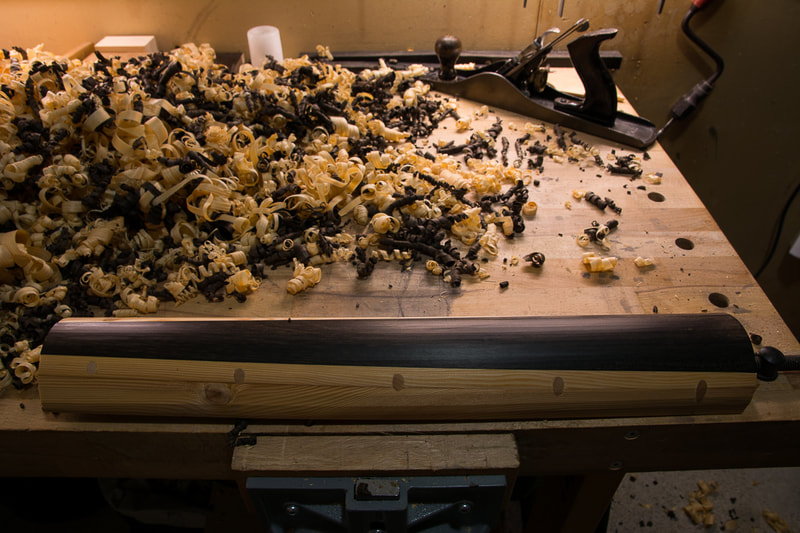
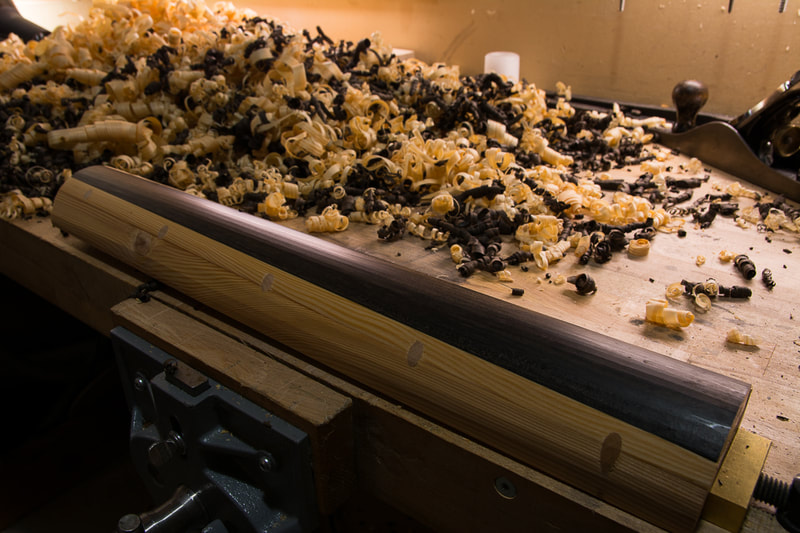
I am done with the fingerboard, for now. I did the hollowing out on the back side. Mostly with gouges. I started going length wise and when I was pretty close it was easier to across the grain. I was surprised how easy it was to work with ebony. Of course the gouges need to be sharp. After the gouge I used a scraper to get a smooth finish. That again was a pleasure. One doesn't notice the grain of the ebony at all and one gets these nice shavings. Wonderful! Next I need to work on the neck again and then it is time to fit the neck on the body. After I have glued the label inside and the top on the sides. Exciting!
0 Comments
I haven't been able to make much progress recently. I don't have any good excuse, I just haven't taken the time to do anything.
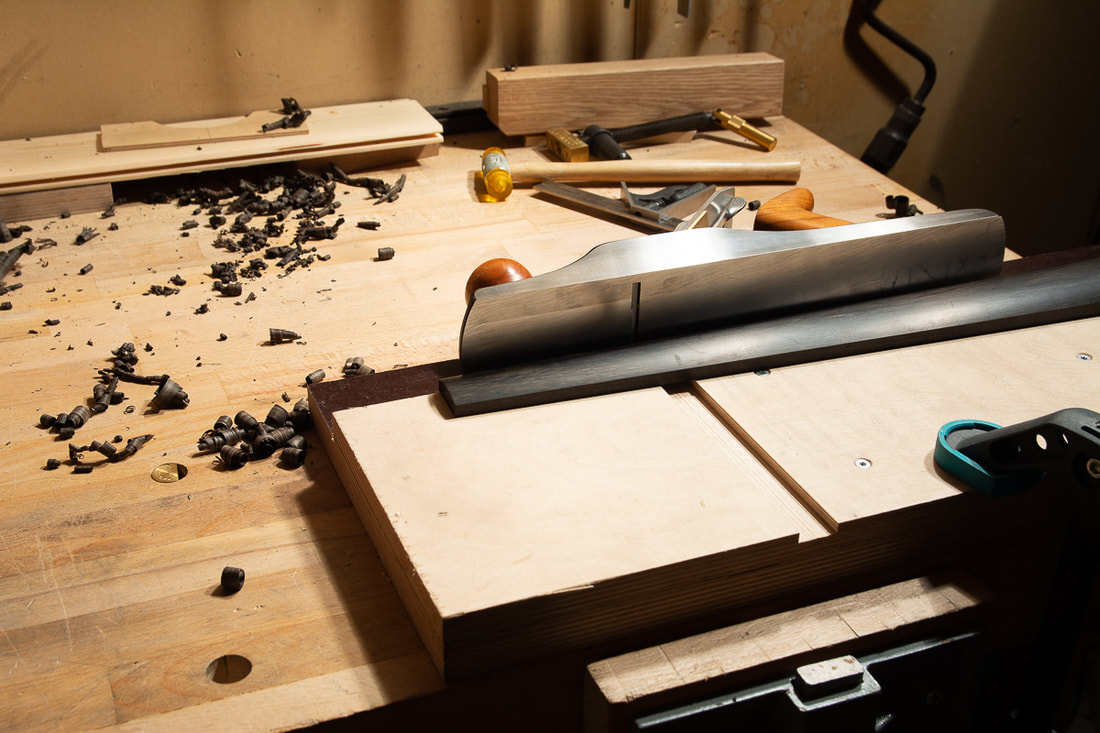
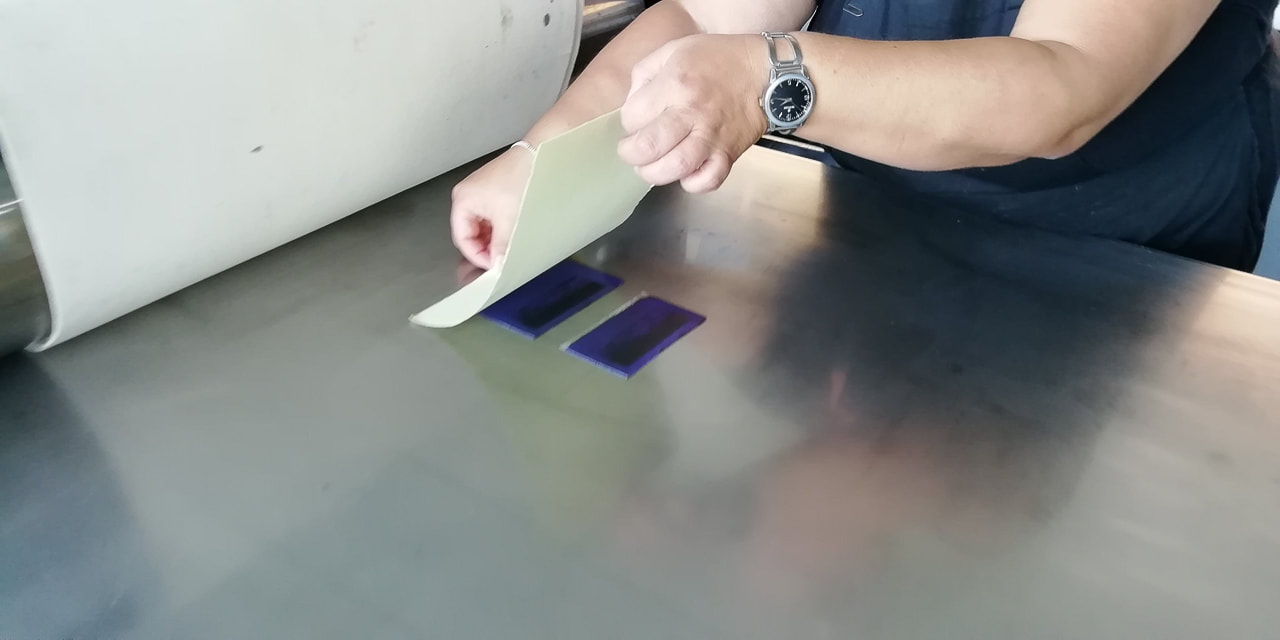
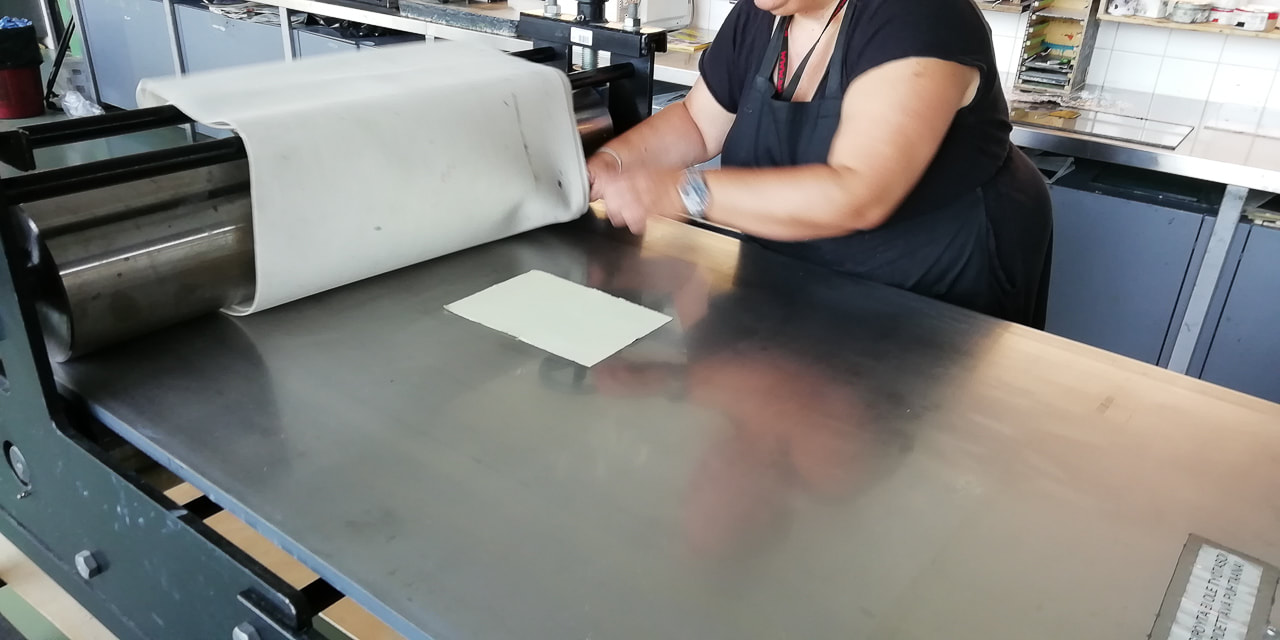
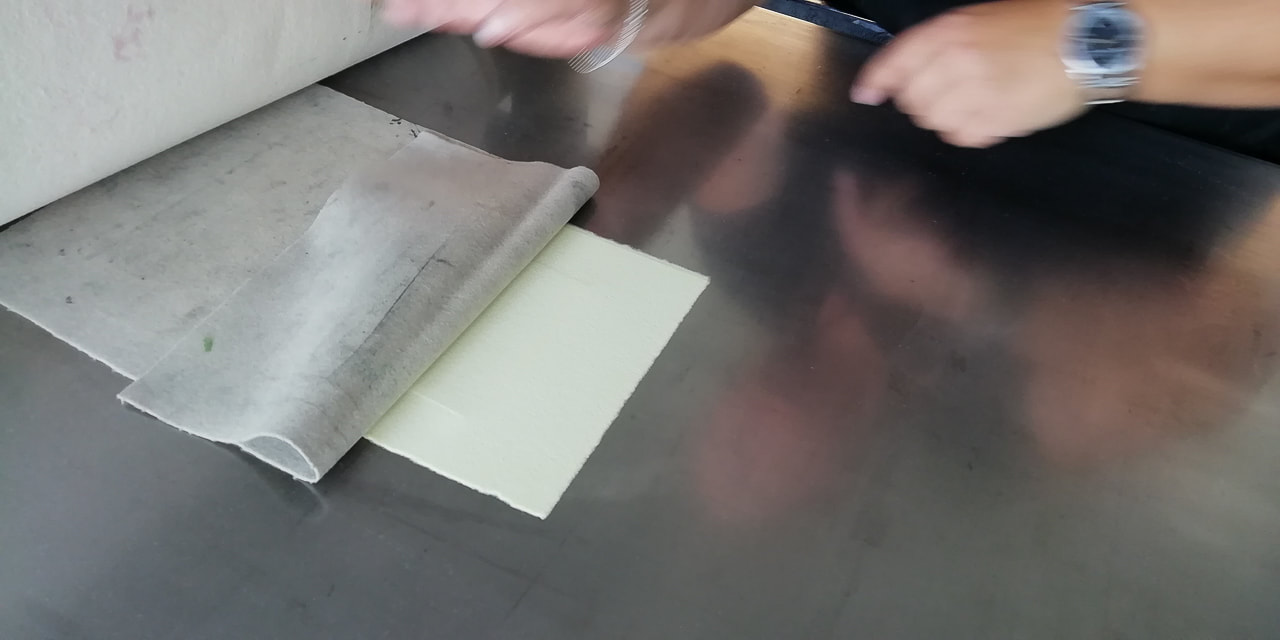
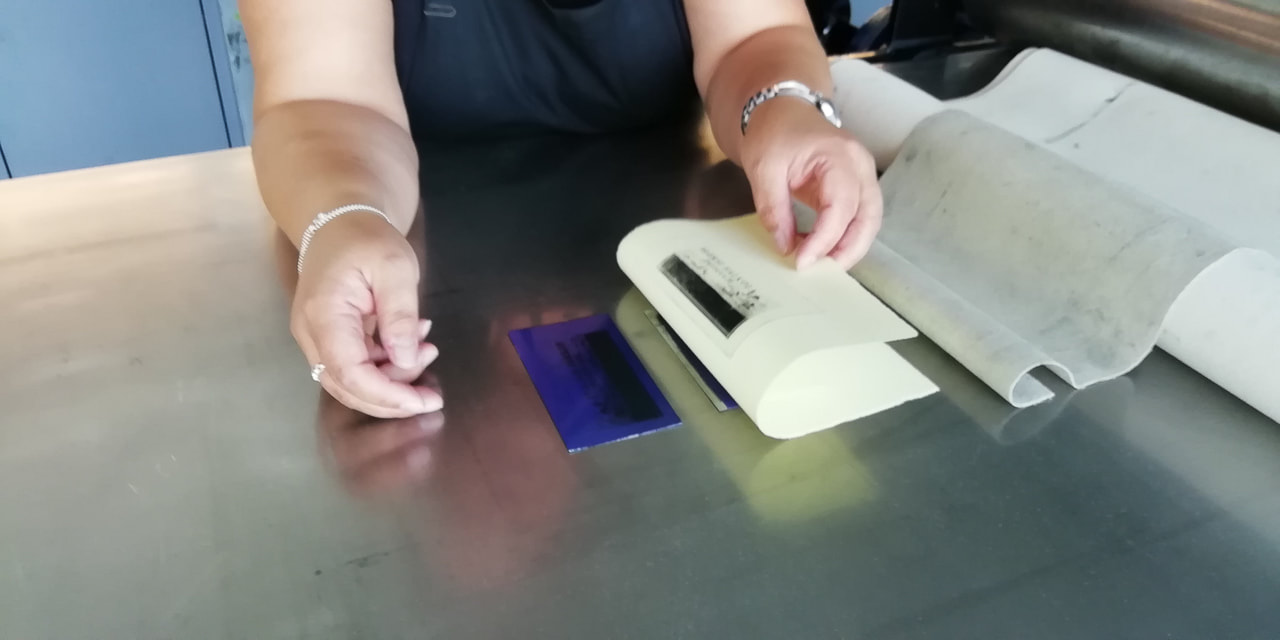
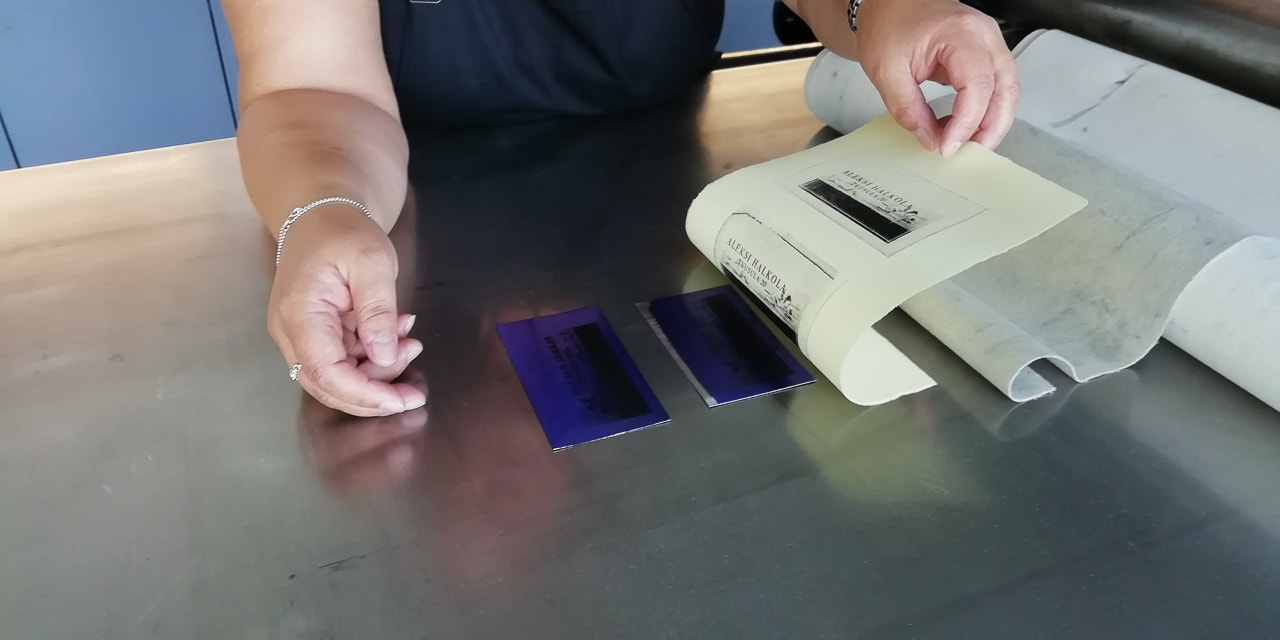
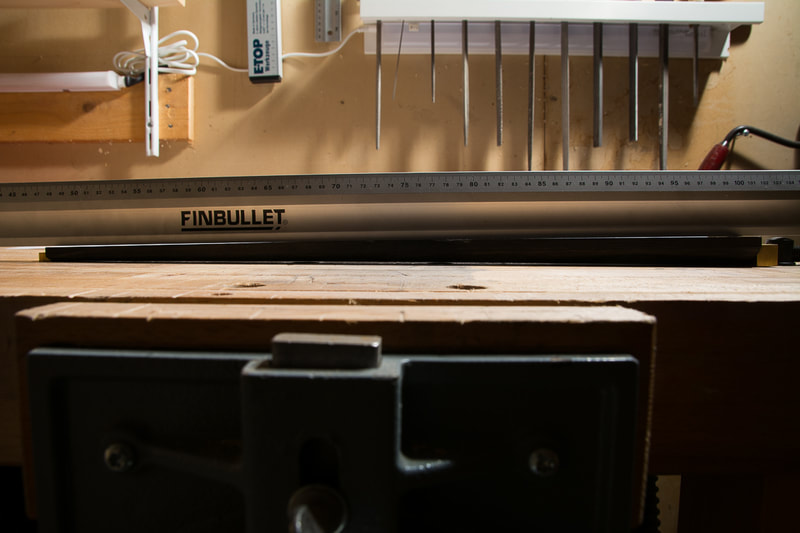
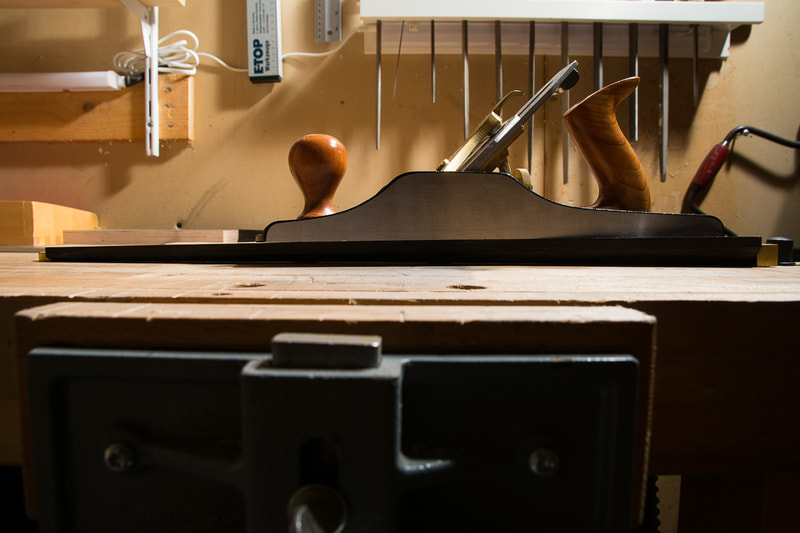
Today I planed the fingerboard to final width.I used my shooting board for that to ensure that the sides are perpendicular to the bottom. The sides were more or less the correct thickness before I reduced the width. It is surprising how much thicker the sides are now that I took a bit off. Need to work on the top surface again. After that I need to also create the hollow on the under-side. Each instrument should have the maker's label inside. My first idea was to design the label myself but then I thought I would like to make the label also special. I contacted artist Laura Miettinen (www.lauramiettinen.net) and commissioned her to design and print the label for me. I visited her last week and had the pleasure of seeing the first test prints being made. It was great! The label is so beautiful and I like the idea that there is a little piece of art inside the cello. She will print 10 labels for me, they should last me a while!
The bottom of the fingerboard wasn't flat any more. At first I thought this would be because the piece of ebony had been in the holding jig for a long time and wasn't in contact with air from all sides any more. Maybe the moisture from the jig or something would have caused the bend in the fingerboard. So I allowed it to breath freely for a week no change. I have reduced material from the fingerboard very non-uniformly so maybe the change in shape has to do with relieved internal stresses in the wood. As a result I decided to reflatten the bottom. So far it has kept the new shape well.
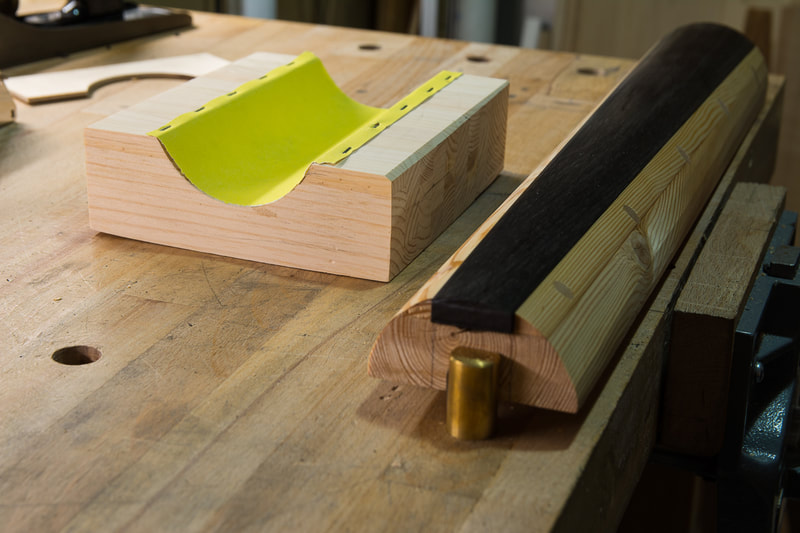
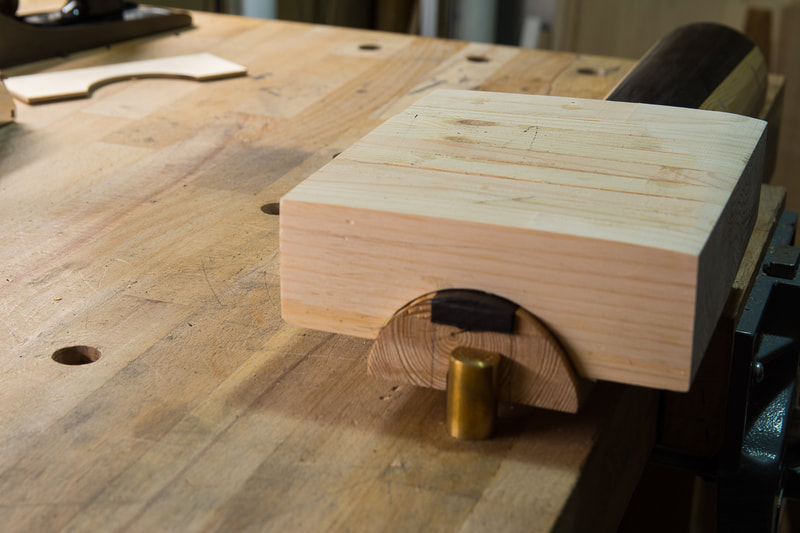
I tried out the sanding block I made for the fingerboard the other day. It has the intended curvature of the fingerboard top and should fit nicely on top of the jig. Works great! It is a shame to sand the super smooth surface from the plane but it is just impossible to get a nice even curvature with the straight plane iron.
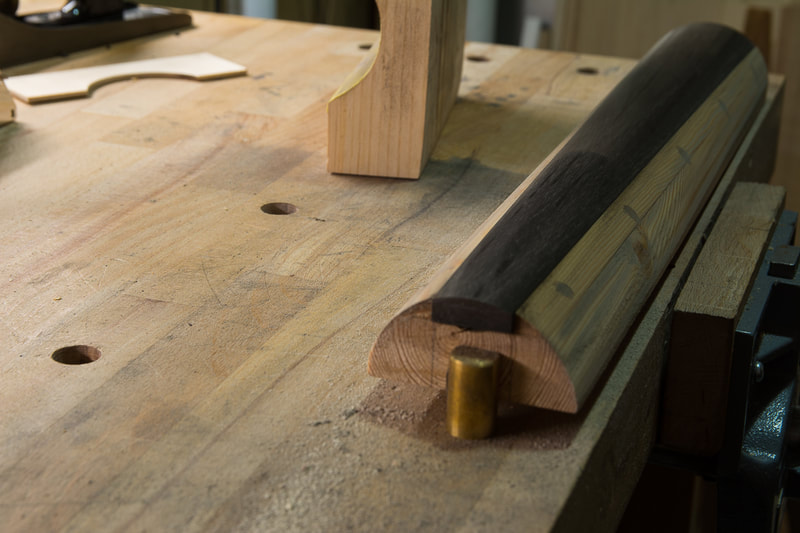
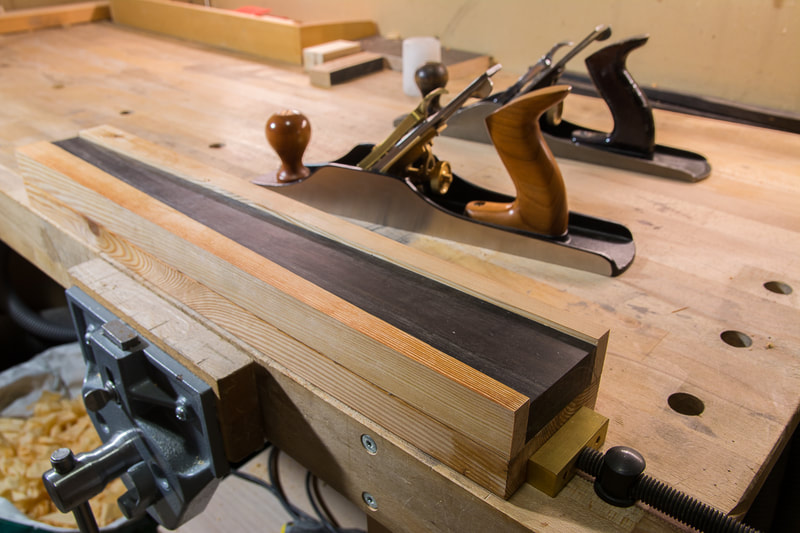
Finally some real progress again. I had cut the fingerboard to approximate width already which made it a little difficult to plane the top surface to the correct curvature. So I decided to build a jig to help hold the fingerboard while planing. It turned out great and I think I would also next time do it this way. The fingerboard is still a little too thick, but it is pretty close to final thickness. I'll reduce it by 1 or 2 mm still.
I have been wondering about the geometry of the fingerboard. The curvature of the fingerboard is constant along it's length, basically the surface of a cylinder. If the edge has constant thickness, as is usual, there must be some scoop along the length of the fingerboard. Instead of a cylinder the the top is the surface of a bent tube or a banana. MJ Kwan has a nice post about the fingerboard geometry on her blog, fingerboard-geometry. I've been wanting to get some feedback on the cello from somebody who knows about these things for a while now. Firstly to decide some important measurements before I continue with the neck, secondly to see if I need to modify the plates etc. before I close the body. I finally managed to find somebody, Pekka Untamala. He is not a cello builder himself but has great experience is repairing and setting up instruments. I spent almost an hour with him going through a 1/2 cello he has and looking at my cello. He also explained many things related to the various proportions of the neck and the fingerboard and the body and how they affect the playability. I am so thank for him for all his insights. Looks like I've so far managed to go mostly in the right direction. I will make the fingerboard a little narrower at the bridge end, about 56 mm. And maybe thin out the top plate at the edges. But other than that, things look promising!
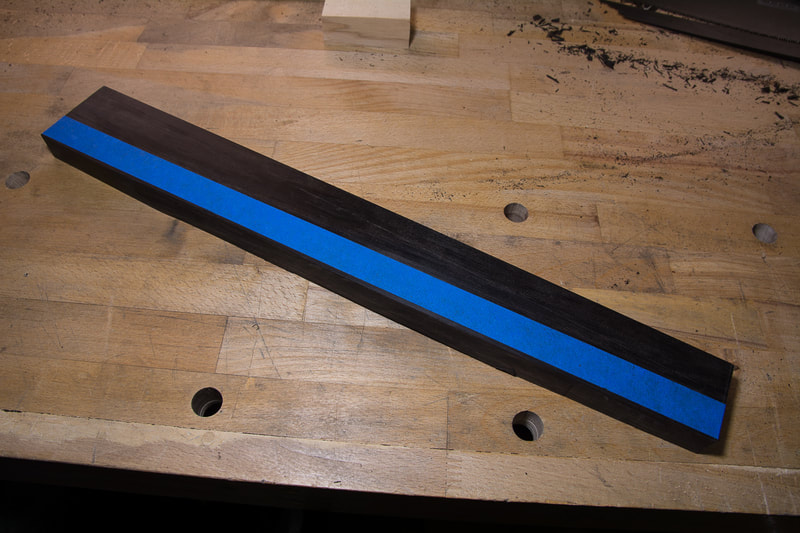
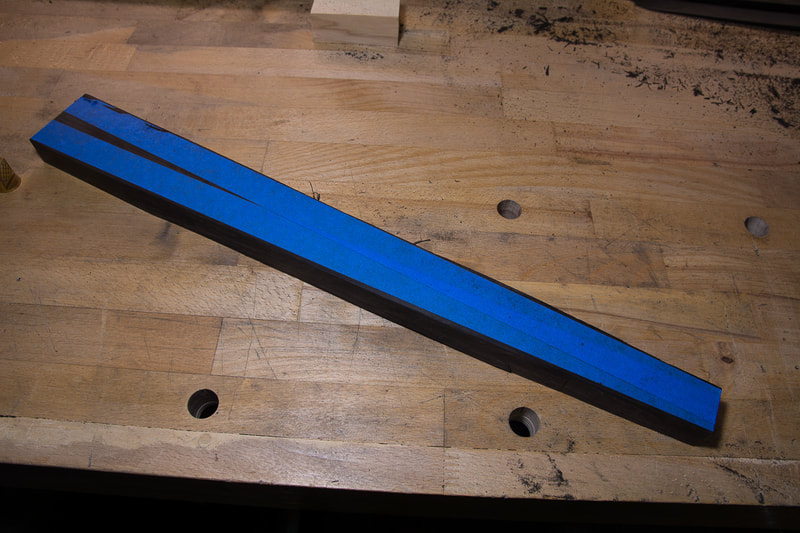
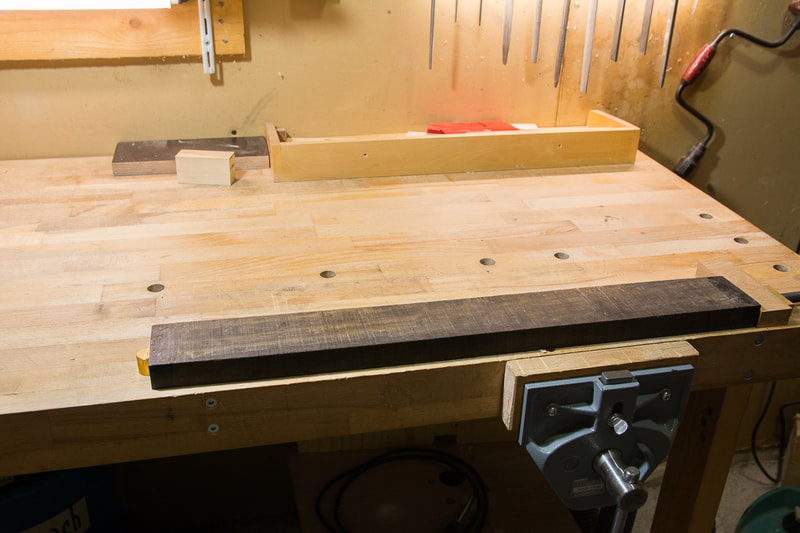
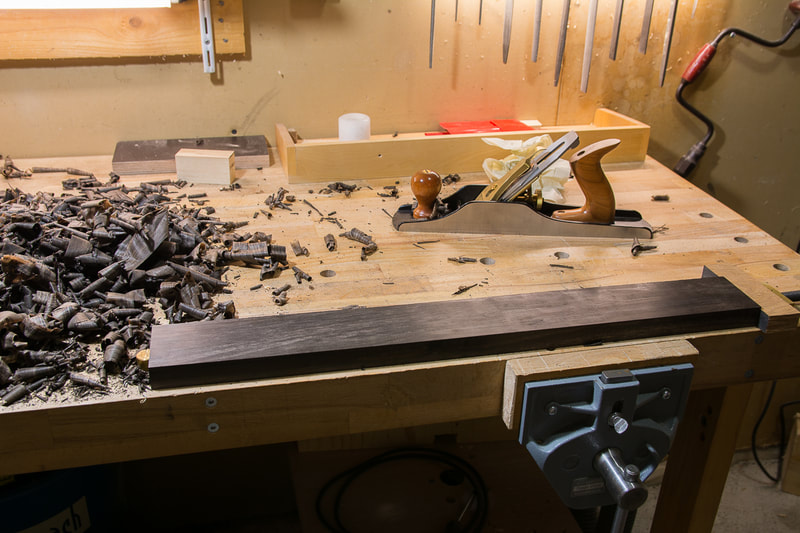
I decided to go forward with the chosen dimensions I wrote about last time. Today I marked the lines on the piece of ebony and used a saw and a plane to get to ~1 mm from the line. The blue tapes are there just to mark the lines as both knife and pencil lines are difficult to see on the dark wood.
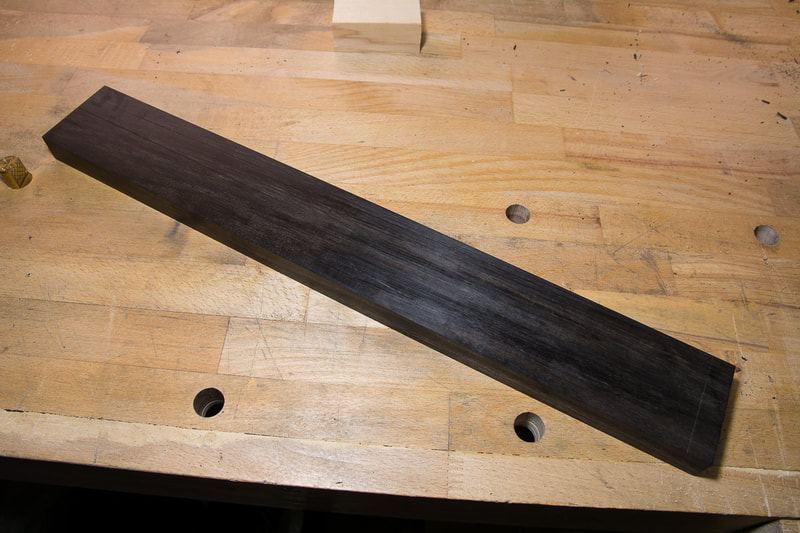
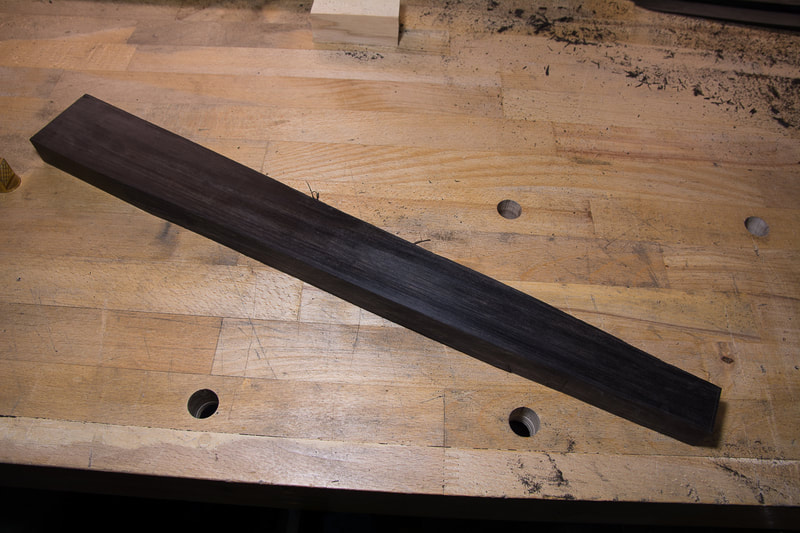
The fingerboard is made of ebony. I have never worked with ebony before. It is very heavy and hard wood. I had decided to make the fingerboard from scratch. It is usual to start with a prepared blank which is almost ready. I couldn't find 1/2 fingerboard and also wasn't quite sure at the time which size I would need it to be so I bought a block of wood for the job.
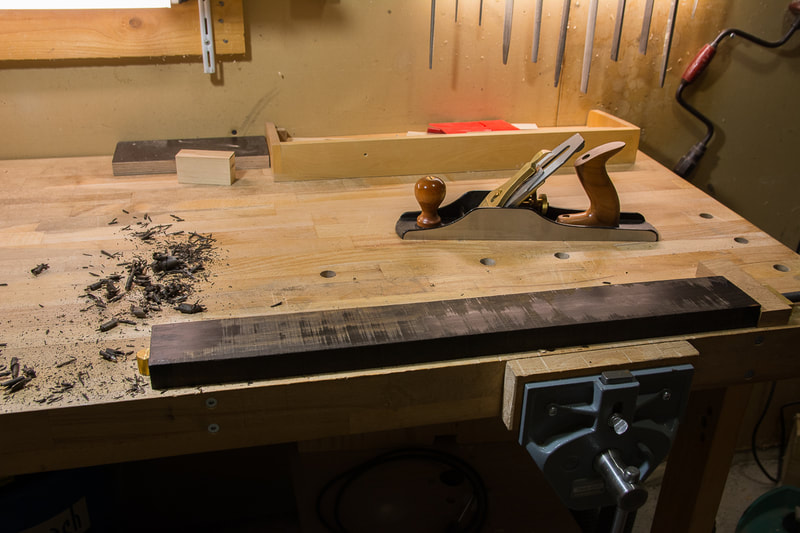
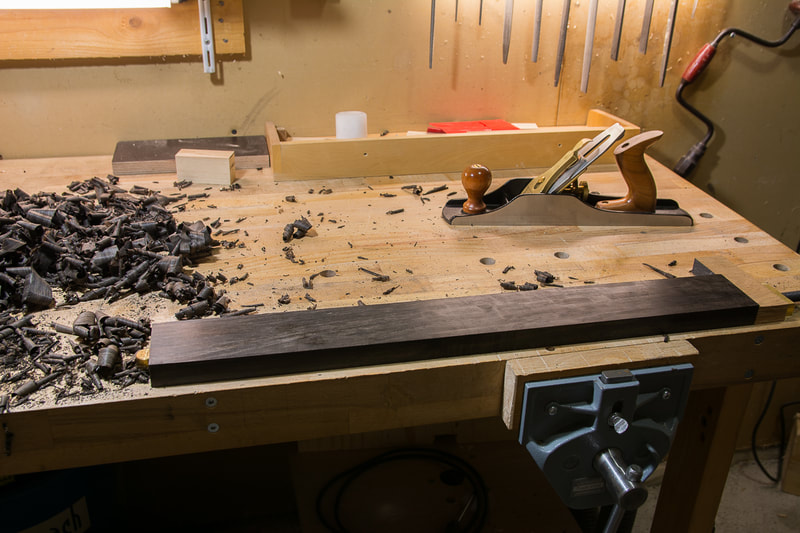
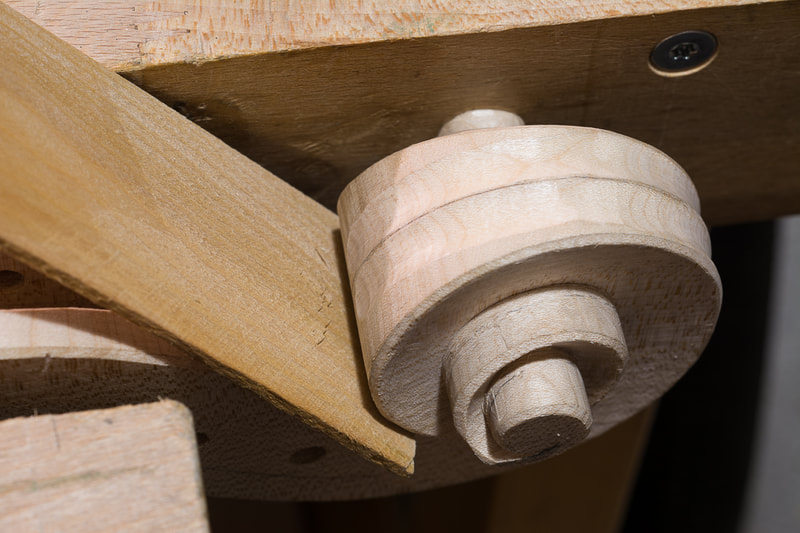
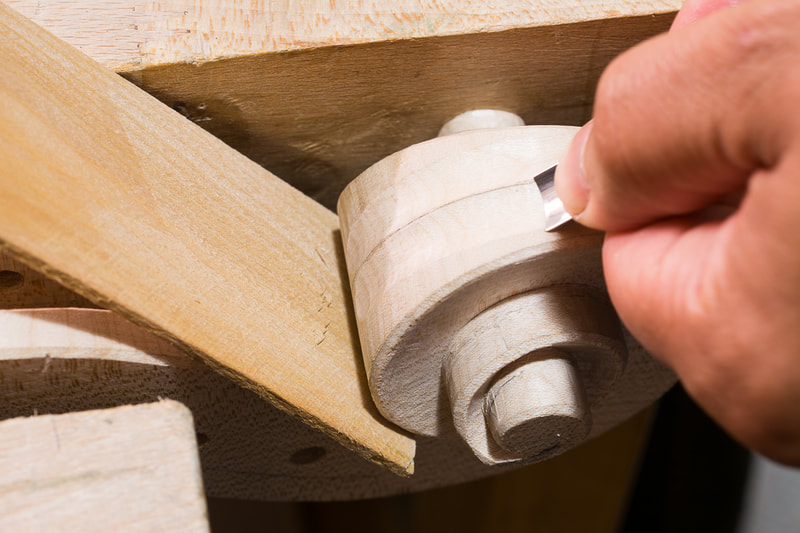
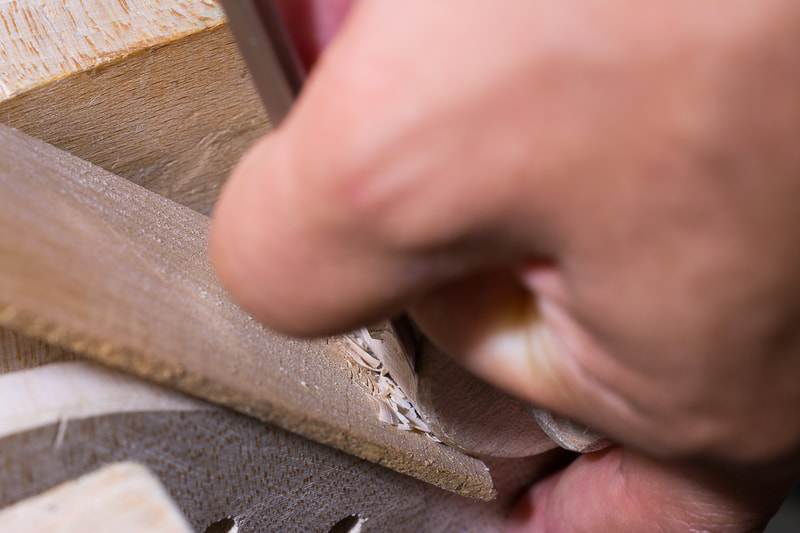
I am maybe not quite ready with the neck to really start with the fingerboard. I have had difficulties figuring out the right dimensions for the fingerboard though. So far this has been the trickiest part in building a 1/2 cello. There just doesn't seem to be too much information around. It also seems to be one of the things which scales least linearly with the other dimensions. The fingerboards on smaller cellos are proportionally wider than on bigger ones. The width of the fingerboard obviously affects the width of the neck which is why my progress has been slow recently.I have contacted some professional luthiers to help me on this but so far without success. But I think I have figured this out now. The measurements for 1/2 cello I did find seemed to be too far off from the normal scaling that I didn't want to trust them. Now I think I will go with what I have. I will take the length of the fingerboard from what I get when I scale the one from Strobel down by 86.8 % as I have done until now. Scaling the width similarly would result in width at the lower end of 56 mm. This is less then what Baker lists in her book for 1/4 cello (58 mm). The width of the fingerboard in my son's current cello is only 48 mm. Which is a lot less than what Baker has. For a 1/2 cello Baker lists a lower end width of 59 mm and upper end width of 29 mm. This is also what I find in www.alangoldblatt.com/specs/Cello.pdf. However Baker and Goldblatt have very different lengths for a 1/2 cello finger board, 487 mm and 510 mm respectively. Strobel has in his "Useful Measurements for Violin Makers" a length of 500 mm but he doesn't list any widths. Confusing. Anyways, I am now decided. I will take the (consistent) widths of 29 mm at the upper and 59 mm at the lower end. The length will be 503 mm as scaled down from Strobel's 1/1 cello. If anything these will be a wider than necessary and then I can always remove some material later if necessary. With these widths, the width of the fingerboard at neck foot will be more or less that of a 1/1 cello. It was great to plane the ebony blank flat on one face. The surface is incredibly smooth. It will be quite a bit of work to get this finished. Continued with the fluting today. I did the centre and sides of the fluting towards the peg box. Just the sides today. Tomorrow I will then gouge out the middle.
|
AuthorMy son is outgrowing his cello soon. Could there be a better reason to learn how to make one :). Archives
April 2021
Categories
All
|
