|
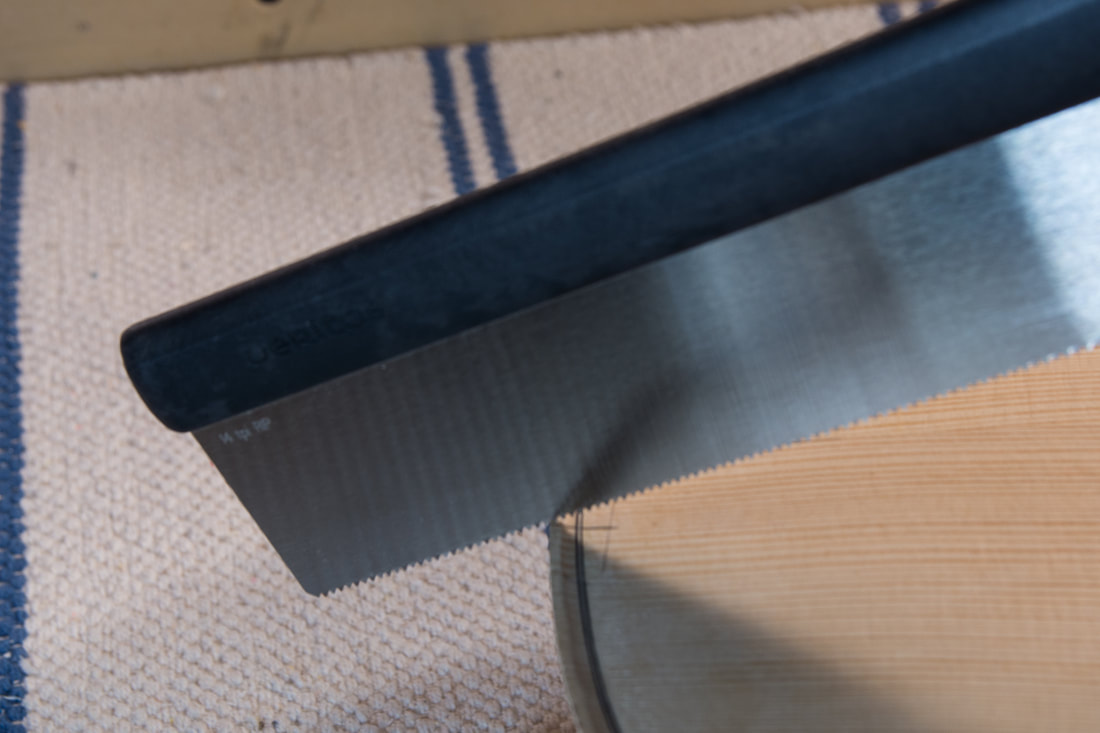
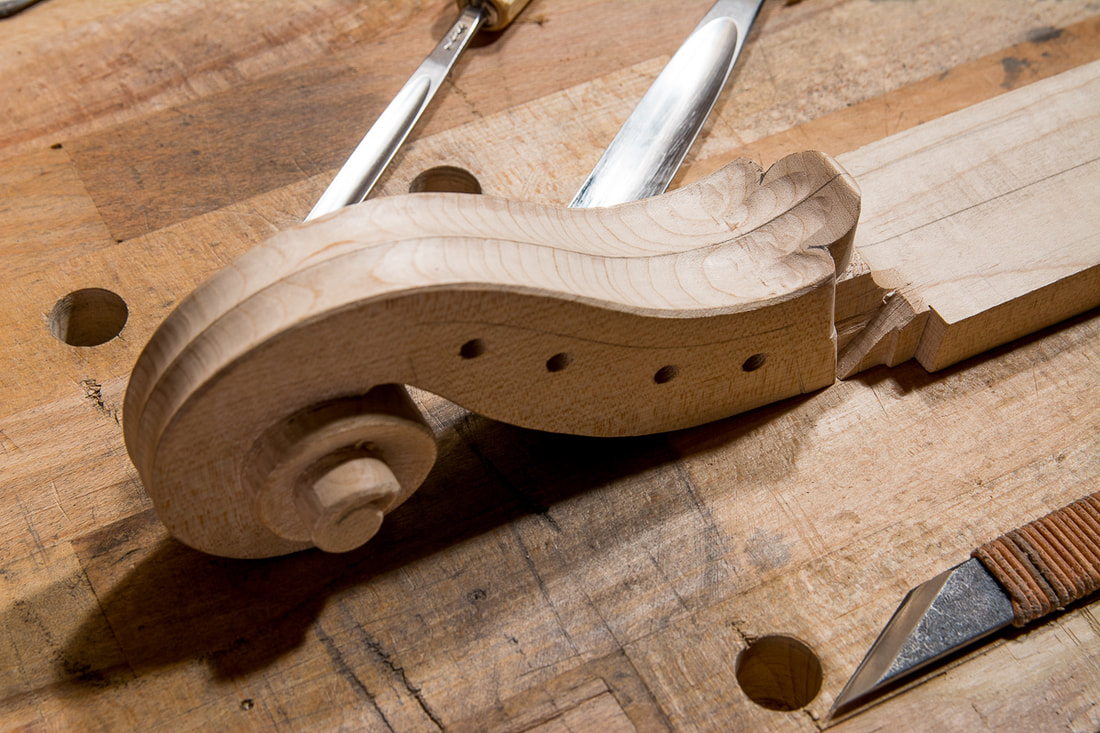
Time to fit the neck. I first marked the approximate width of the heel of the neck on the front. Leaving some space to the lines I sawed through the top and then with a knife cut the along the lines to make sure the front doesn't chip. With a chisel I then took to the edge. Now I could set the neck right on the ribs and mark the sides. Again leaving some margin I cut with a knife through the ribs. One that was done I could use a chisel to chisel out the ribs. I now realised I should have paid more attention to how the grain runs in the blocks. On the top block the grain runs slightly towards the inside of the cello. This makes is quite tricky to nicely cut the surface of the block where the neck must fit very well. If anything, the grain should run out of the cello, not into it. Will need to keep this in mind with the next cello. Anyways, even with a shallow mortice on the block, the neck now stays on its place without any external help!
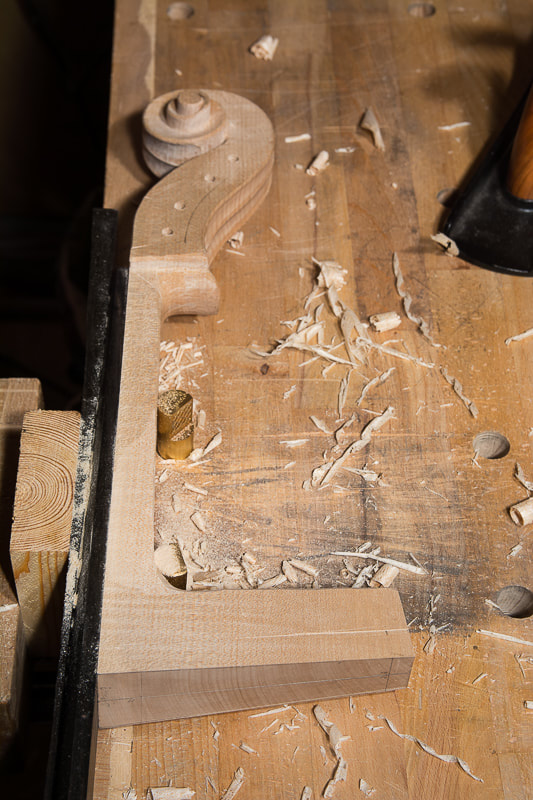
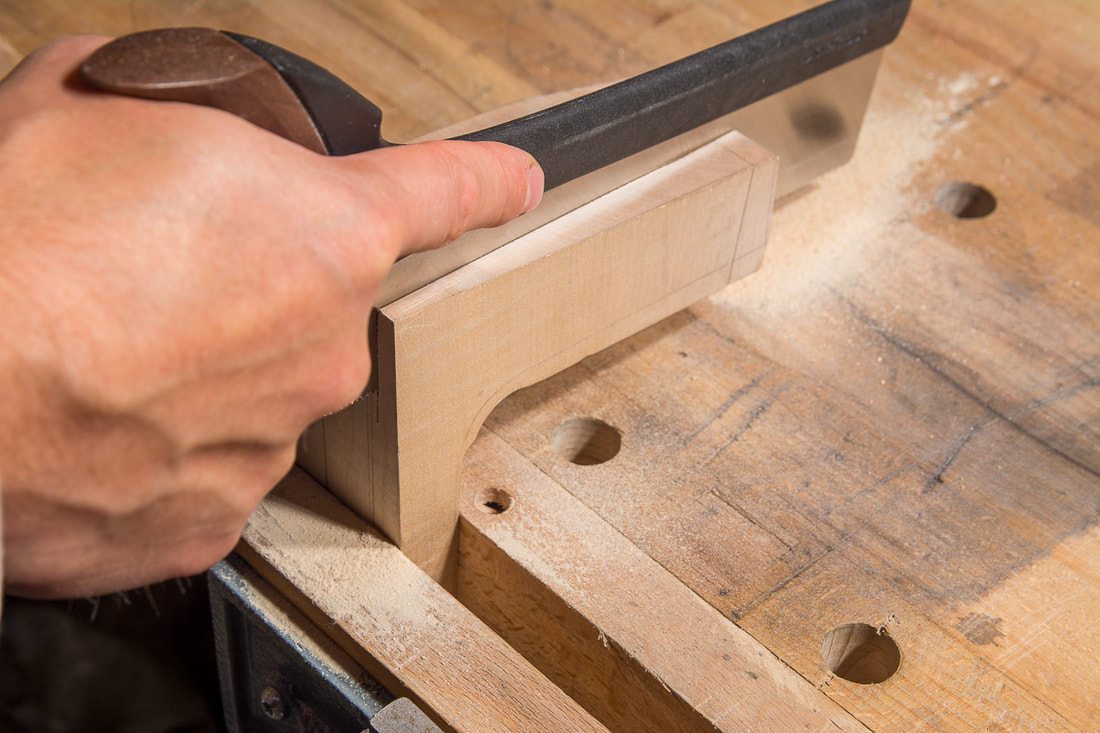
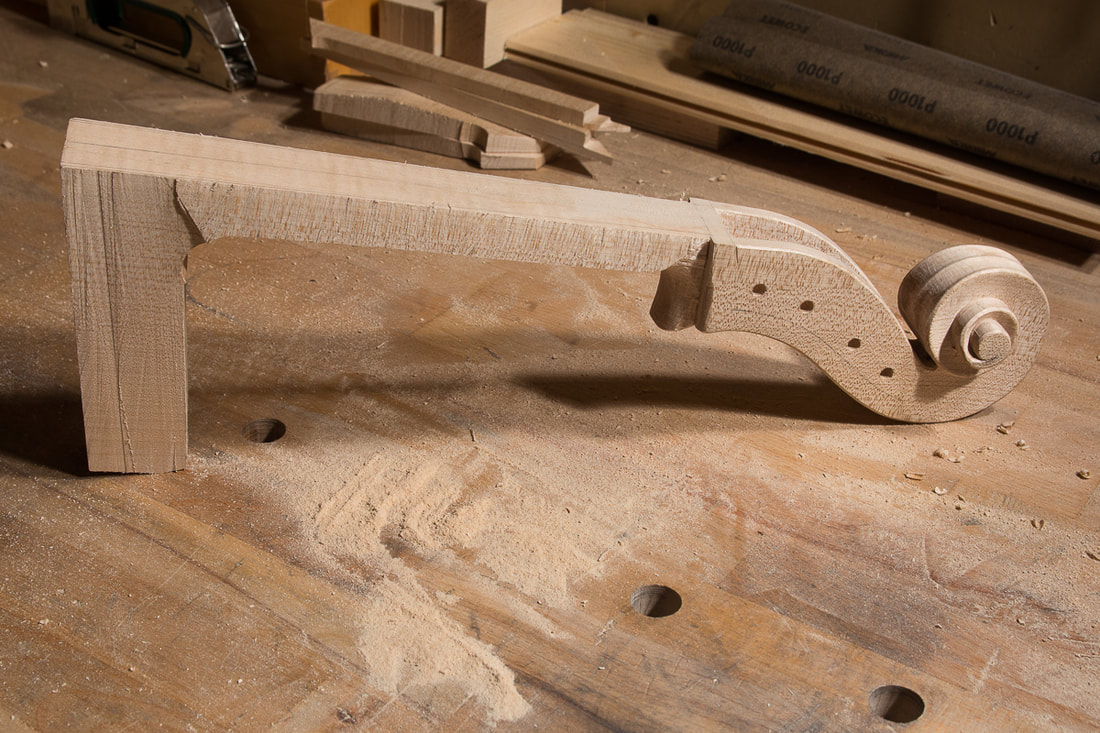
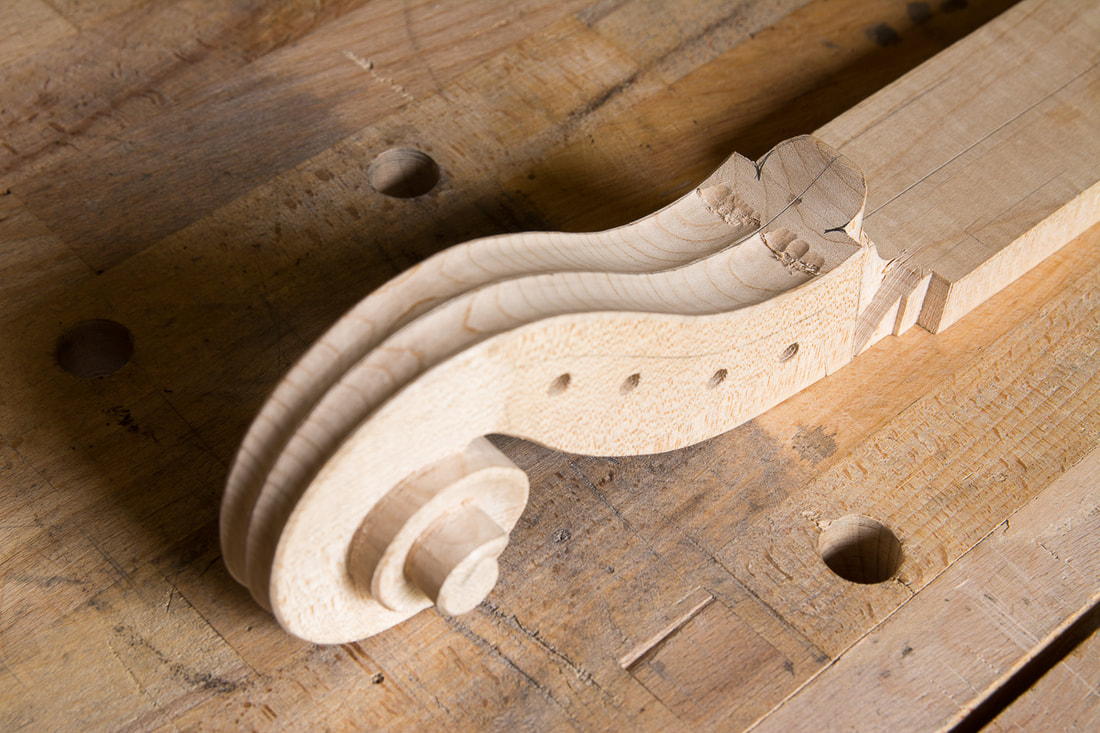
0 Comments
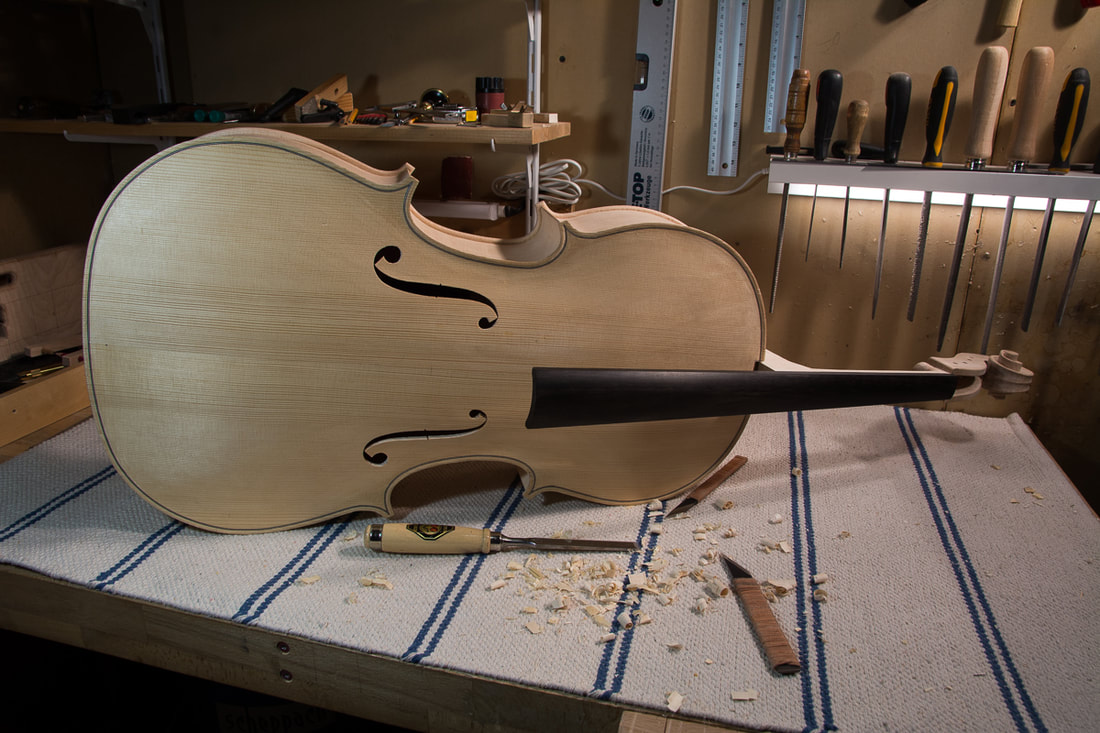
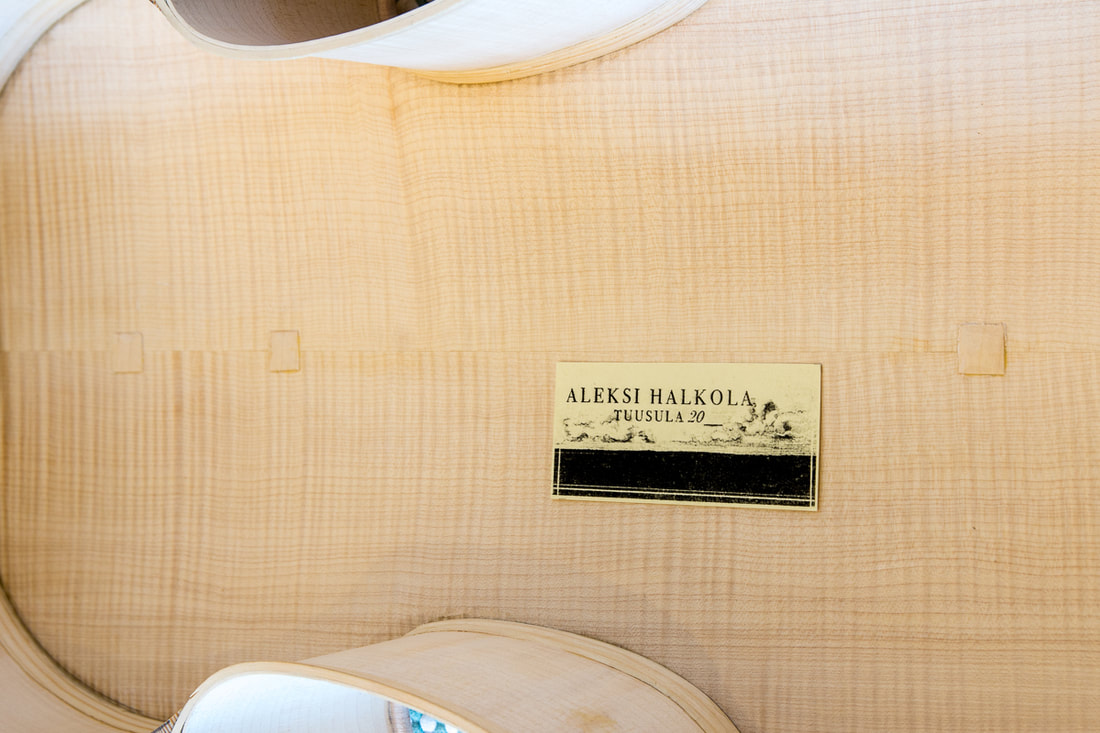
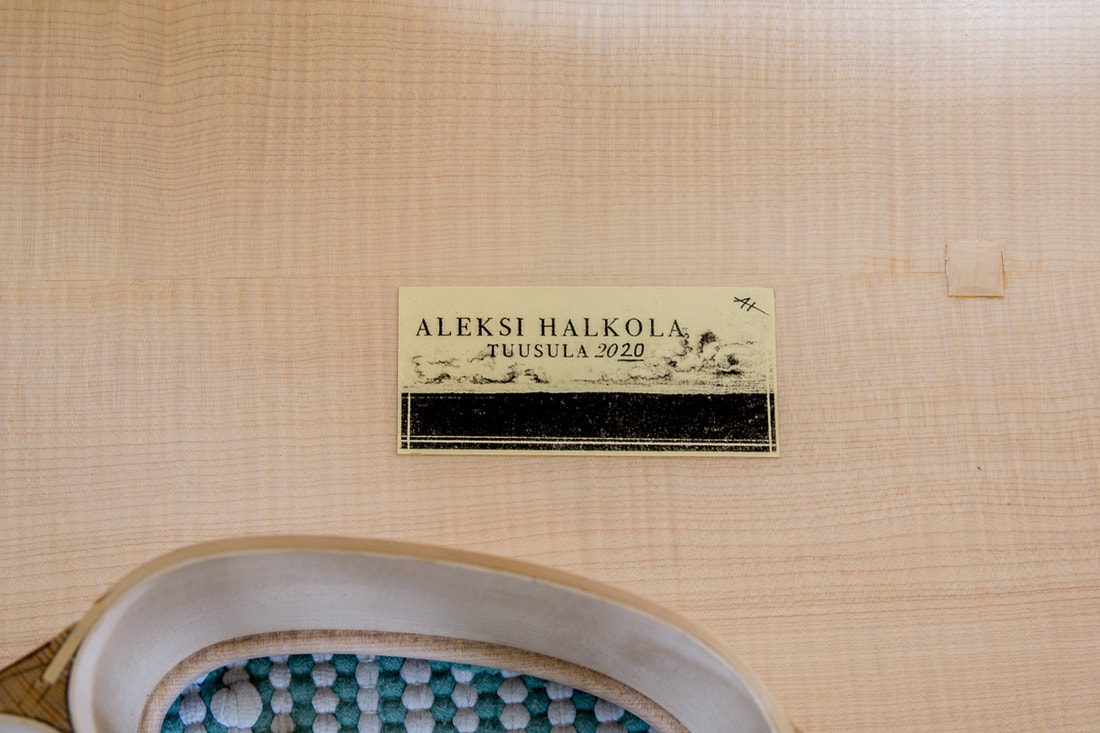
It is a big day today. After having glued the label on its place, I also glued the body together! I didn't make any photos of the glue up as it was pretty hectic. But I think I did OK. One thing I realised is that I didn't have enough clamps. I need to make more. Maybe I hadn't noticed that while glueing the back because the maple use on the back is stiffer than the spruce on the front. I also realised I should have done a better clean up after the glueing. There are a few places where the glue has come on the ribs. Oh well, next time. Anyways, this is really exciting. Now I only need to attach the neck and the saddle to the body. Today I finally glued the label in. I hope I really can finish the cello this year. I really like the label and think it is a perfect match for the cello. I needed to also reduce the thickness of the back further. Especially in the bouts. Since I had already glued the ribs on the back this was a little more complicated than the back. I constructed a measurement device using my drill press. I could attach a digital caliper instead of drill to the press and using a pin on the bottom I could measure the thickness of the plate. The bouts were about 5 mm thick. To mark the desired depth I put the drill on the press with a drill bit. I didn't actually drill but by setting the depth and using the tip of a brad point bit I could mark how much material to remove. I didn't actually drill, just pressed the bit agains the back. After having marked the depth, I used my small plane and a scraper to thin out the bouts. I thinned the front down considerably today. The bouts were just under 5 mm which is lot for a 1/2 cello. Now they are a little over 3 mm. I hope that's good enough now. If needed I will re-open the cello once I have heard the first notes from it. I got the label from Laura today! Of course I had to see how it looks inside the cello straight away. I'll let you have a sneak peek too. But shhhh... Don't tell anyone. I still need to finish a few things on the front before I can glue it all together. Mainly finalise the ff-holes and make sure the sound post can be inserted through them. But I think later this week the corpus will be closed. 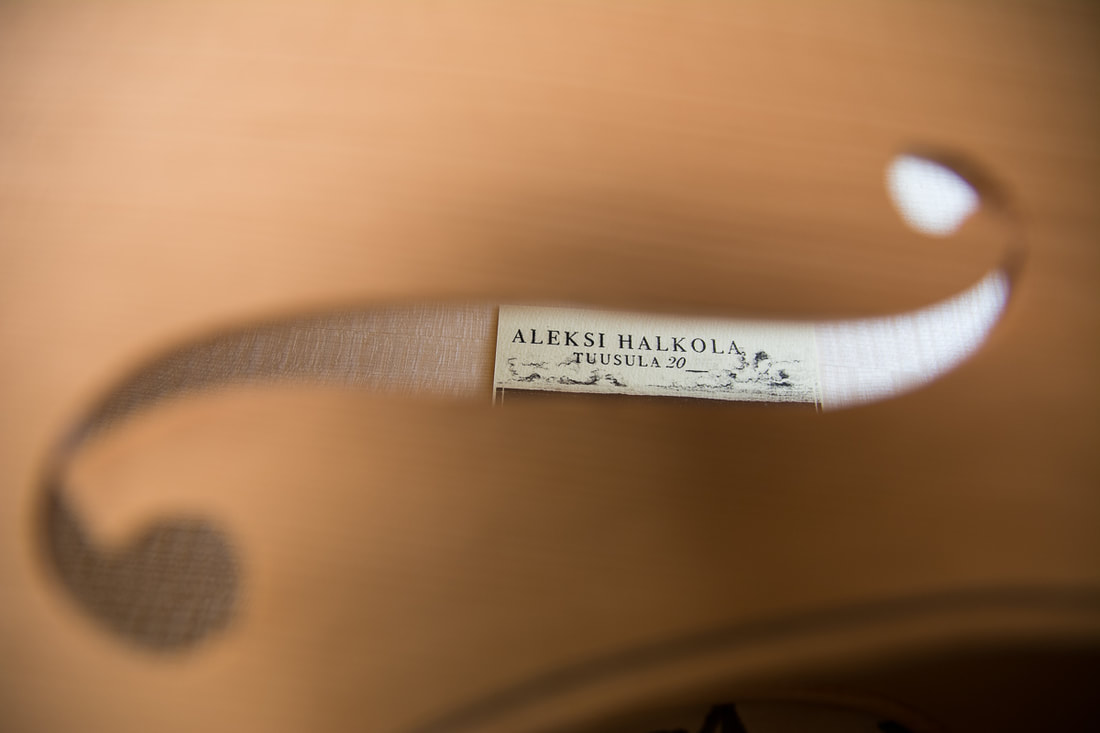 I got some feedback that the front (and back) were too thick. I left them thick on purpose to begin with in the hope to get some one to have a look and advice me. That advice turned out to be much more difficult to get that I had though. Hence I already glued to back to the ribs and the bass bar on the front. I really want to get the corpus closed soon so I thought it was time to revisit the front and finish it. I reduced the thickness along the edges today. Tomorrow I will likely finish the ff-holes. That's it then probably for now. I think I won't know what to do better before the cello is all fitted up (in white, without varnish) and somebody can hear it. That doesn't seem so far any more! Started on shaping the root of the neck so that it can be fitted on the body. For that I provisionally glued the fingerboard on the neck. I then first used my big plane thinking that it will be better in creating a flat surface but in the end the small block plane was better. The root of the neck is now ready for fitting! I started to prepare the neck for attaching it to the corpus. I first thought I would leave the sides still parallel to the centre line and only remove the part that attached to the body. After having removed the excess there, I changed my mind and removed all the extra width roughly. There is a few millimetres to remove by plane from the sides still. I hadn't quite finished the fluting of the scroll. I had left the very end for later. Now is the time to bring it forward before proceeding further on the neck. I didn't do too much progress today but at least I got started. I think it won't too long. I want to get this done before gluing the fingerboard on the neck or refining the shape of the neck further. |