|
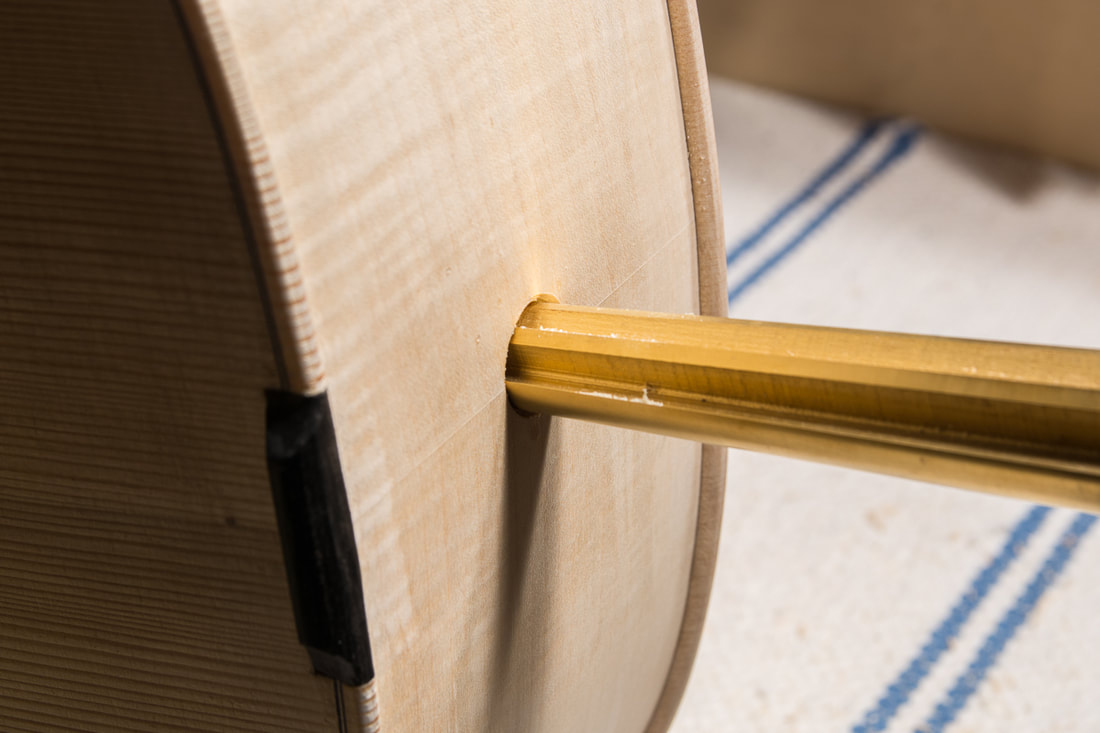
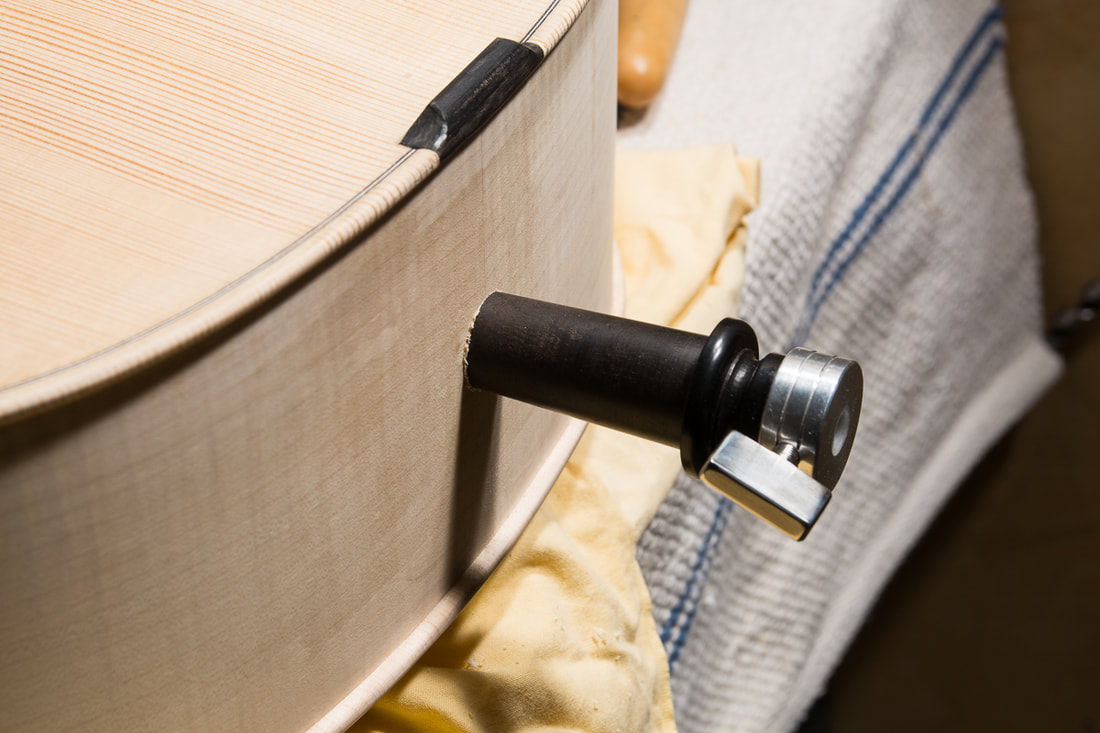
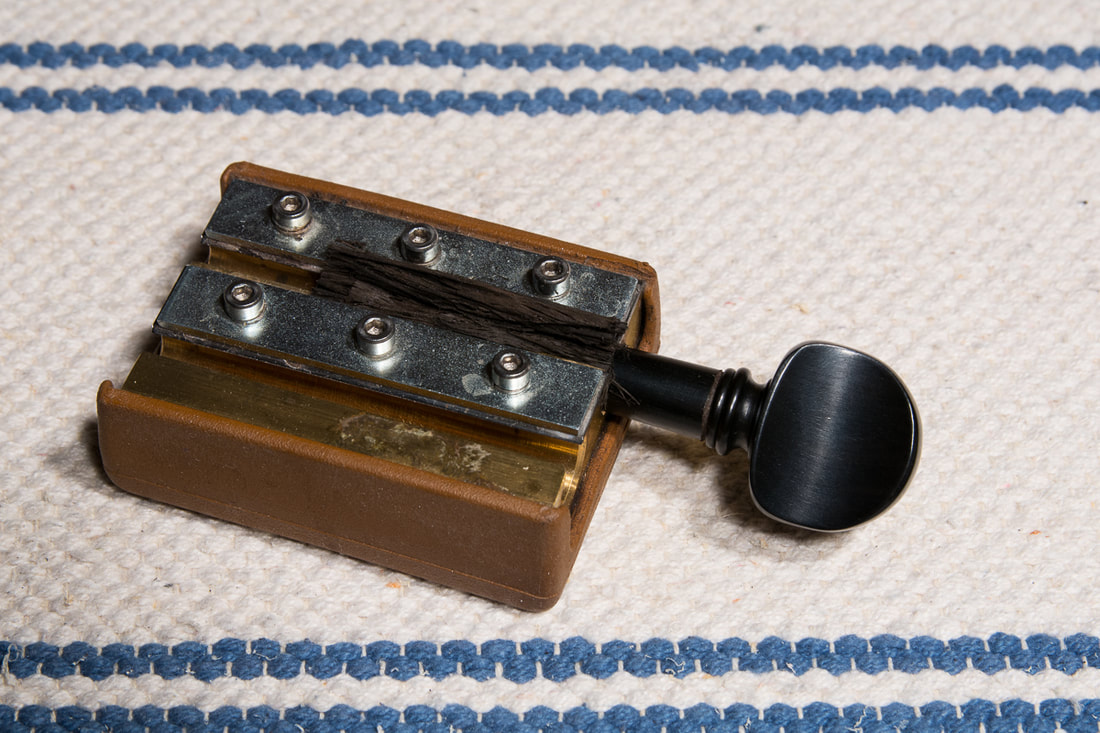
I decided not to glue the end pin in its place, and made plug and glued that instead. With the hole filled I could restart the reaming process for the end pin and this time make sure I don't do anything stupid. And that worked out nicely. I left the end pin now ~5 mm proud of the surface of the cello. That leaves some room for change in the hole and end pin due to humidity or compression of the wood when the strings pull the end pin up. One doesn't even notice the fix unless one takes the end pin off, which hopefully won't happen very often.
0 Comments
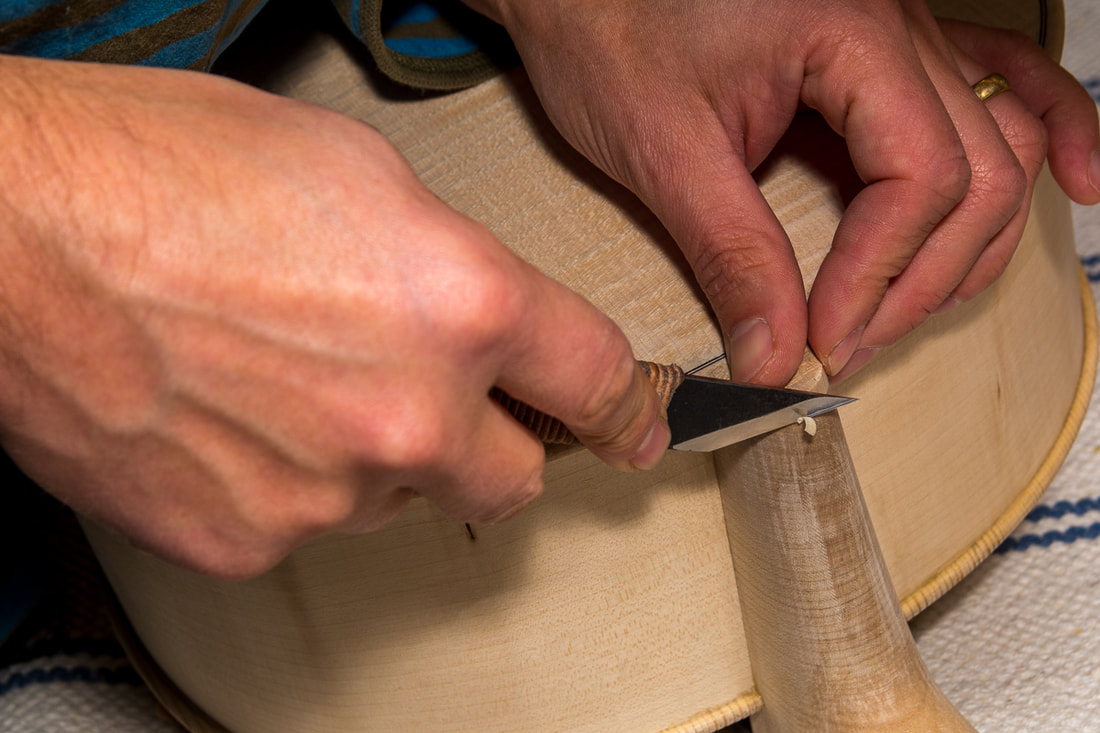
I also got the reamer for the end pin from Pekka. He told me that it would be good if the end pin pointed a little towards the back and to the left. It would make the end pin support the cello better once in the playing position. I got everybody to help with drilling the larger pilot hole for the end pin. My wife checked the direction from the side, the children help the cello, and I drilled the hole. That went really well. Pekka had told me that wetting the wood some what would make it easier to ream the hole. So that is what I did. I reamed slowly so that I managed to get the end pin in. We tested it with Elias so that it was good and I only needed to make the end pin go a few more centimetres further in. And then I did a mistake. I don't know why, but I thought the direction was too much to the side and thought I could still correct it. There was at least 2 cm more for the pin and I thought that it enough to start fixing the direction. Well it wasn't. The end pin is now too loose. I don't quite know what to do now. One option would be to glue the end pin in place. Another to try to fill the hole and start again. And yet another to get a bigger end pin and try to fit it. Disappointing. So far I have managed to avoid any bigger mistakes. And now this. I was probably too eager to get the first notes out of the cello. On this new thing I should have just done things really slowly and carefully. Especially with the experience with the first peg. Oh well. Need to think of something now. Maybe glueing the end pin in place would not be too bad. I will call Pekka tomorrow and see what he thinks. I met Pekka Untamala again today. We had a good discussion on the next steps. He instructed me on the important things to consider with the pegs, the end pin and the bridge. On top of this he also lent me some of his tools needed to fit them. I first started to fit the pegs. With the first peg I learned how slowly one needs to go so that the pegs do not end up too loose. With the first one I made the mistake. Luckily I had shaved the peg smaller than it came and so I could fit one of the other pegs into that hole, just needed to shave less off of that so that it would be OK. I left all the pegs now too long and they all go only a little through the hole. I want to do the final fitting with Pekka. The nut is the final missing piece. It supports the strings at the neck. I can use the left over piece from the saddle to make the nut. I first angled the side towards the pegbox appropriately to follow the angle of the pegbox. After that I filed the top surface of the nut to follow the curvature of the fingerboard, leaving ~2 mm proud. Once that was done I could shape the ends. The top still needs to be shaped nicely so that the strings can gracefully turn from the fingerboard into the pegbox. I cannot quite finish the nut now. I had left the fingerboard a little long and need to finish the end of the fingerboard properly before I can really match the nut. That probably needs to wait until after varnishing since to finish the fingerboard I need to take it off the neck which I plan to do for the varnishing anyways. I did some work on the neck. The heel felt a little clumsy. Now I think it is pretty good. 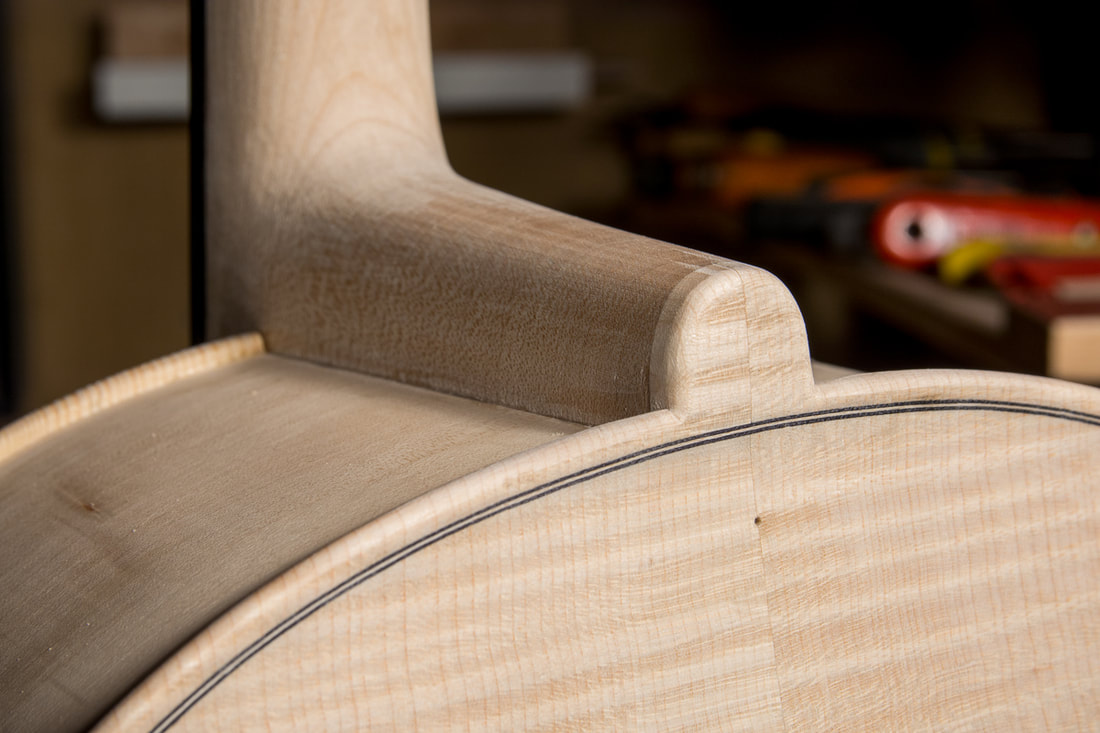 Although I had tried, I didn't quite manage to clean up all the glue straight away, while the glue was still fresh. I went all around the cello and clean up the bigger rests with a scraper. Here's a photo of the biggest one. Glue rests will affect how the wood takes up the stain and varnish so it is important the get it all clean. I will go through the spots once more with hot water to make sure it all comes out before varnishing. I got today the varnish for the cello. I thought about it for quite a while and decided to go for the Spirit varnish kit from Hammerl for a couple of reasons. 1) I missed the season for oil varnishes and didn't want to start making a UV light box, 2) for this first instrument I wanted to take the safe solution and not think too much myself what todo and how. This kit contains everything I need including instructions. The next time I can start to customise or do something completely different. I read that spirit varnish can be difficult to apply but I hope it is doable. The colour I decided to go with is amber. 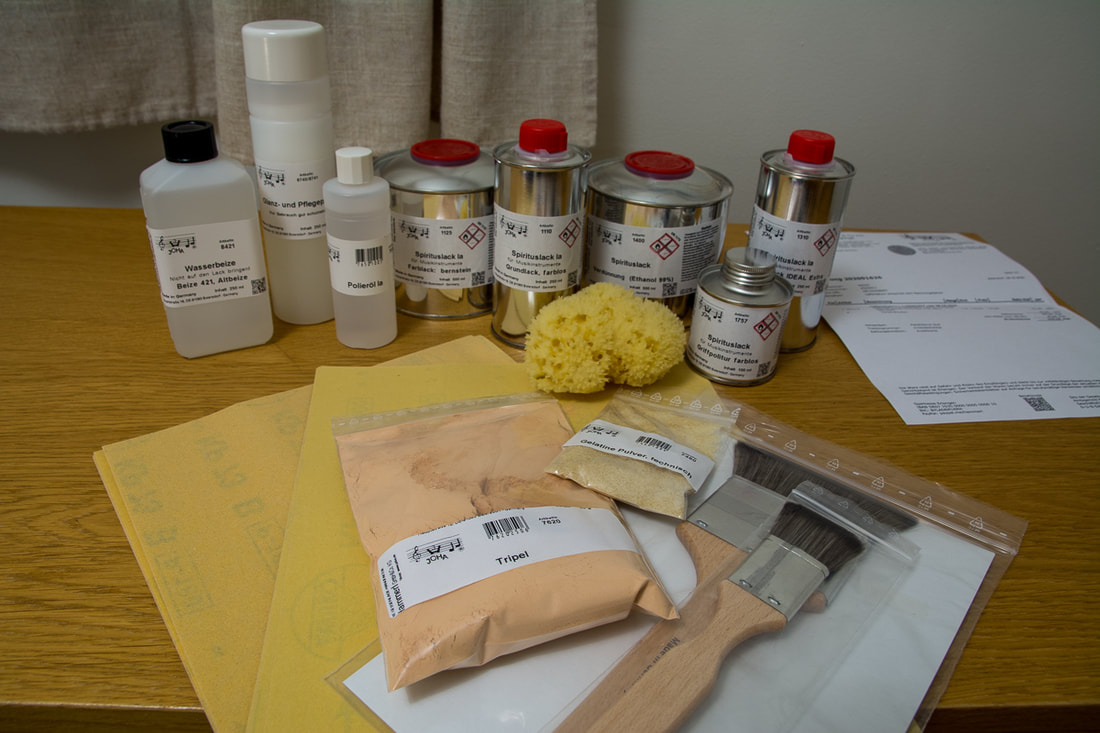 I could also shape the button now to match the heel of the neck. I did that with the left and right handed knives. The button seems quite thick. I will need to find out if there are some ways to make it thinner, or to at least look less bulky. I didn't add a chamfer yet, maybe that is enough. I had left the pegbox a little rough so I thought I would clean it up a little now. A sharp chisel can make same nice shavings. I shaped the saddle to fit its surroundings with a knife. Not much more to say about that. |