|
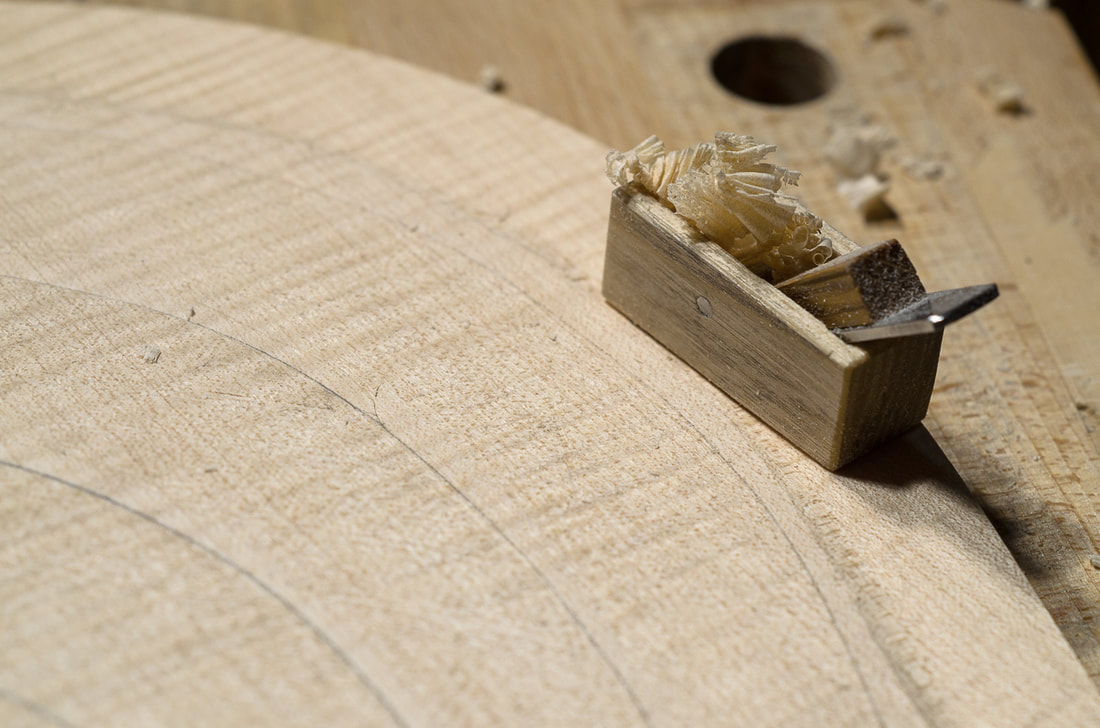
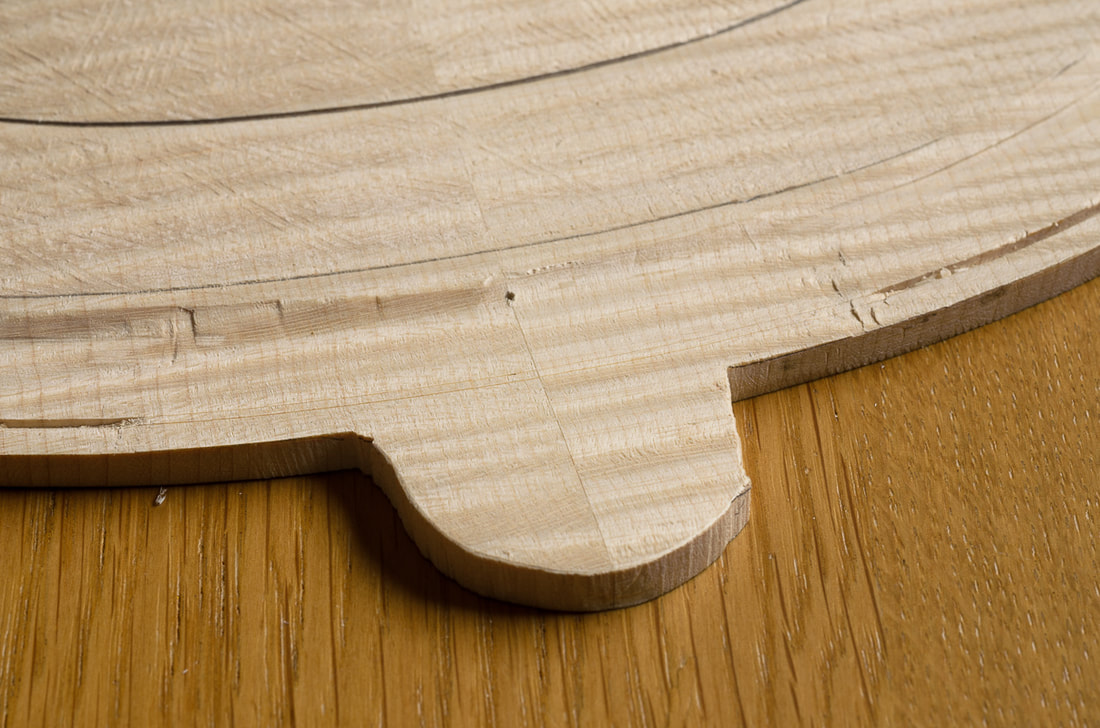
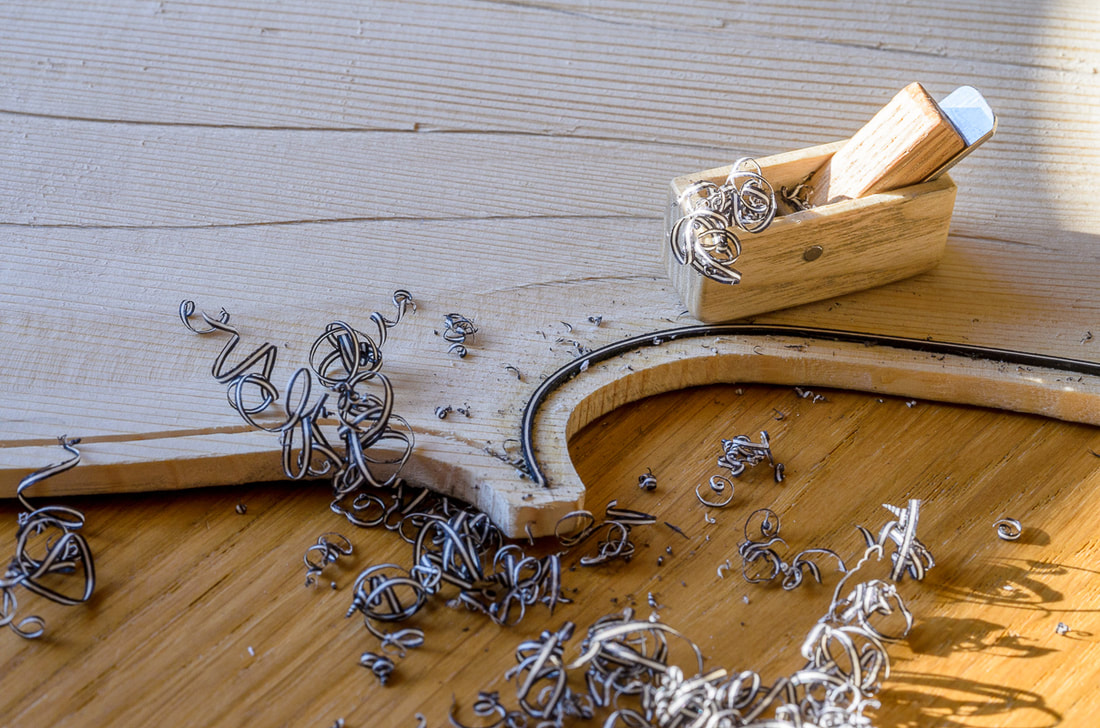
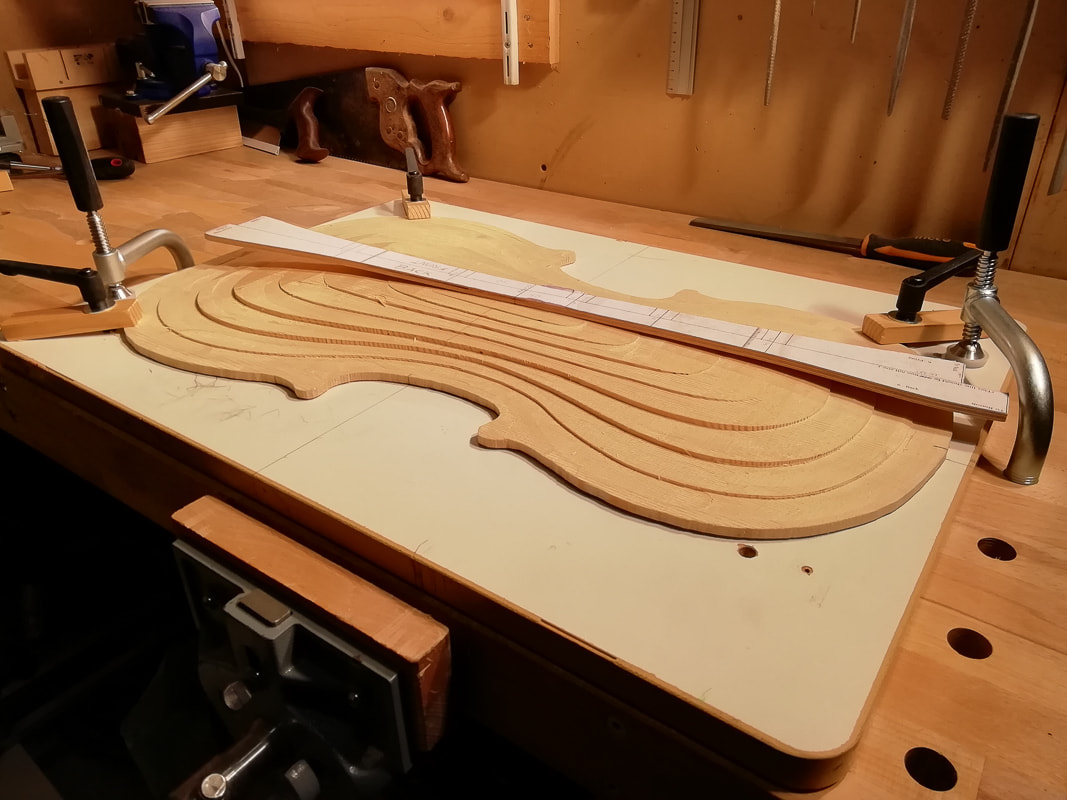
Purfling is a thin laminated strip of wood going round the edge of both the back and the front plates. Its purpose is both decorative and functional. The length wise grain of the purling strengths the edges of the plates. There is some variation as to when the purfling is done. It seems to be most common to do the purfling after the rough arching so that's what I will also do. Since the purfling is at a constant distance from the finished edge, the ribs (sides) need to have been done at this stage. I have done those, but I will probably describe the process in detail after I have finished the top plate as this is what I am doing at the moment. I hope this little discontinuity won't be confusing. I used the ribs to draw the outline of the cello on the back and the top plates and then removed most of the extra material using a saw and brought the outline to the marked line using a file. Once the plate has the correct shape, adding the purfling itself can start. The first step is to prepare a flat surface all around the edge of the plate. I first marked the width of the flat surface with a pair of compasses and then flattened the edge using a small plane and a file. As I didn't take many photos when working on the front, the photos below are a mixture from making the back and the front. After this, the purfling groove is marked with a special pufrling marker. The flat edge helps to do this accurately. I built a purfling marker from a bit maple I had extra from the back, and some nuts and bolts I had available. The blade is from a small knife. First both sides of the purfling are marked lightly with the marker, and then cut carefully deeper using a sharp knife. The width of the groove should of course match the thickness of the purling used. Once the edges have been cut to sufficient depth, the groove can be excavated using a purfling picker. I again made my own from a small chisel I had lying around. There are a few places which need extra attention. The first are the corners where the purfling from the c-bouts meet the ones from the upper and lower bouts. I made these so that the purfling in the c-bout stays a constant distance from the edge and purfling from the upper and lower bouts come to meet them. This means that the distance of the purfling from the edge is larger for the upper and lower bouts near the corners. The second place which needs to be handled differently is at the top of the back plate where the button is. This cannot be marked using the purfling marker. I made a template from the front plate and used that to mark the purfling groove of the back. The photos below also show another little tool I made. It is just a small block of oak with a short piece from the end of a hacksaw screwed in. The oak block makes sure the bit of saw blade stays perpendicular and also that it doesn't cut too deep. With this little helper it was quite easy to make the purfling groove the same depth everywhere. The blade needs to be short so that it can be used also in the tighter parts of the curves. Once the groove has been made, the purfling can be bent to follow the shape of the groove. I don't have fancy bending iron so I used an aluminium pipe and a blowtorch to heat it up. The pipe stayed hot quite long so I didn't need to have the blowtorch on while bending. Working this way I could bend the purfling for a couple of grooves before needing to heat the pipe up again. Once the purfling had the correct shape it could be cut to size. I glued in first the purflings in the c-bouts, trimmed them to the level of the plate surface and prepared the end for a nice joint with the purfling from the upper and lower bouts. The purfling wasn't long enough for the lower bout so I had to splice it. I did it widthwise and later read somewhere that one should do it in up/down direction. I think it worked out pretty nicely like this too, and actually the one I made was on the front which will anyways be cut out since the saddle comes where the splice was. I haven't yet done the purfling of the lower bout of the back so I can still make that one correctly. Some good references:
0 Comments
I opted to do the rough arching using the overhead router method described in Henry Strobel's books. It seemed like an easy way to quickly remove material accurately. I wasn't too concerned about the speed but since I have never built an instrument, I wanted to get it done right. The idea is pretty simple. Using the provided templates and a router, one cuts the back and front to the specified height in the given regions. The trick is to have a pin on the supporting surface which matches the size of the router bit. The templates are then attached to the bottom of the plate and the pin prevents one from pushing the back or front too far. One then progresses from template to template while adjusting the height of the overhead router. I used my drill stand for that since my router fitted nicely on that one. I started with the largest template (lowest). I attached it to the bottom of the front using double sided tape and small screws. I then gradually lowered the router until the front had the correct thickness for the contour leaving a little the front a little too thick at this stage. This results in a terraced front which I then smoothed with a gouge. Maybe it is easier to grasp this with some photos. Some good references:
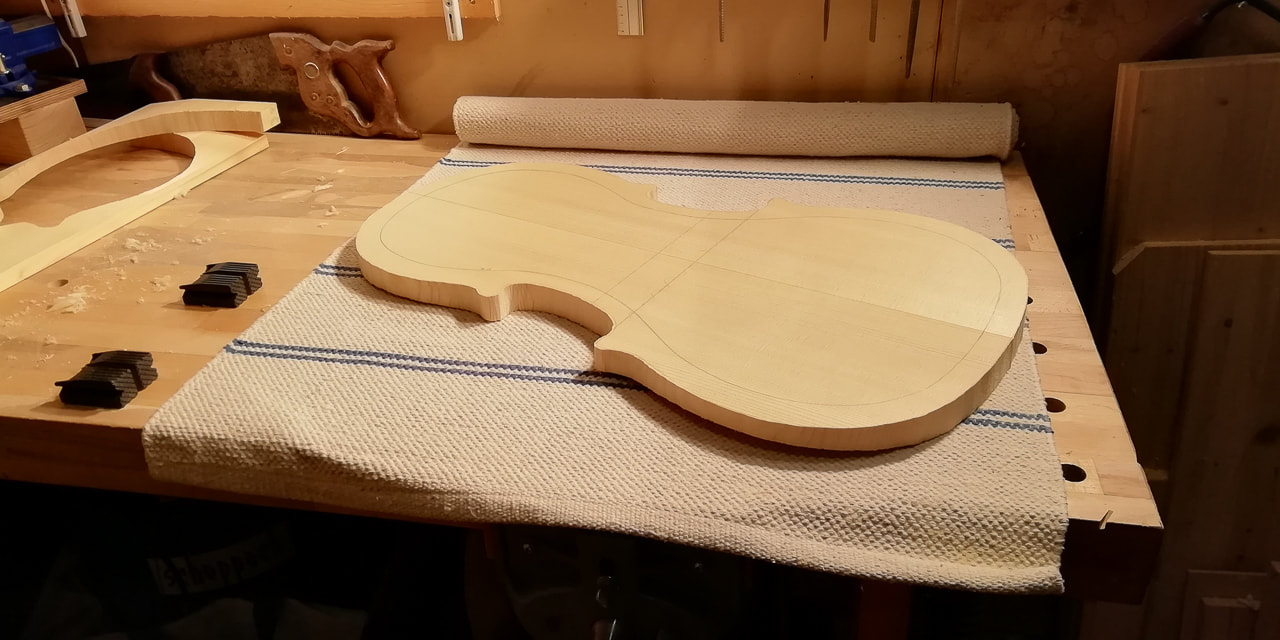
Because the cello is so large, the back and front are made from two bookmatched pieces. That means that the two pieces come from a single large wedge which is split lengthwise and then opened up like a book. As a result the left and right sides are mirror images of each other. One sees this very clearly on the figured maple back, but not really on the spruce front. I started taking photos regularly only a little later so for this stage I don't have too much content. Preparing the spruce front I first planed roughly the underside of both pieces flat (no photo) and then prepared the edges for jointing (left). After the glueing was done, I flattened the bottom surface and brought the thickness of the top plate down (right). I had decided to do the rough arching using the overhead router method described in Henry Strobel's Cello Making and I wanted to have a fairly flat top surface for that. One could have left the top as it was. Preparing the maple back The back was done in the same way as the front. I first prepared the joint and after glueing, flattened the surfaces. The maple is quite a bit more difficult to work with since it is a lot harder, and it has a lot of figure which makes it tear up more easily. The last picture shows the figure of the maple back nicely. Some good references:
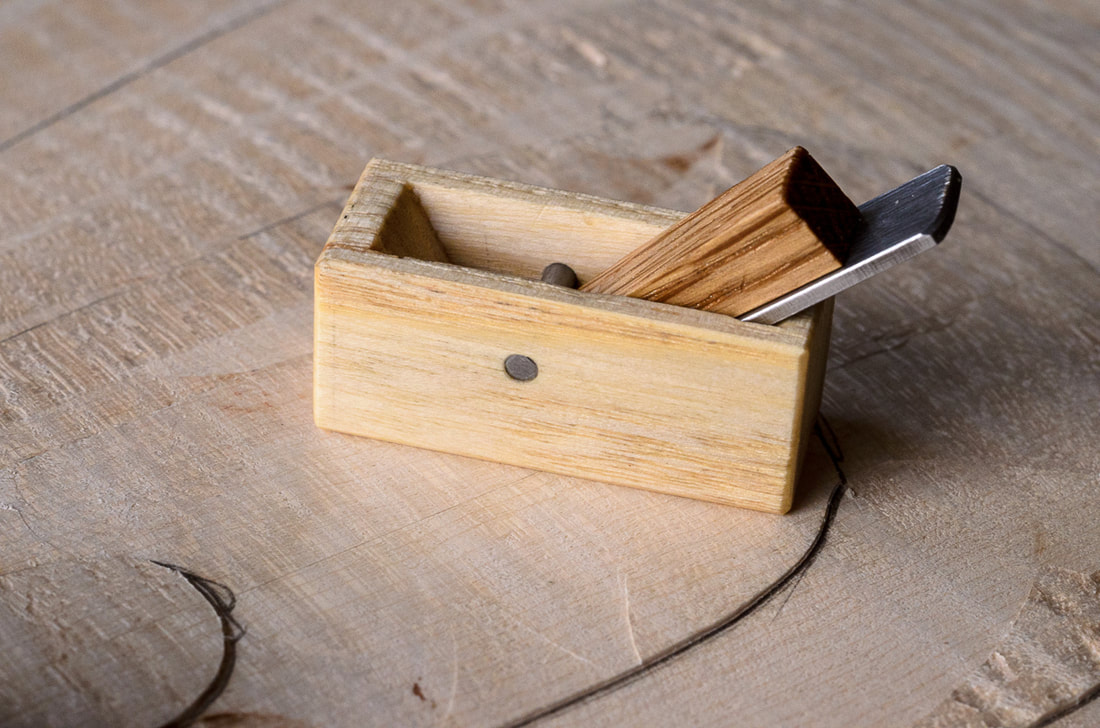
There is of course a lot of information also in the internet. The people making these cellos and sharing their experiences also helped me to start my cello and make me believe it can be done. Here are some good links to other people building a cello. There's a lot of information about building a cello and making ones own tools. www.ida-riegels.dk/building-a-cello/ osnesviolins.com/1.Cello%20Build%20start.htm www.makingtheviolin.com www.platetuning.org/html/plate_tuning_4_dummies.html https://www.lumberjocks.com/techyman2/blog/18758 darntonviolins.com/gouges-over-at-the-maestronet-forum-i-posted/ fixitwithshading.com/2015/11/29/baby-plane-making-part-1/ www.luthiertalk.com/threads/diy-bending-iron.480/ www.derekroberts.co.uk/making/index.htm These some videos or channels in YouTube which have been inspiring and helpful. maestroKimon has a great series on violin making. Consider supporting him in patreon. The other two in the top three (David Ireland and Davide Sora) also have excellent and detailed videos on violin building. maestroKimon: www.youtube.com/user/maestrokimon Davide Sora: www.youtube.com/channel/UCggqGrdYUEovaC9UKnSMD3g/featured David Ireland: www.youtube.com/user/direland72 Luthier Vidal: www.youtube.com/user/luthiervidal Brian Lisus: www.youtube.com/user/BLviolin Boussu_Inside_Out: www.youtube.com/channel/UChivkXPogBhUIj3X2I_DFWA Galen Hartley: www.youtube.com/watch?v=xejx48lZVhQ www.youtube.com/watch?v=Apt_DwT6UzM The wood is of course important. I found quite a few providers online but some didn't reply to me emails. Maybe they wanted to sell wood for a hundred cellos. In the end I got the wood from this place, maderasbarber.com/tonewood/en. The delivery costs always quite a bit so the upgrade to VIP Premium account makes sense very quickly. You get free shipping for a year on yours orders. As for tools, Dictum is great for all sorts of tools. In Finland, well Helsinki at least, www.plektratrading.fi is the best place to go to. Many tools one can also make oneself. To build a cello one needs many specialty tools. In order not to spend too much on tools, I decided to make as many myself as makes sense. For the fingerplanes, I decided to buy just the blades and make the planes myself. For example MJ Kwan provides clear instructions for making a fingerplane. I made two planes. One with a flat sole and a 12 mm wide blade, the other has a curved sole and a blade which is 10 mm wide. They both turned well and are amongst the nicest I have. Just need to keep those blades sharp! It all started by checking all the books in libraries near and far. The best four I could find are:
I find Juliet Barker's explanations on the ways of working excellent and clear. The book concentrates on violins, but has a table for measurements for different sizes of cellos in the end which I found particularly useful. Henry Strobel's books are also very clear. The Cello Making needs Violin Making alongside it as many of the steps in the Violin Making are being referred to. It was also the only one I could find which had the plans including contours for a (full size) cello. Edward Heron-Allen's book is full of information. It was too much for me on the first read though. But after reading other books it became a valuable source of information later on. As a bonus, Heron-Allen's writing style is a joy to read. In my project I decided to use Strobel's books and plans for the most part. Barker's book provides additional technical information and I am trying to adapt the measurements for the 1/2 cello to build Strobel's cello as a smaller one. 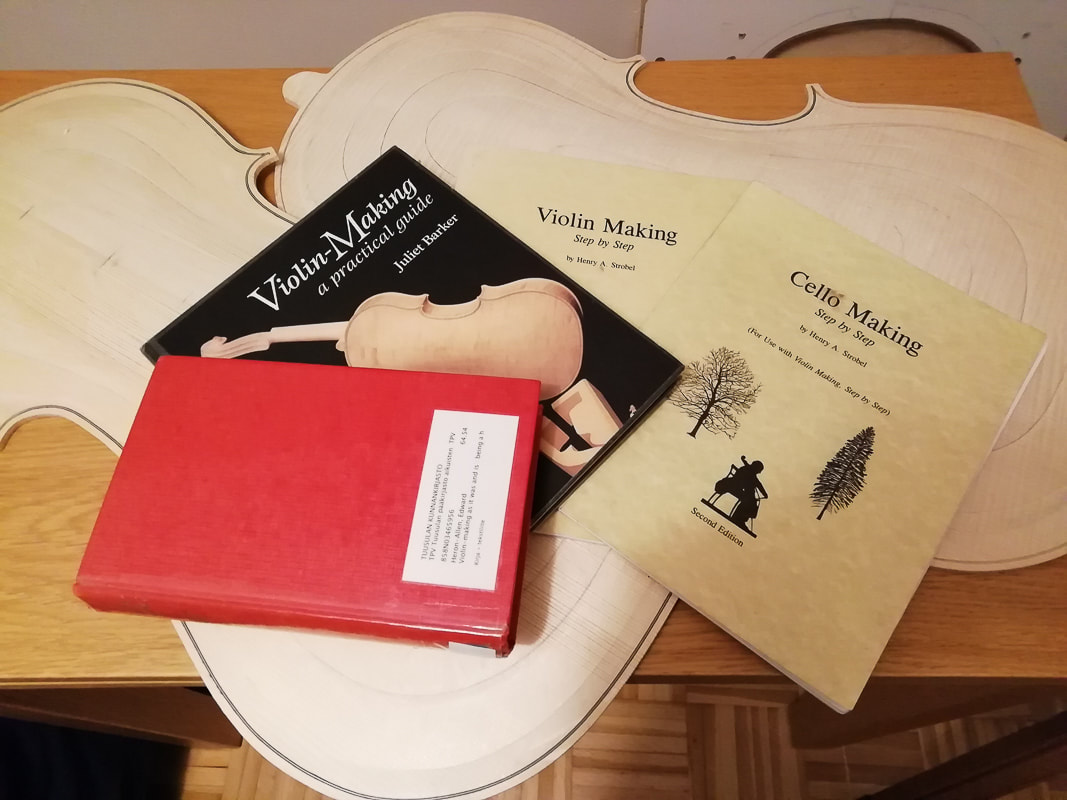 I started building a cello for my son last September (2019) with the plan to finish it in a year so that he could start playing it the when his cello lessons start after the summer break (2020). It has been a great experience. I thought I would put something down in writing so that I don't forget and maybe somebody else finds this useful also. Let's see how regular the posts will be.
I started building the cello in an instrument building class lead by Erkki Ruokonen. The course is not for violin or cello making but for guitar and other "simpler" instruments. So I am glad Erkki let me start on the cello. I managed to build the mould and bend the ribs there before it was closed due to covid-19. |