|
I did some work on the neck. The heel felt a little clumsy. Now I think it is pretty good. 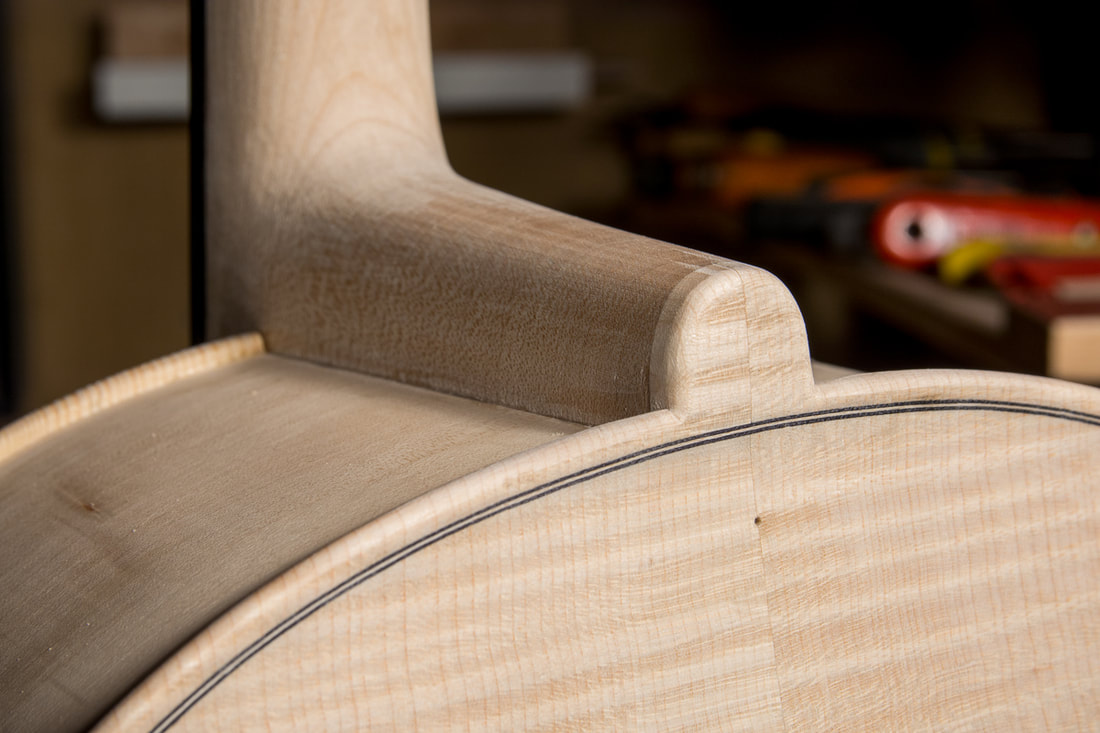
0 Comments
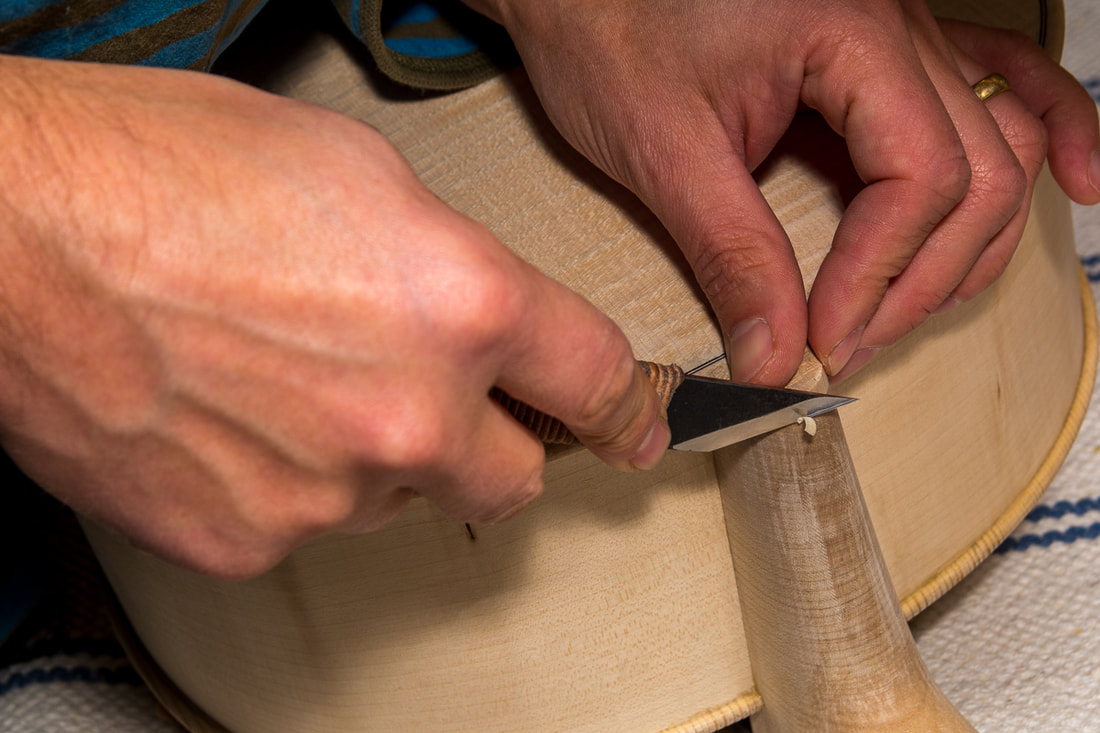
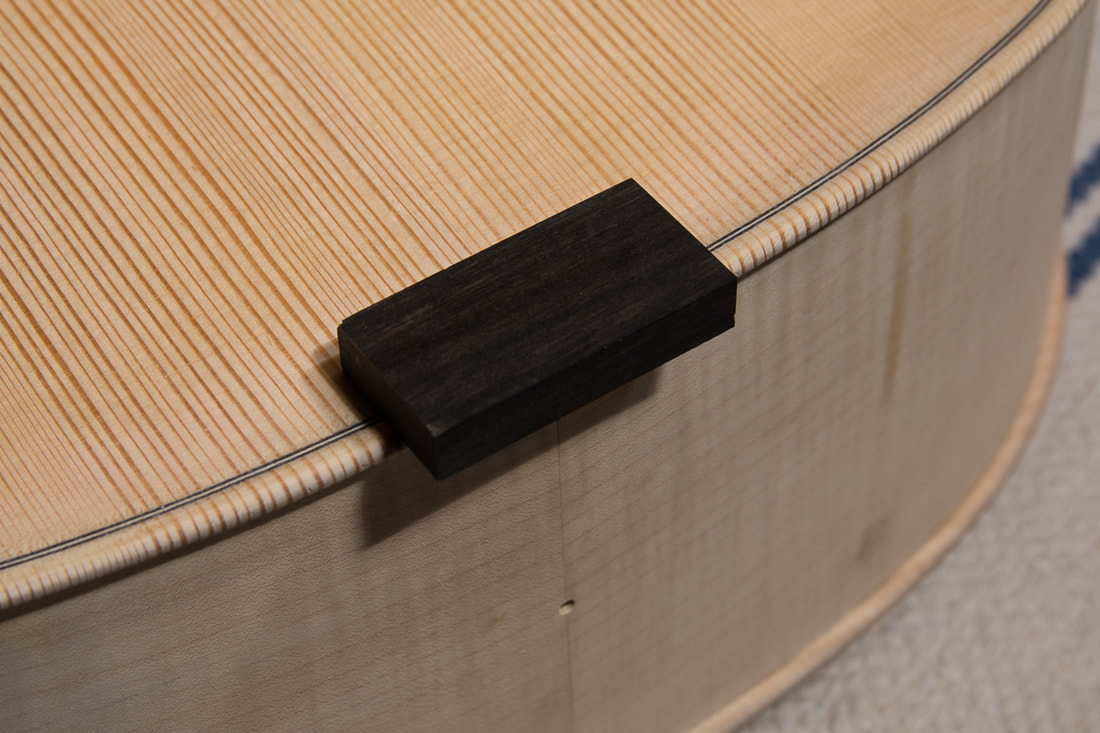
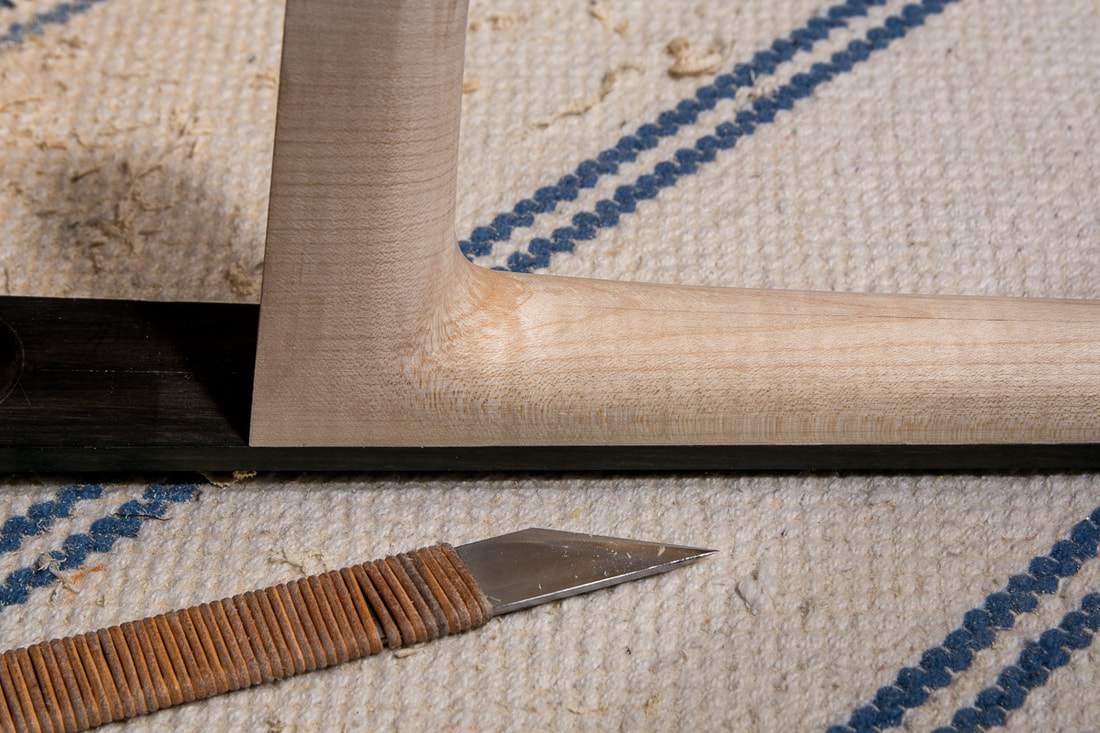
Although I had tried, I didn't quite manage to clean up all the glue straight away, while the glue was still fresh. I went all around the cello and clean up the bigger rests with a scraper. Here's a photo of the biggest one. Glue rests will affect how the wood takes up the stain and varnish so it is important the get it all clean. I will go through the spots once more with hot water to make sure it all comes out before varnishing. I got today the varnish for the cello. I thought about it for quite a while and decided to go for the Spirit varnish kit from Hammerl for a couple of reasons. 1) I missed the season for oil varnishes and didn't want to start making a UV light box, 2) for this first instrument I wanted to take the safe solution and not think too much myself what todo and how. This kit contains everything I need including instructions. The next time I can start to customise or do something completely different. I read that spirit varnish can be difficult to apply but I hope it is doable. The colour I decided to go with is amber. 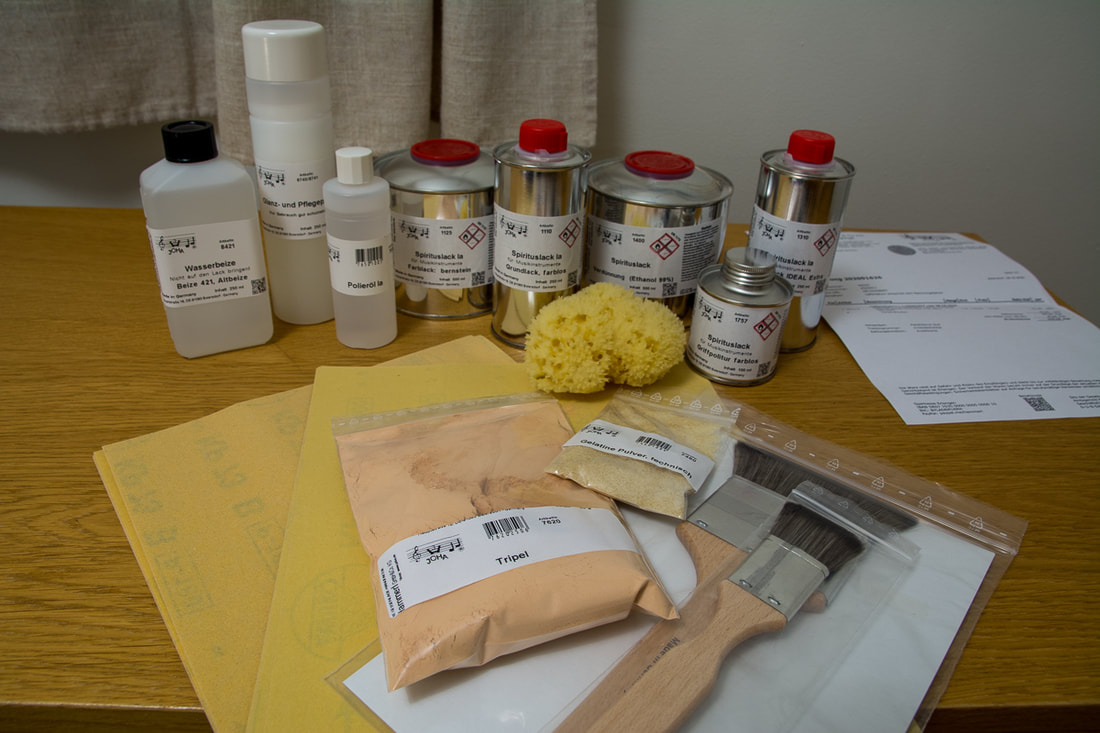 I could also shape the button now to match the heel of the neck. I did that with the left and right handed knives. The button seems quite thick. I will need to find out if there are some ways to make it thinner, or to at least look less bulky. I didn't add a chamfer yet, maybe that is enough. I had left the pegbox a little rough so I thought I would clean it up a little now. A sharp chisel can make same nice shavings. I shaped the saddle to fit its surroundings with a knife. Not much more to say about that. I did decide to do the glue up. I first glued up the neck. I really hope it all went well. It took a while to get the clamps right. And maybe the glue was too thick. It looks good now but I don't know if I can count on that. Otherwise the neck look goods. It appears centred on the body and the projected height is right. After the neck was done I also glued up the saddle. Now all its all done! Next I can glue the neck and the saddle on the body and then I can start fitting the cello. 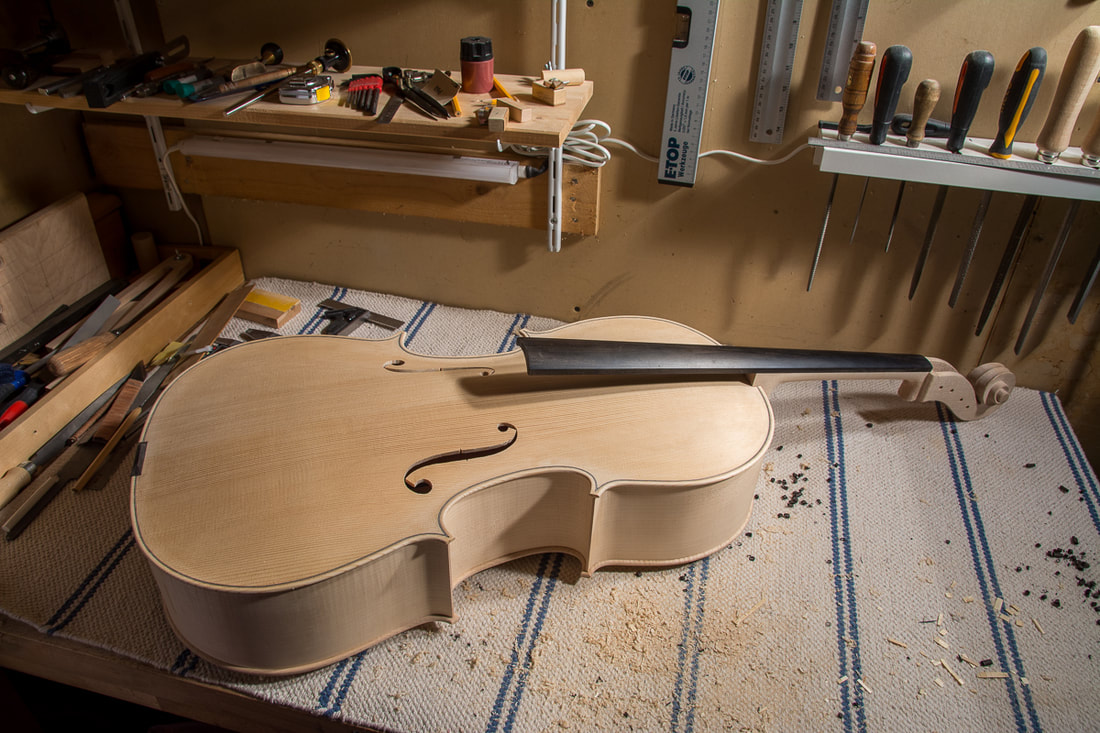 One last thing to do before glueing up the neck is to put the saddle on. It could also be done afterwards but in my small workshop it is easier when the cello is still small. I had prepared a bit of left over ebony from the fingerboard already. Similarly to the neck mortice, I marked the width and depth of the saddle and then cut it out. Once the cello body was ready I could shape the saddle appropriately. I smoothed out the curves of the neck a little more. First with a fine rasp, then with a file and in some parts also with the knife. In the end I asked my son how the neck and all feels. He said it feels all very good. So I thought maybe I can finish the neck refinements. |