|
I am now at ~5 mm everywhere. Some places in the lower an upper bouts are a little less. The front plate now weighs 429 grams. I have been doing this now with the graduation punch, the pencil gauge and a scraper. Mostly with the latter two. I find it easier to use the pencil gauge to mark up high spots. My process is as follows:
It is not quite uniform, nor is it exactly 5 mm. But I think it is close enough for now. Maybe I will move to the back next, hollow it out and start the graduation. Once both plates are fairly close I can then fine tune and match the tap tones of the plates. I am not quite sure how important it is for the tap tones that I have cut the sound holes already. And in fact maybe I could finish the sound holes next. Will need to think about this a bit.
2 Comments
I reduced the thickness further today. I am nearing 5 mm everywhere. The weight is now 460 grams. It seems like a lot when comparing to some other values I have seen around. Table 3 in www.platetuning.org/html/modes_-_tuning_plates.html lists the belly (front) plate weight for 1/2 cello at 295 grams. That seems like a lot of weight to reduce still. The table is based on some theoretical correlation and is the weight which would be expected by scaling a full cello front. I will keep the number in mind but not aim for it.
I just realised a small mistake I made in hollowing out the front. I didn't leave enough flat area around the bottom and top blocks. Or maybe just enough at one end. I thought I had marked the allowed areas properly but clearly I hadn't. One should always be alert and not trust that one did all correctly previously. I hope it doesn't matter too much. I started with the graduation of the front. I am bringing the whole front to a uniform thickness of maybe ~5 mm. I think that should be safe so that I have still material to remove. Today I managed to get it to ~6 mm everywhere. The photo below shows light shining through the front plate (where the circle is). The unevenness is mostly due to differences in wood density. The plate itself is pretty consistent. Only where the two plate halves join in the middle is the plate actually thicker. This is because I need to plane one side in the opposite direction from the other. In order not to plane against the wood, I have to stay a bit off the centre on both sides leaving a small ridge in the middle. I also had some good exchange of emails with maestro Kimon today. Thanks maestro! We discussed how to best do the graduation and the tuning of the plates. I haven't found good material on how to do it for a small cello like this 1/2 cello I am making. It is probably not possible to get the tap tones of a 4/4 cello without the plates getting too thin. The current plan is to keep the plate thicknesses reasonable. And rather than concentrating on the absolute frequencies of the tap tones, I want to make sure that the tap tones of the back and the front have a good relation to one another. 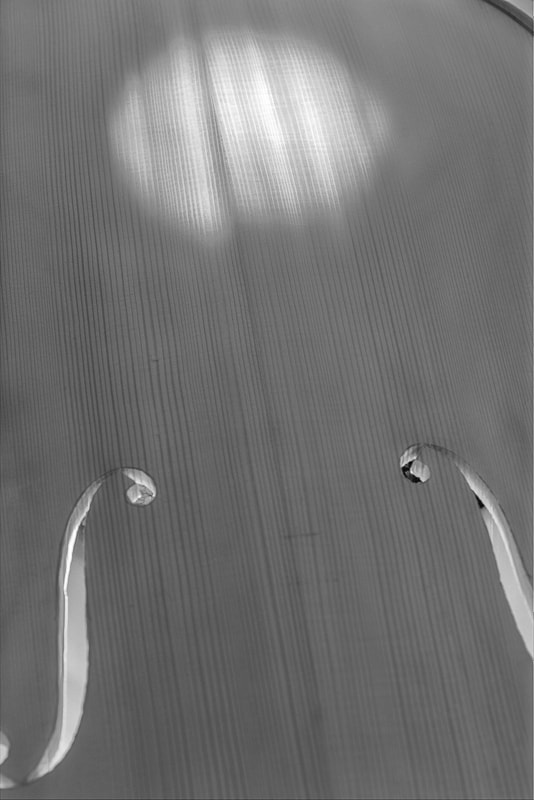 I did a bit of scraping today. Th back is a little rough still and needs to be refined but I am pretty close to the final shape. I think Barker wrote that one should be careful not to take templates etc. too strictly. And in fact Strobel also stresses that the templates were for his cello but we should make our own cello. I am taking that as chance to make my own choices. Once refined, the current arching of the back is beautiful in my opinion. I feel more and more that I would now really benefit if I had well made cello to study. Reading books can't quite replace that. I did good progress this weekend. I continued with the arching. I got pretty close to the the final shape. Still need make sure the arching is nice and even. I also made two more knives, a 12 mm left handed and a 18 mm right handed. Now I have a nice set to work with. |


