|
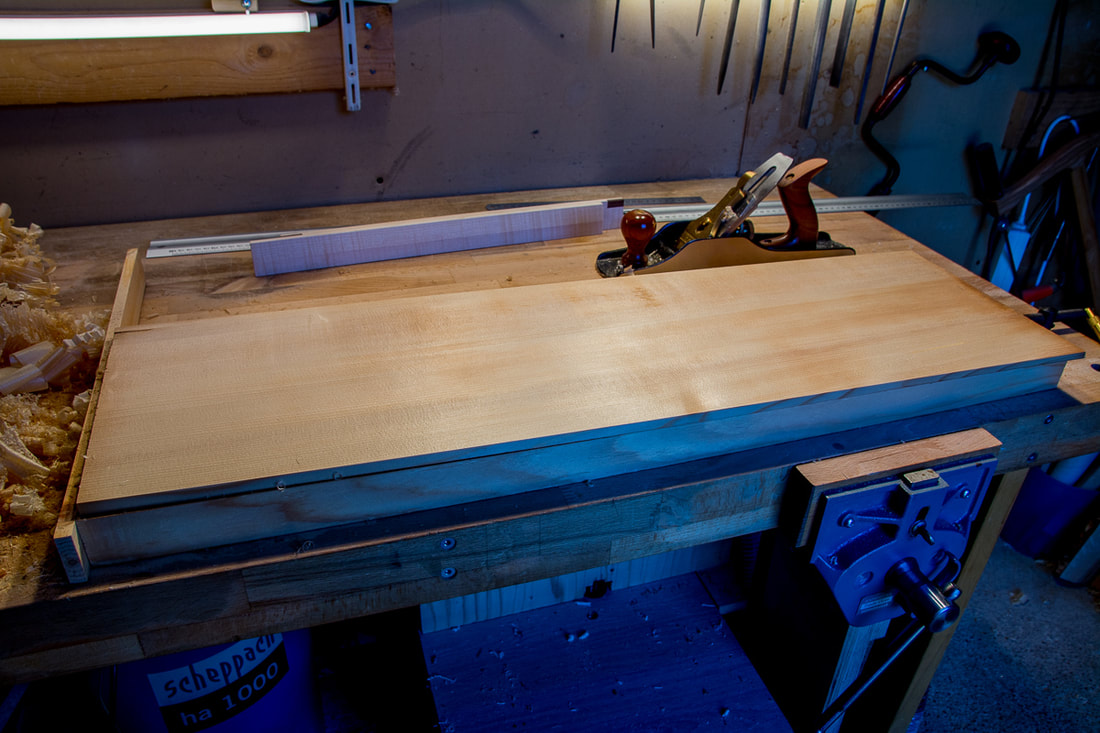
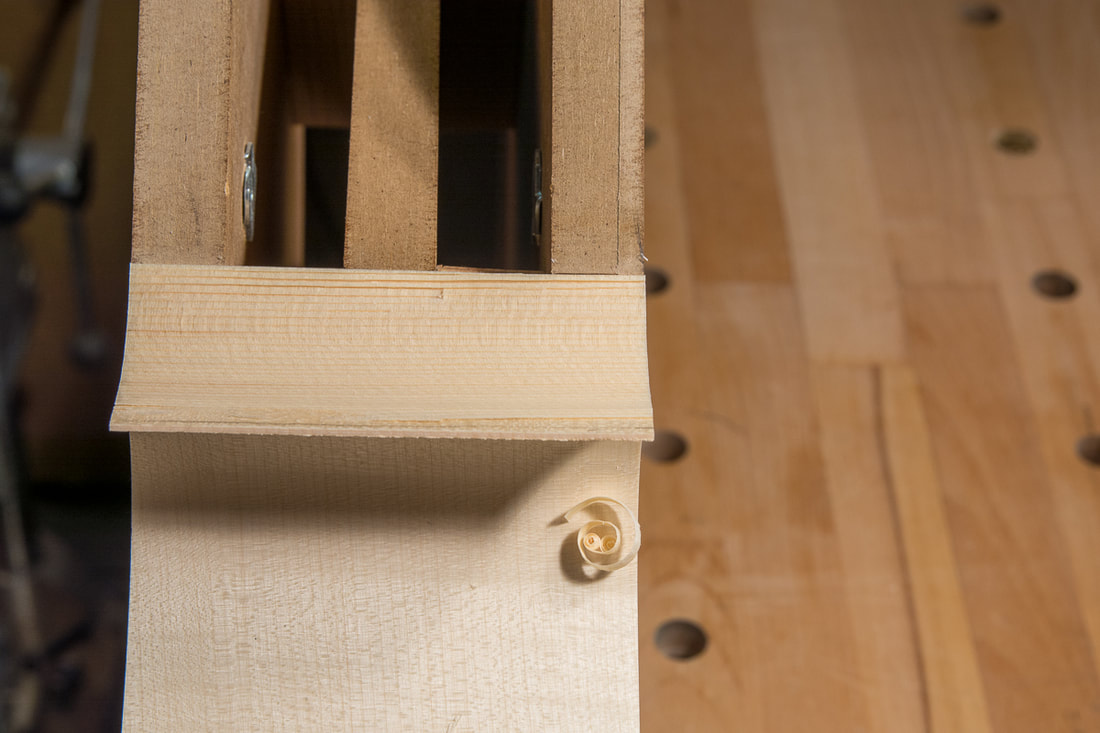
I started with the front today. I want to proceed with the front before I decide what to do with the corners. I also want to know what to do with the corners before removing any layers from the mould or glueing the linings. Before I can join the two halves of the front I want to check how the grain runs and if one end of the wood is better or worse. First thing to do is to plane the bottom surface flat. While doing this I noticed the front doesn't have an even colour. Not sure how well that comes out in the photos. I had noticed that the edge was darker than the rest but I though that was only the edge and also there maybe only on the surface. But seems like it is going all the way through. My plan is to varnish this one with a darker colour and I hope the varnish will hide any different in colour in the wood itself.
0 Comments
I don't quite understand the shape of the corners in Stroble's drawings. He does mention they are drawn from his templates and hence the lines are meant to be cut out. The dashed lines showing the outside surface of the ribs converge and I cannot figure out how to make them join within the drawn corner of the front and back. My corner is little different from the drawing. It was my attempt to make the ribs join over a shorter distance. I don't like the look of the corner now. I will make it shorter but I am not sure quite how to get nice looking curves. I suppose I should have thought about this more before glueing the ribs. 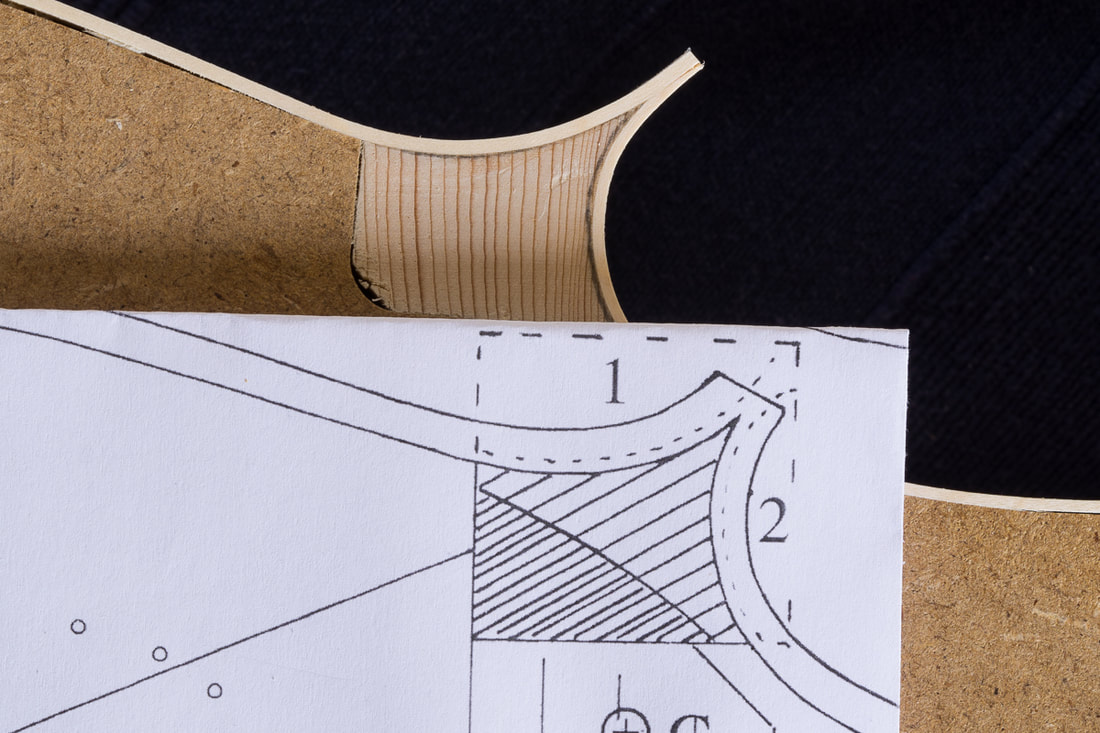 Before glueing the upper bout ribs to the upper block I shortened the ribs to proper length. The joint doesn't need to be tight so left a small gap between the ribs at the top. I then glued both ribs at the same time to the upper block. I made holes to the mould to allow easier clamping of the ribs to the lower and upper blocks. The holes are also a convenient way to carry the mould once the ribs have been glued in place. Last of the ribs to do. Bending the upper ribs seemed to go so fast compared to the rest. I also glued them both to the corner blocks. I first glued one, waited a couple of hours and glued the next, I couldn't wait until the next day. Glueing the ribs to the corner blocks first can be done for the upper bout ribs since the joint doesn't need to be good at the top as the neck mortice is going to be there anyways. I really enjoy cello making. Today I was thinking about the grain pattern in the upper bouts and how to best make it match the c ribs. Also just handling the wood is so nice. I had planed the ribs nice and smooth and they are silky smooth. Before starting with the upper bout ribs, I trimmed the lower bout ribs so that I don't break them. The height was easy to trim level with the mould with a block plane. It was great to be able trim the ends at the corner blocks properly. I used a fine saw to get close to the line, and then a block plane until I reached the feathered ends of the c ribs. This is something I struggled with last time. Here's a photo of the joint of the lower bout ribs. It's a tight joint with a pretty close match with the grain. Can't complain too much. The rib on the right could be a little higher I suppose. 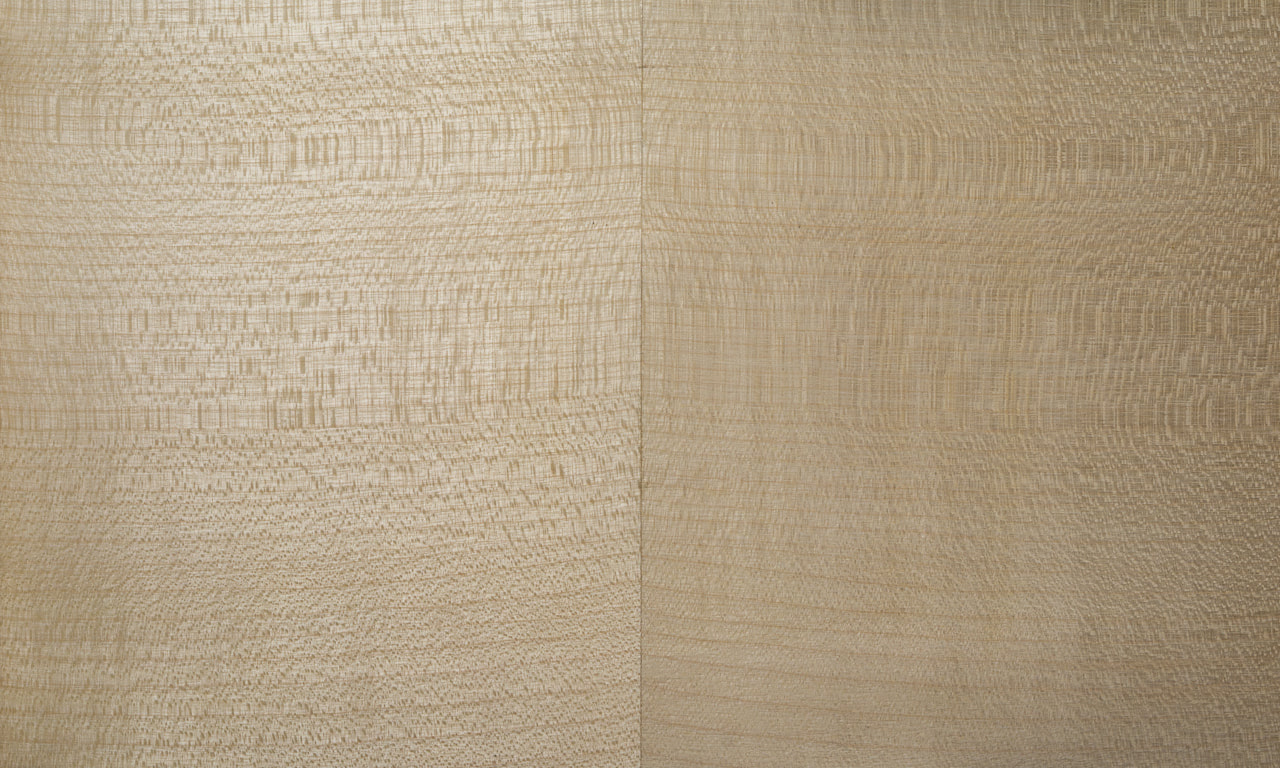 The lower block joint had had time to set over night so I could continue to glue the rib to the first corner block. I wasn't too happy with the clamping system used by Strobel in his plans. It was too fiddly, especially in the c ribs. But they are great for ensuring that the lower (and upper) bout ribs closely follow the mould. I used parallel clamps to apply pressure for the actual glue joint to the corner block. I managed also to glue the lower bout ribs to the bottom block today. Last time on the first cello I first glued one side and then the other. That worked really well, but I wanted to try the method shown in The Art of Violin Making by Johnson and Courtnall with this one. One sticks the two ribs together with same tape so that overlap 1-2 mm and then brings them together. The tape has enough give to make it possible to bring the two ends together and hold them tightly. With that done I then glued the ribs to the bottom block. One could have also glued the ribs to the corner blocks but I think that would have been too much in one go for me. I'd rather go slowly and be sure to get it right. I bent the lower ribs today. The grain from the c ribs continues to more or less seamlessly onto the lower ribs. The two sides of the lower ribs (and c ribs) are also book matched so that the one side is like a mirror image of the other. The lower ribs have less curvature than the c ribs so they are a lot easier to bend. Today I finished the remaining work on the blocks, namely the second surfaces of the corner blocks including the c ribs. My gouge with the bevel on the inside is really too narrow for this work but I don't have another one. I use a large file and some sandpaper around a dowel to finish the work. The feather edge on the c rib is quite long, probably too long for now but that's how the curves of the corner blocks continued nicely. I might need to fix those later after the rest of the ribs have been glued on. Davide Sora has again a great video on this. |
AuthorElias keeps growing so a bigger cello will be needed eventually. With the previous cello I had to hurry up a little as Elias needed it already. With this one I want to avoid the pressure. Archives
April 2022
Categories
All
|


 RSS Feed