|
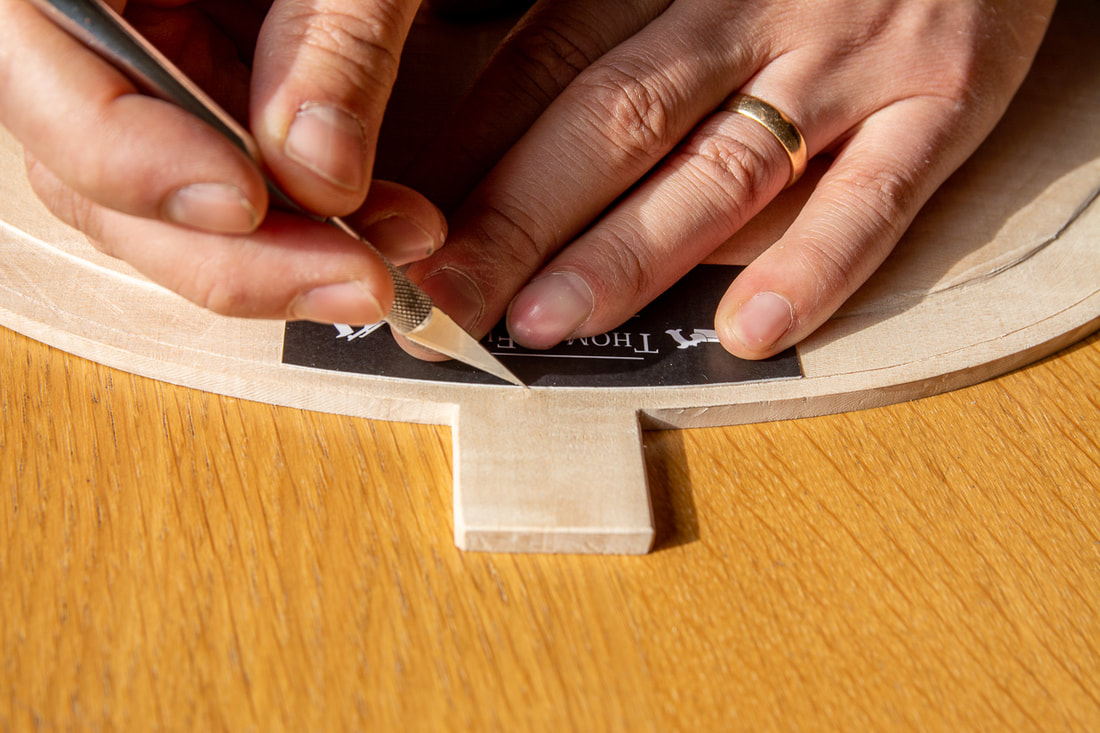
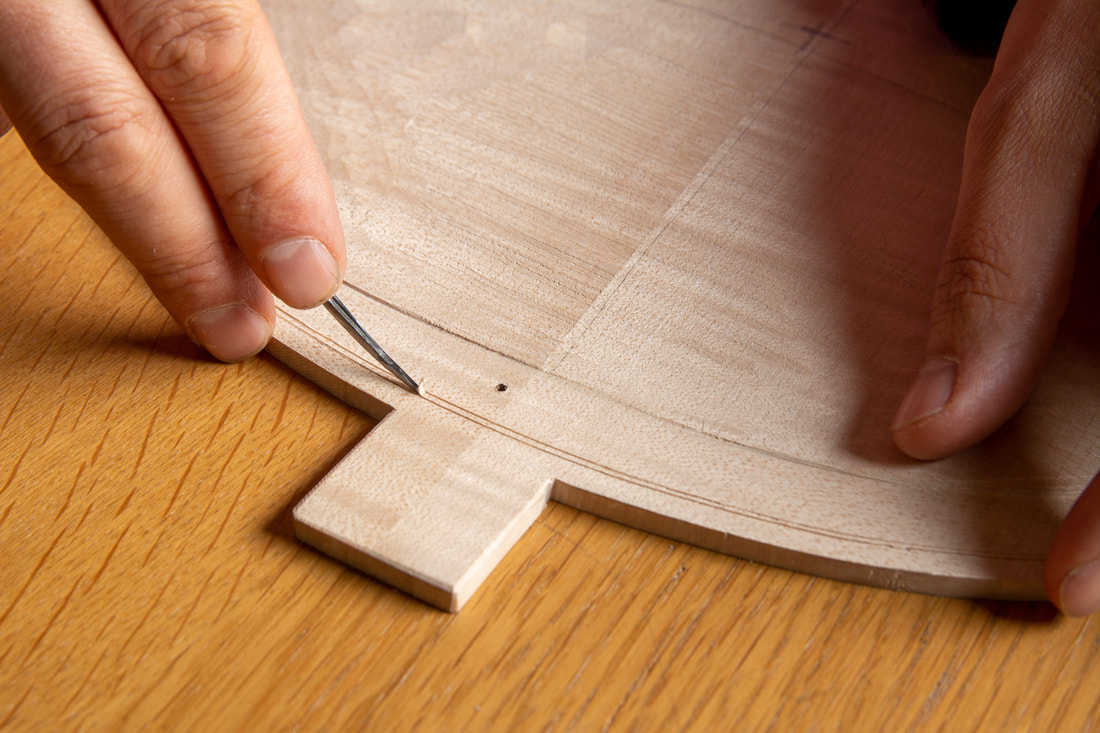
The purfling at top of the back cannot be traced with the tool directly as there is a bit food sticking out to which the neck will later attach. I cut a template from the ribs so that I can connect the lines coming from both sides. Once the outer edge of the purfling channel was complete I made the inner edge by adjusting the width of the cut on the tool. Once both edges are established, the channel can be cleared with a small chisel like tool. Luthier Lucas Fabro has a nice YouTube channel. He is currently creating a video series on how to make a cello. His video on purfling can be found here Making a Cello - The purfling.
0 Comments
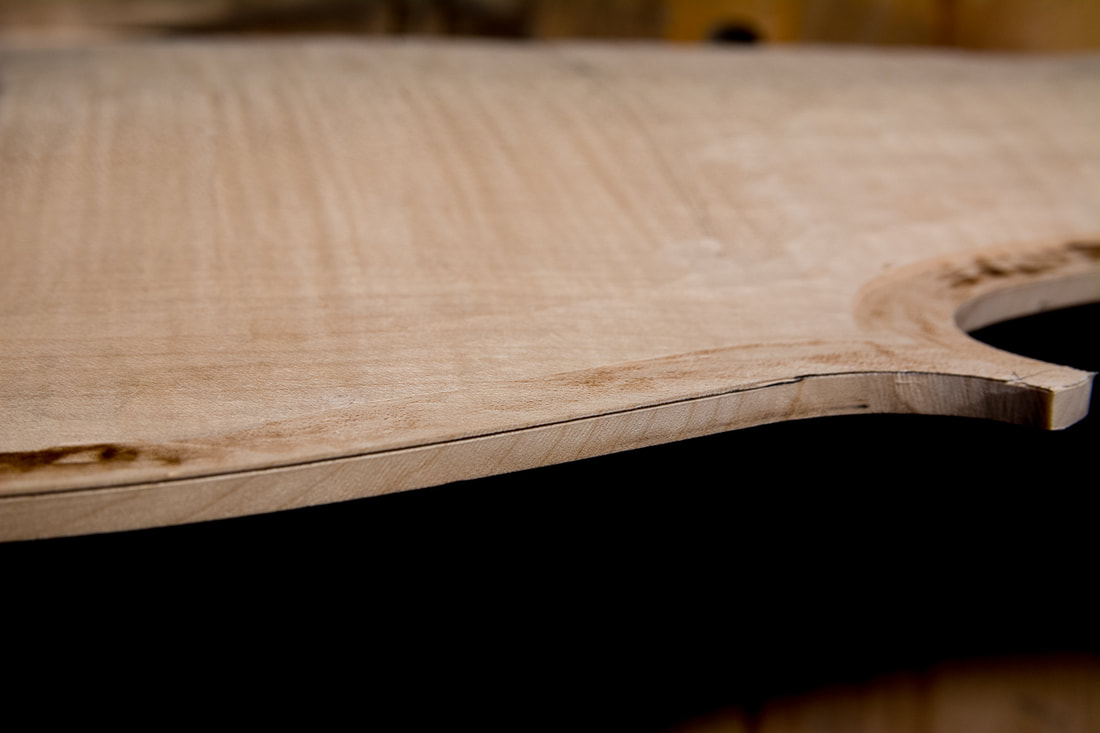
Happy new year! I have had a long break in building the cello. Lot's of other things have happened. But now in the new year it is time to continue again. I had started the purfling channel but hadn't finished the corners. These are tricky and I haven't really been able to figure out how they are generally done. Looking at some photos of cellos, it looks to me like the distance of the purfling is pretty much constant around the C's and the upper and lower bout are adjusted to make a nice curve. So that's what I decided to do. I used a French curve to get a nice curvature. A couple of days ago already I started to make the purfling channel. The purfling is 5 mm from the edge of the back. I am going to make the channel with the tool I built for the first cello. The tool is used to make a clear line for the outer edge of the channel first. The line will be made deeper with a knife. I prepared the purfling platform today. First I marked the final edge thickness and then using a small plane, a chisel and a file I created a flat edge all around the back. |
AuthorElias keeps growing so a bigger cello will be needed eventually. With the previous cello I had to hurry up a little as Elias needed it already. With this one I want to avoid the pressure. Archives
April 2022
Categories
All
|


 RSS Feed