|
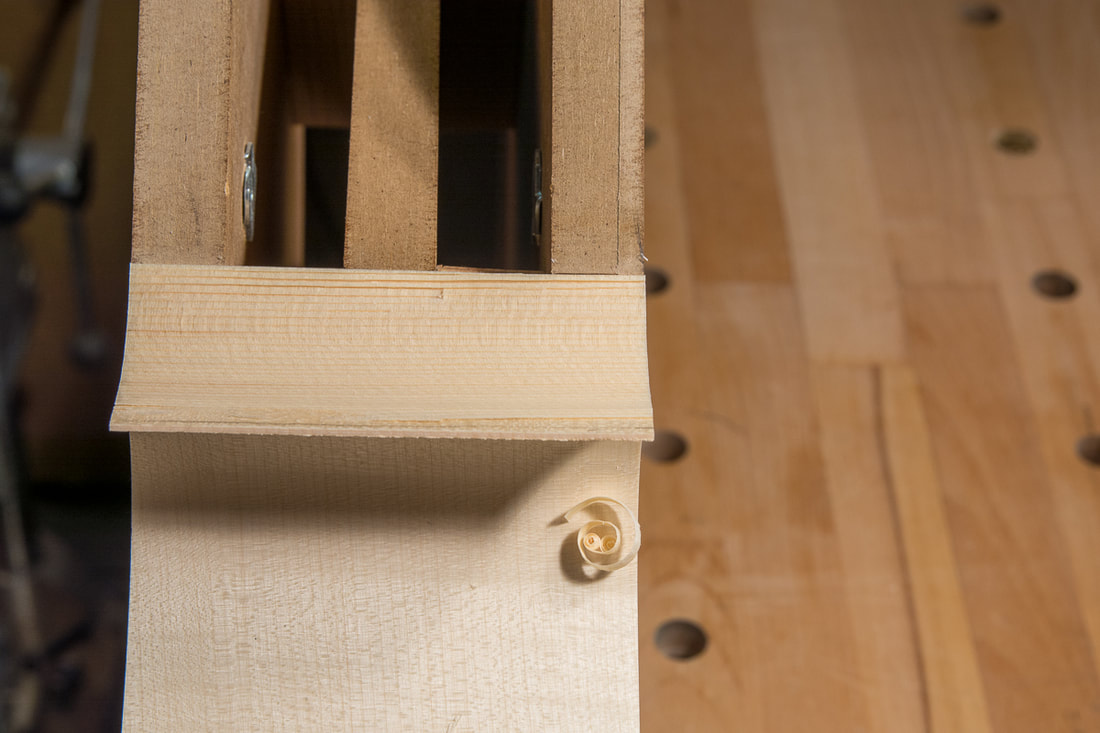
Today I finished the remaining work on the blocks, namely the second surfaces of the corner blocks including the c ribs. My gouge with the bevel on the inside is really too narrow for this work but I don't have another one. I use a large file and some sandpaper around a dowel to finish the work. The feather edge on the c rib is quite long, probably too long for now but that's how the curves of the corner blocks continued nicely. I might need to fix those later after the rest of the ribs have been glued on. Davide Sora has again a great video on this.
0 Comments
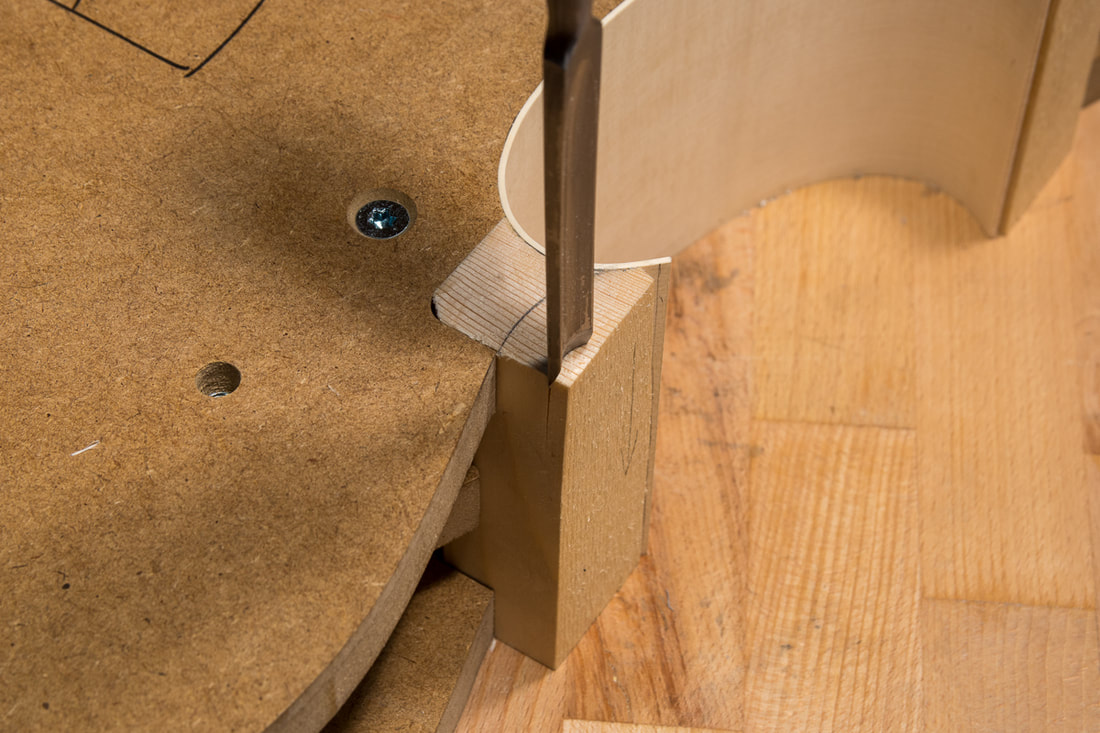
Before I can continue with the ribs for the bouts I needs to finish shaping the corner blocks. Here again it's great to have the grain of the blocks running along straight along the side. I will let Davide Sora show you how it should be done in the video after my photos. The glue has dried. Time to trim off the extra height from the c ribs. This is pretty quick and easy since the top of the mould exactly defines the height. I glued the second c rib today. The rib needed some more work before it would fit nicely. It was difficult to put the clamps on and get enough pressure to make the rib form to the corner block. In the end I did manage to get a good seamless fit.
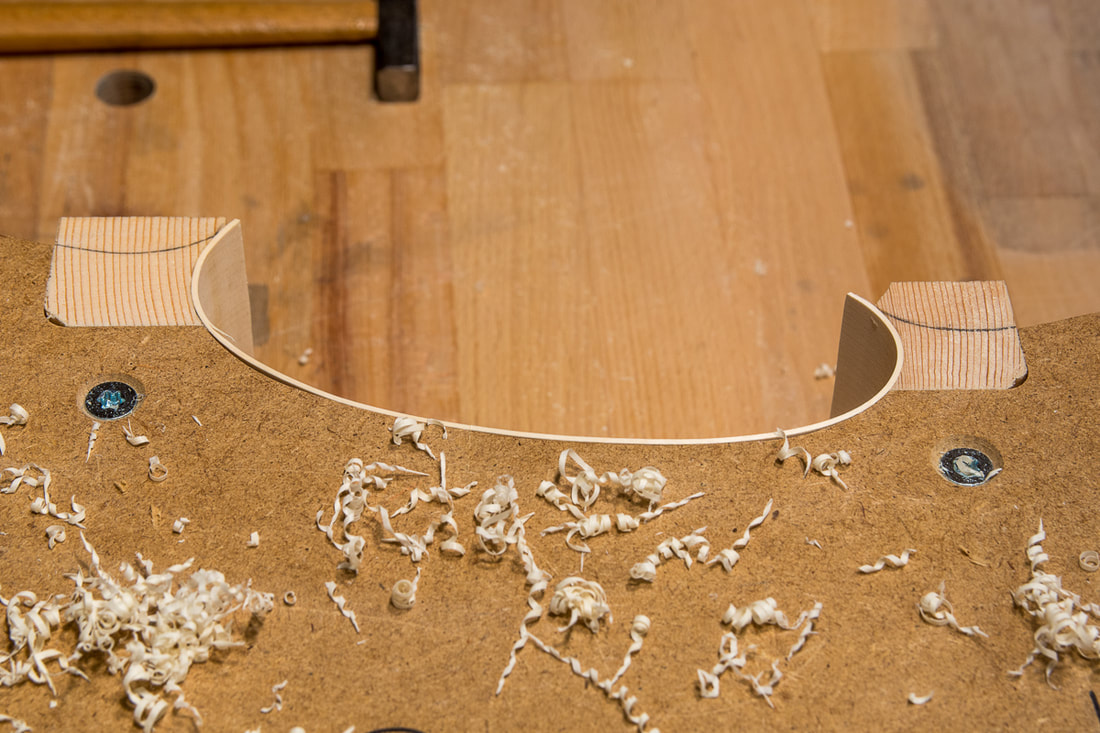
Now that both c ribs have been glued on, I can next finish trimming the corner blocks. Once that has been done I can bend the ribs for the upper and lower bouts in place. After having bent the c ribs, I managed to glue the first rib today. First I rubbed some soap on the mould in order to prevent accidentally glueing the rib to the mould. One that was done I the glued both ends of the rib to the corner blocks. I am really happy with the fit. The last photo shows how closely the rib follows the mould. When I came back to the c rib I had bent yesterday, I noticed that it had changed quite a bit. The two photos below show the pin yesterday (left) and today (right). That was however easy to correct. It was a lot quicker to bed the second c rib than the first one. I think it is due to both me having had some practice, and fixing the couple of things I did wrong yesterday. Having the rib close to the correct measurements made it a lot easier to handle and bend the rib. Yesterday I collected the bending iron and strap from Erkki Ruokonen. He kindly lent them to me for a while so that I don't need to buy my own quite yet. I started bending the ribs today. Last time I didn't have the bending strap so that was a new thing. I started with the whole piece I had for the c bout. That was a mistake. I should have cut it shorter and narrower straight away. It would have been easier to handle. My second mistake was to start too close to then end. That is where the grain continues to the lower bout so I wanted to avoid cutting any more than necessary from the ribs so that the continuity is as good as it can be. I should not have been so greedy. I maybe had only 1 cm extra at one end. Another 1 cm would have been better. It is tricky to bend the very ends evenly so the extra length helps there. Despite my mistakes I think I got the rib to fit the mould pretty well in the end. This is a loose fit and once I apply a little pressure the fit is almost perfect. Next I will bend the second c rib and then I can glue them in place. Once the c ribs are on, I can finish trimming the corner blocks with the c ribs so that they nicely feather into the lower and upper bout ribs. I found a new site where there is some information on cello making. This one is by Michael Doran of www.doranviolins.com. I came by his blog when looking for some more references for the cello rib thicknesses, www.doranviolins.com/workbench/rib-structure-pt-1/. There isn't a lot of new information in the blog but it is an interesting read anyways. What I like about cello making is that everybody goes about it in a slightly different way, seems like no two luthiers do it the same. Michael uses a toothed blade on his plane when thicknessing the ribs, and sometimes leaves some marks on the ribs as he has seen on some old cellos.
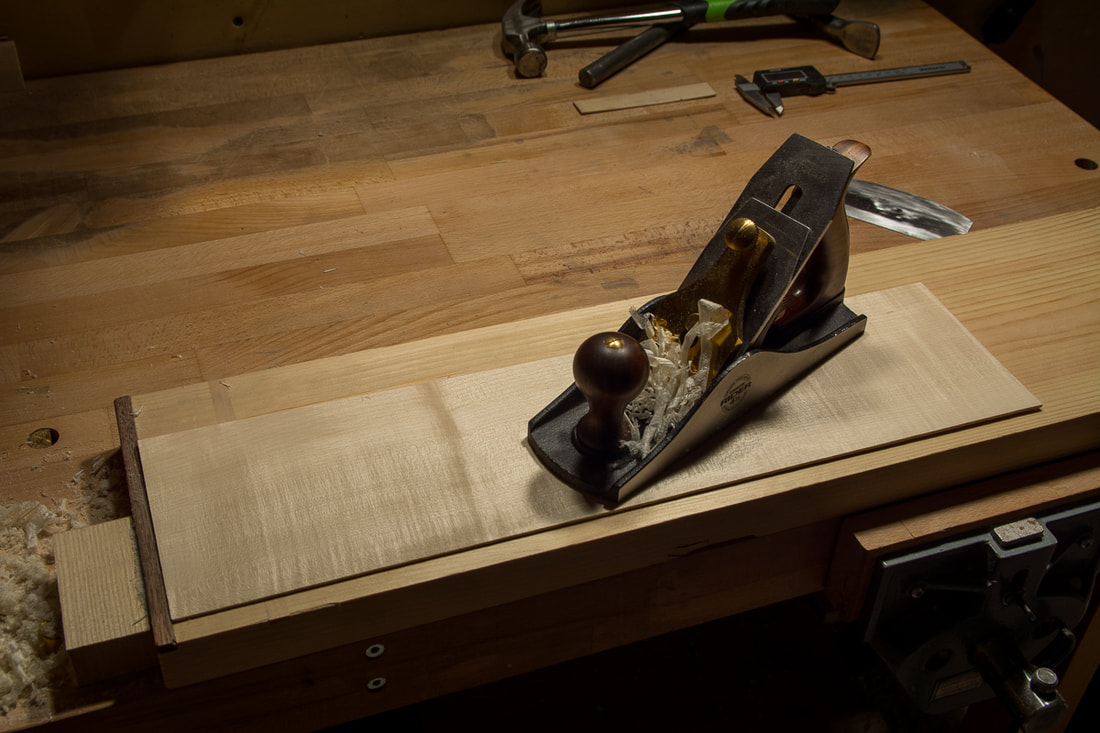
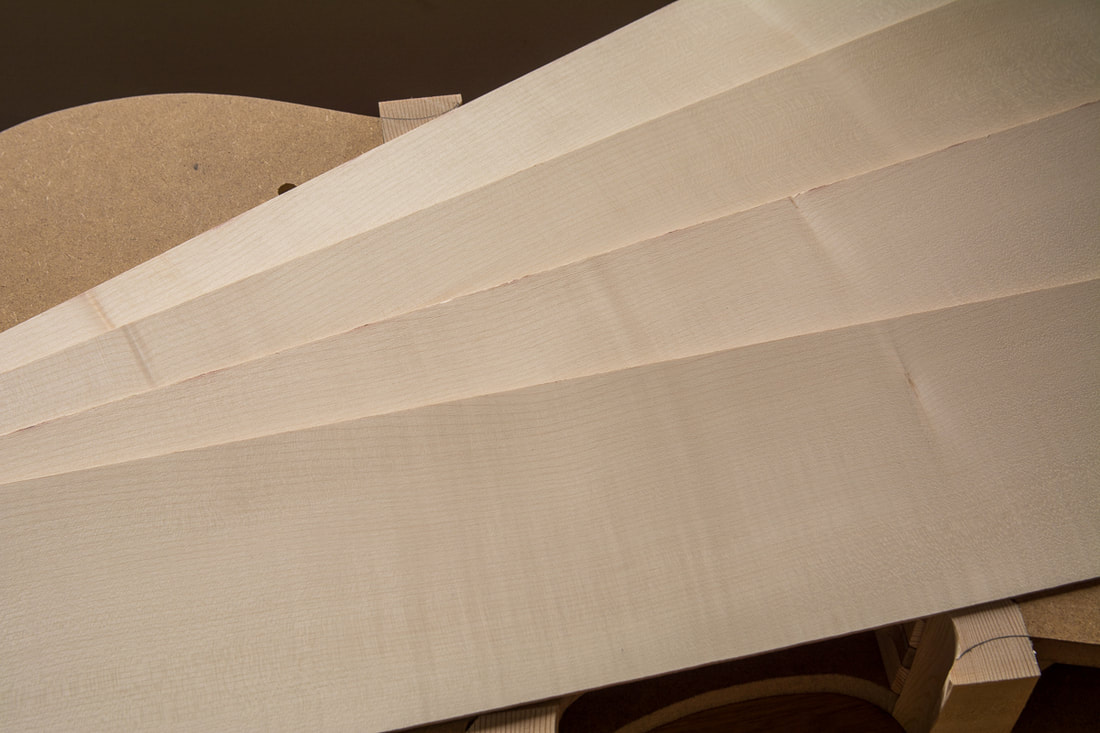
Last time I prepared the short pieces which will become the ribs for the c bouts. Today I worked on the longer pieces which will become the ribs for the lower bout. I started again with the plane. There was some tear out which I at first thought was unavoidable since the wood has some figure in it. After re-sharpening however I could place without any tear out. Good reminder to always ensure the blades are sharp. Since there was so little tear out I could go very close to the final thickness. I did do some finishing touches with the scraper again. I have four blanks for the ribs. They are very similar but two have a pretty long knot on the side. Luckily the shorter piece is still long enough for me to get the shortest ribs for the c bouts. I marked the pieces so that I can easily identify which faces have been together. This allows me to then make the grain flow smoothly from the lower bout onto the c bout. The ribs are now ~2.2 mm thick. I will reduce them down to 1.5 mm. I start with a plane and joint one edge and continue with one face. I take very little on the first face with the plane and smooth it with a sharp scraper. Once one face is good, I will remove the rest of the extra material from the other face. Again first with the plane because I find it easier and I think I can better get a uniform thickness with the plane. It does however tear the grain a little so I need to finish the ribs with the scraper. |
AuthorElias keeps growing so a bigger cello will be needed eventually. With the previous cello I had to hurry up a little as Elias needed it already. With this one I want to avoid the pressure. Archives
April 2022
Categories
All
|


 RSS Feed