|
The mould has almost served its purpose. Time to remove the top of the mould so that I can install the linings. Both sides of the mould have T-nuts on the underside so that the mould can be lifted using some bolts. I also had managed not to glue the plate to the sides so this was very easy. Before I removed the top of the mould I used a pencil to mark where there was a bit of a gap between the sides and the mould so that I can ry to correct that with the linings.
0 Comments
I came across a video where Davide Sora talks about his approach to violin making. I really like his videos on his YouTube channel. Nice to hear and see the person behind the craft. Unfortunately I haven't had time to do much in the past days. But today I finally had some time again. I shortened the upper corners considerably. I am not too happy with the shape. Not quite sure why that is though. And unfortunately I don't have much to compare to. Maybe the c rib should go straighter out to the side and the upper rib could have some more curvature at the tip. I glued the back together today. That went really well and I almost didn't put any clamps this time, almost. I should try that out some time with wood that I am not building an instrument from.
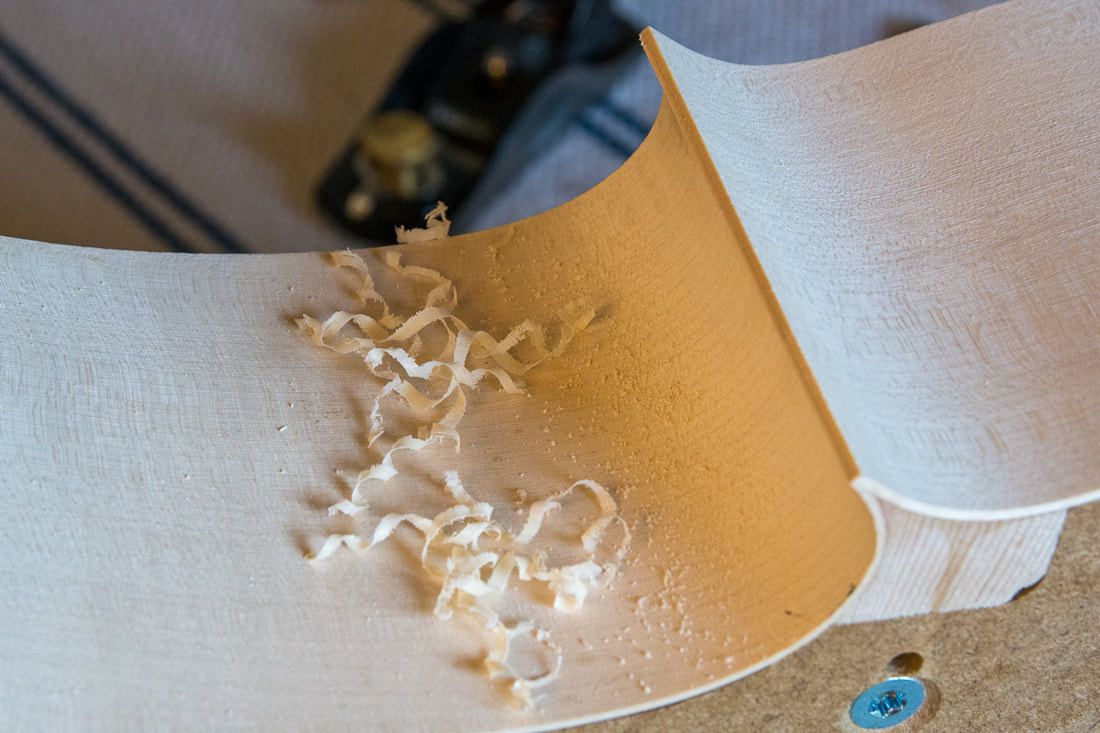
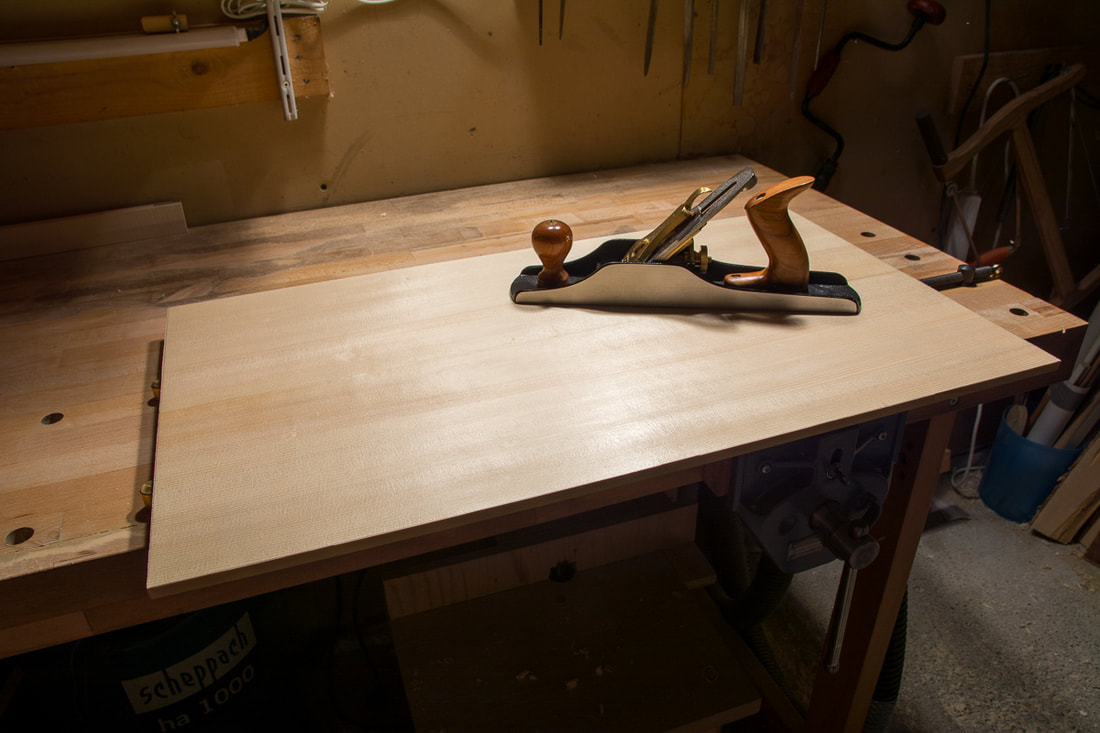
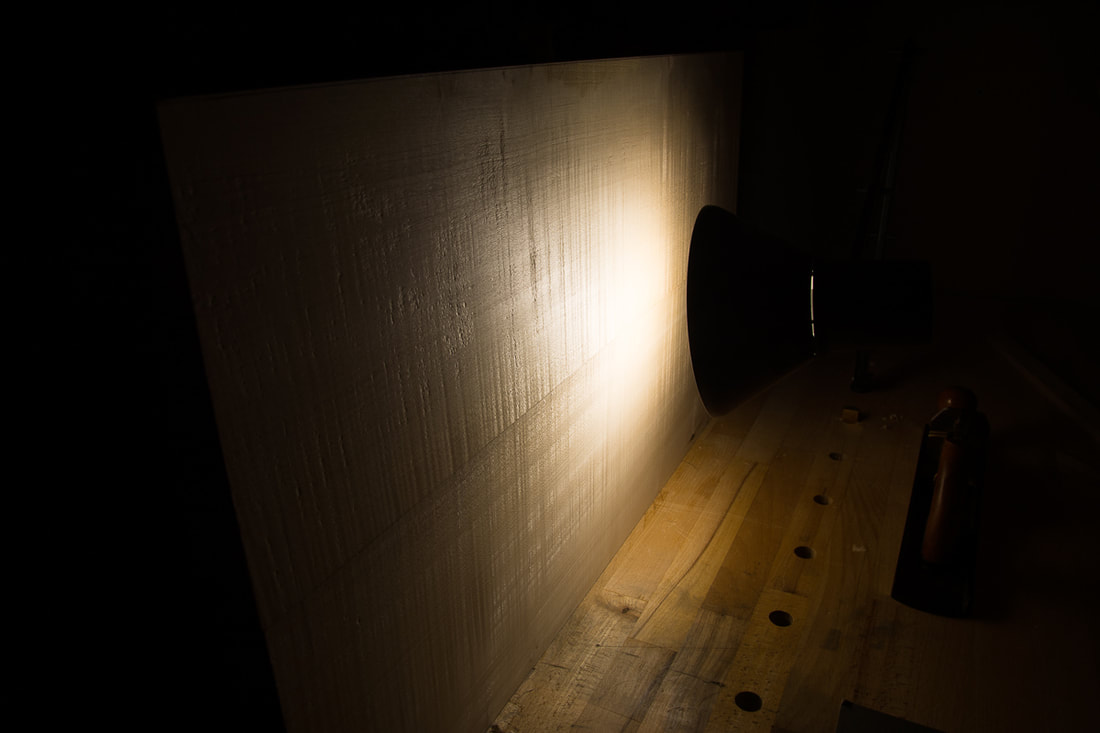
I glued the front yesterday. Today I mostly just cleaned the joint as I didn't have time to really make the lower surface flat. I got my bending iron today. I thought for a long time about buying one. They are pretty expensive and I found it quite difficult to justify buying one. I didn't want to buy a cheap one as I always regret buying cheap tools. In the end I went for the bending iron and strap made by luthiers-bench.com. This is also my first direct experience of the effect of brexit. I needed to pay €67.44 import duties and tax etc. in order to get it to EU. Hadn't accounted for that in my considerations, and probably not have bought the iron had I known that. But now I have it and am very happy with the choice I made. I'll be needing it soon when bending the linings.  I glued the front also today. First I attached one side to the table and then prepared everything ready for the glue up. Once the glue was hot I heated the joint with a heat gun for a while and then spread the glue. Then I rubbed the second half over the first one until it stuck. When the two pieces fit well, this should be enough to get good joint. I was uncertain however and added some clamps anyways. The idea of the rub joint is that since one doesn't need to use clamps, the joint is stress free which should be better. I also jointed the front. I had already tried to get it close so the start it pretty good. But some light is shining through. A few light passes with the plane was enough the get no light what so ever through the seam. Next up is to prepare the joints for glueing. The hide glue used in instrument making does't fill any gaps so it is very important to get the two pieces to be jointed to match very well. This is done by lighting the boards from one side and looking for any gaps. I had already jointed the boards before taking any photos so I simulated the effect by inserting a 0.05 mm feeler gauge between the boards at one end. The light is more or less in the center of the back lengthwise so the gap between the boards on the centre photo is roughly half of that. Once the feeler gauge is taken away there is only very little light coming between the two halves of the back. The same that I've done with the front needs to be done with the back. The grain already runs almost parallel to the joint so I don't need to fix that. But I did make them match on both sides so that one is the mirror of the other. The figured hard maple of back is quite a bit more difficult to work with than the soft spruce of the front. Having a sharp blade on the plane is a must.
|
AuthorElias keeps growing so a bigger cello will be needed eventually. With the previous cello I had to hurry up a little as Elias needed it already. With this one I want to avoid the pressure. Archives
April 2022
Categories
All
|


 RSS Feed