|
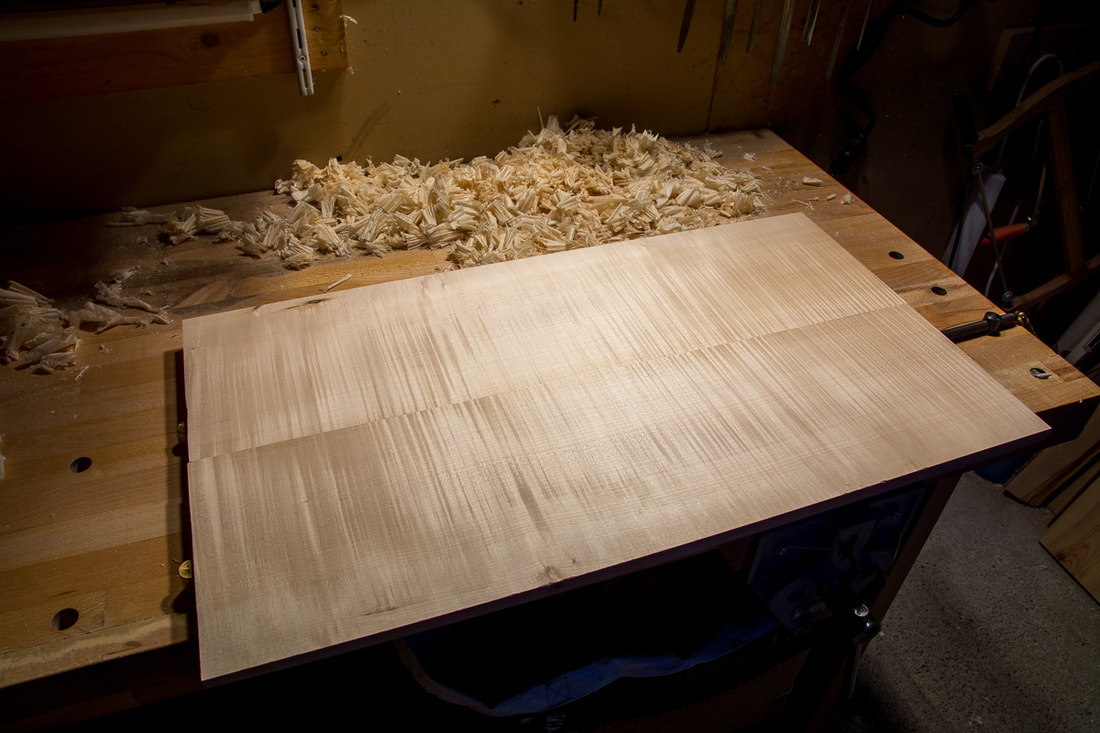
I continued with the rough arching. This time taking material off the sides. First with the plane and then with a gouge. The back is still much too thick but I think I will next do the transversal arching guides so that I can keep checking I am not going too far.
0 Comments
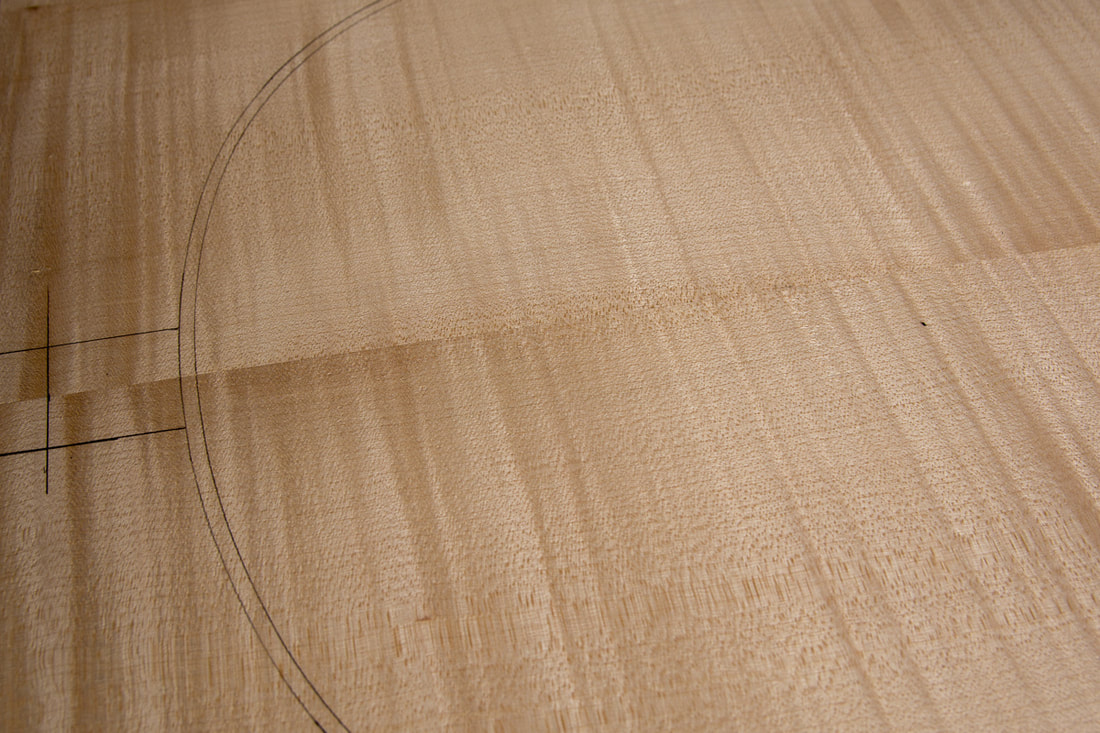
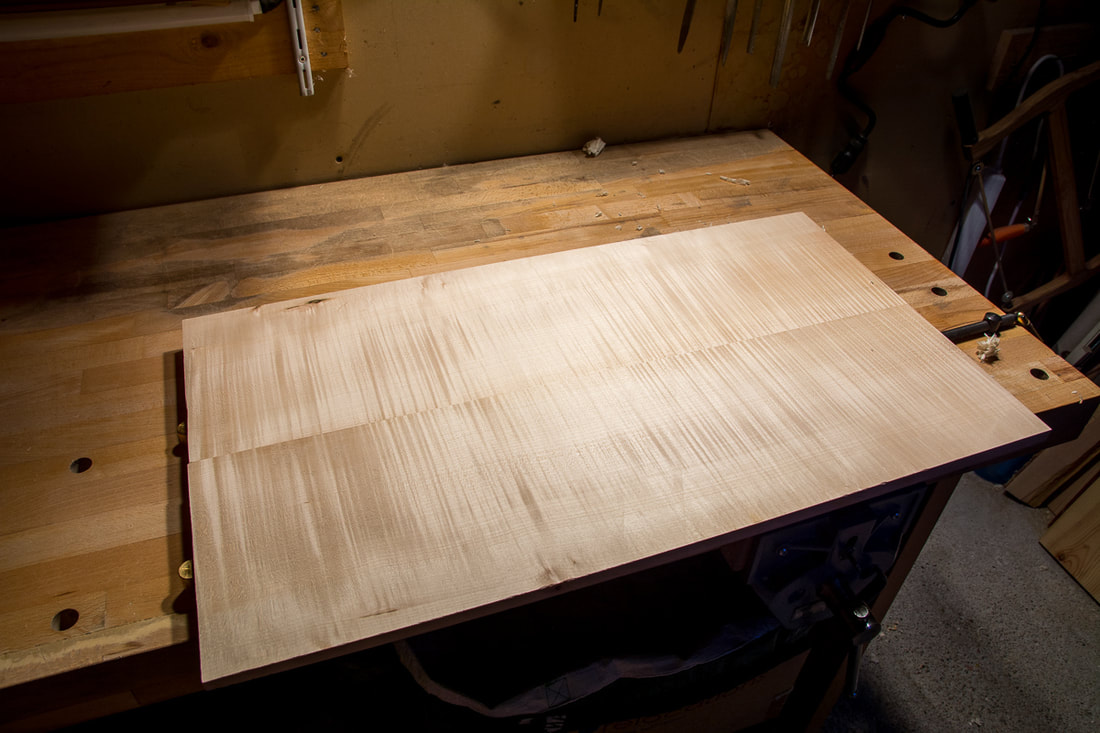
With the longitudinal arching guide done, I could start with the rough arching. This time I will try to do it with hand tools. Mainly to avoid the noise and dust generated by power tools. Last time I used the overhead router method. It worked fine and got me pretty close but it was also a lot of work. First I marked the edge thickness of 5.5 mm. Then I took my no. 5 scrub plane and started planing. At first it seemed like an impossibly big task, but It all goes actually pretty fast. The back is lot thicker than it needs to be, so I have a lot of material to remove. Sometimes I think a small electric jointer plane would be great to have. At the moment there is simply no space for that. I can now start shaping the outside of the back. The order of operations seems to vary a lot from maker to maker. Some now establish the edge thickness and do the purfling before starting on the arching, others start with the arching and do the purfling in the end. In any case I thought now would be a good time to make at least the long arching guide for the back. Last time I had done it from thin plywood. This time I will try thin aluminium sheet (0.8 mm). Mainly to be certain it keeps its shape. I added locating pins for the back this morning. They should be about 15 mm from the edge. So I measured the distance from the edge of the button to the ribs and added 10 mm accounting for the width of the edge. I drilled the whole with the nail I am also going to use as the pin. The diameter is just under 2 mm. The pins were added to both ends of the back. Now I can remove the back from ribs and easily put it back on its place. With the outline drawn I could then saw to the line. I made this frame saw a while back so that I would be prepared for this. It was hard work but the saw was great. The blade is a thin Turbo-Cut 400. I stayed quite far from the line just to be sure. Time to mark the outline. I mark both the outline of the ribs, and the edge of the back which should be offset by 4 mm for a 4/4 cello. With the scale of this 3/4 cello (I am scaling all linear dimensions by 91.4 %) that comes to 3.6 mm. Luckily I have a washer of exactly the right dimension. In addition to those I also added enough wood for the button. Do not forget to do that! With the ribs done it is time to continue with the plates. I had already glued the two halves of both plates together so I could start flattening them out. I started with the back. It was already pretty close I just needed to remove some glue from the joint and come chipping left from my rough flattening earlier. There's some nice figure in the back. Many luthiers seem to carry the same operations in parallel to both the front and the back. I don't know yet how I will do this. Somehow doing one first and then the next seems logical to me. Maybe since I rarely work for more than an hour a day. The rib structure is finished for now. The linings provide structural rigidity for the ribs and the shape of the outside is now well defined. I will not remove the last layer of the mould until the plates are ready to be glued on so that the ribs keep their shape. Once the last layer is removed, the blocks still need to be shaped. 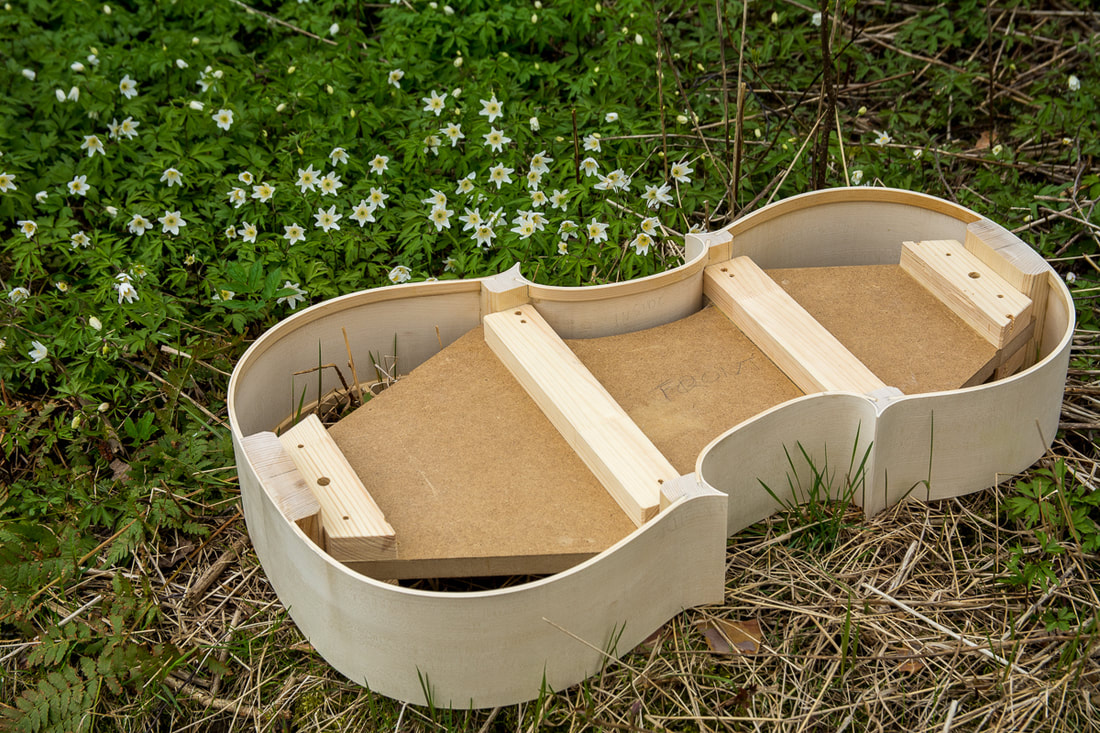 Now that all the linings on the back side are glued I can trim them level with the ribs like I did on the front side. I forgot to take a photo after the trimming but here's one before hand.  |
AuthorElias keeps growing so a bigger cello will be needed eventually. With the previous cello I had to hurry up a little as Elias needed it already. With this one I want to avoid the pressure. Archives
April 2022
Categories
All
|


 RSS Feed