|
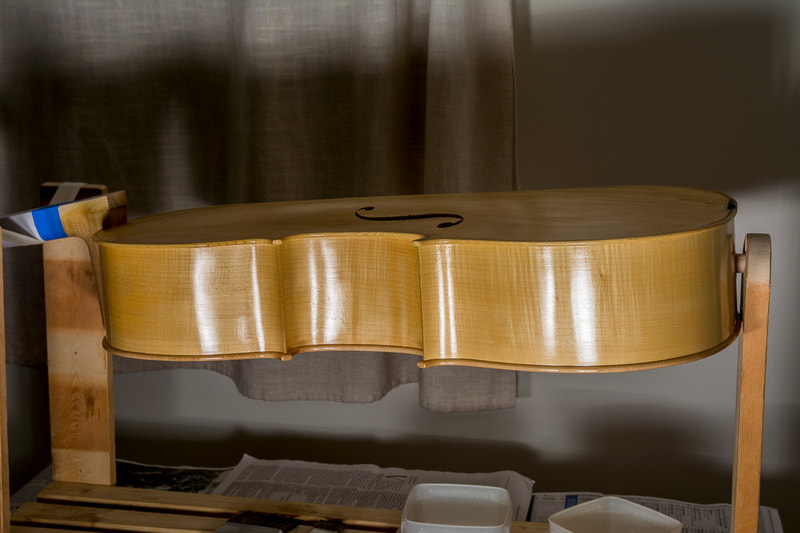
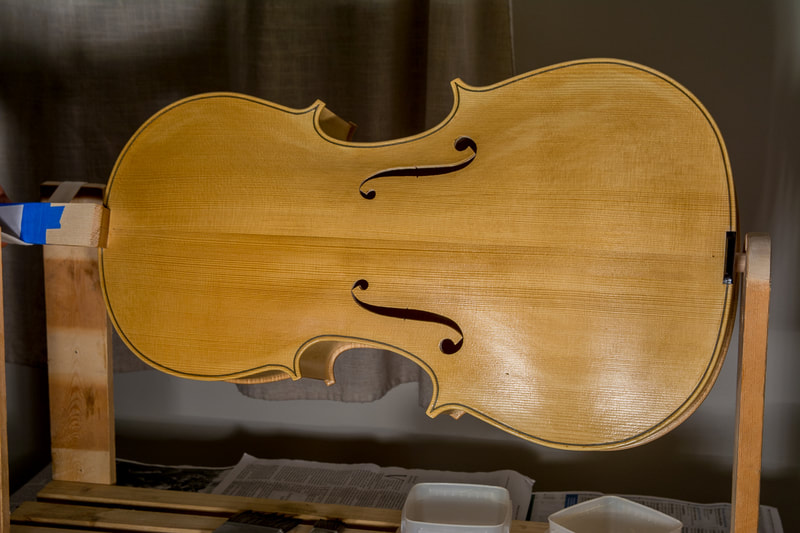
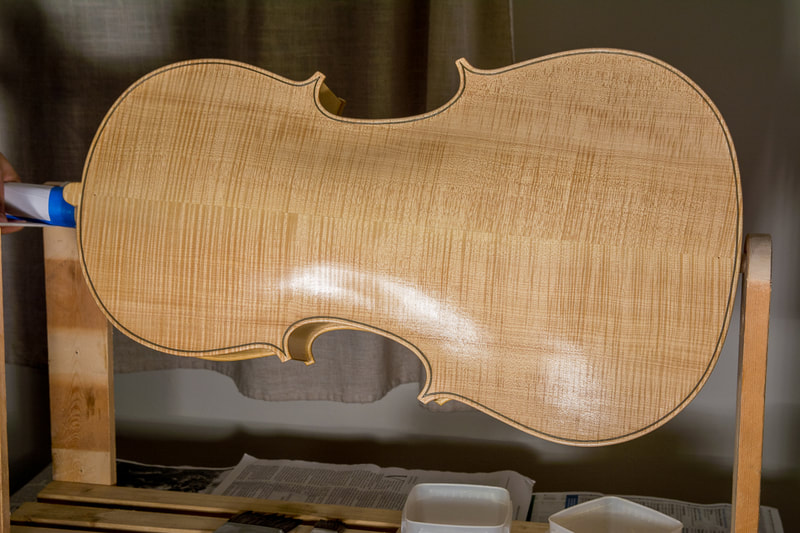
The first layer of primer needed to dry 12 hours. Before putting the second layer on, I sanded the whole cello with the included sandpaper (400 grit). The second layer went on pretty well. But it does dry very quickly and trying to correct anything later on is not possible. Luckily I didn't need to, I just noticed that very shortly the varnish is a sticky film and should be left alone.
Already the first layers of varnish have made the surface nice and shiny which really bring out the nice flaming of the back. The front has a little uneven colour. I think it was a bit visible already before, but I couldn't get rid of it. I hope the coloured varnish will hide the imperfections. Before the first coloured layer can go on, I need to smoothen the surface with rottenstone powder and water first.
0 Comments
Leave a Reply. |
AuthorMy son is outgrowing his cello soon. Could there be a better reason to learn how to make one :). Archives
April 2021
Categories
All
|


