|
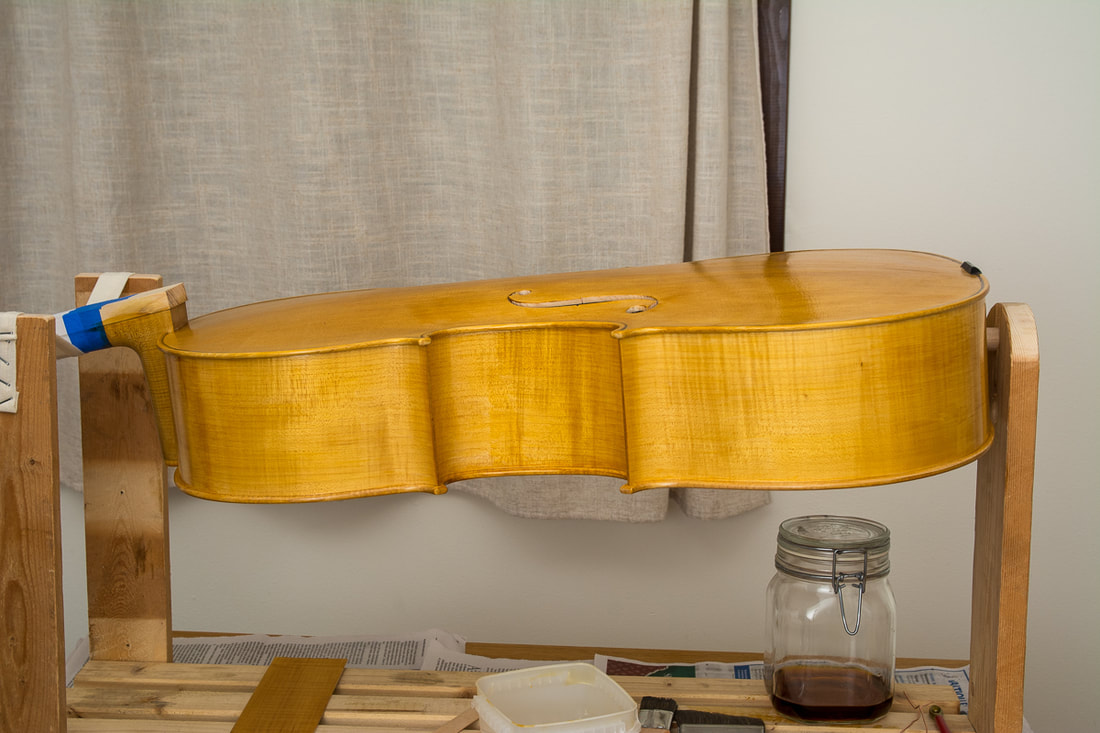
The first coloured layer is on! I had chosen amber as the colour for the varnish. I hope it gets a lot browner later on like the amber example on Hammerl website. I started by sanding the cello with a linen cloth dipped in water and then in rottenstone powder. It was trickier than I though. The paste got stuck in some places and was a little tricky to get away. Maybe I used too much of it. The coloured varnish also was tricker than the clearer primer. With a couple of more coloured layers I hope it will all look good. Now it needs to dry for a few days before the next layer can be put on. This is also something I do not quite understand. The instructions mention a thumb test where one presses on the varnish with a finger and if one can see a finger print, the varnish hasn't dried enough. Now with just a few coats the varnish is dry in a few hours already. On the other hand it also mentions 2-3 days. Anyways, I will now let it dry properly, maybe with the next layers I will not wait so long.
0 Comments
Leave a Reply. |