|
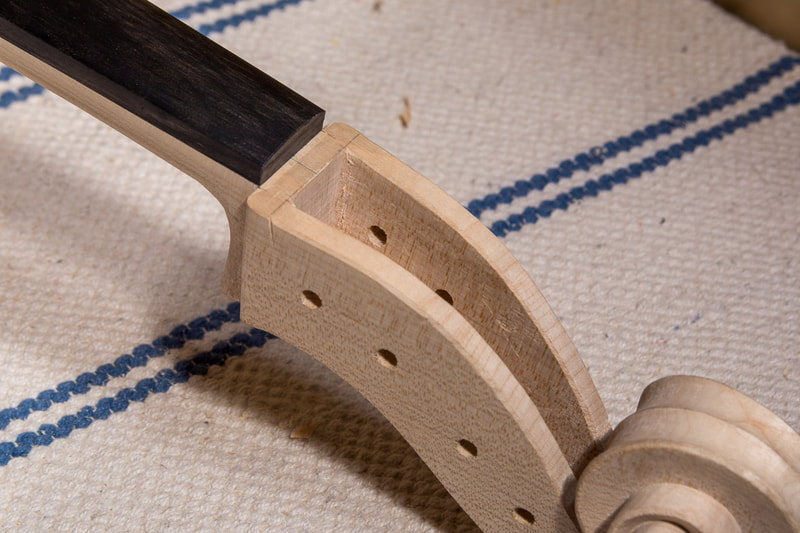
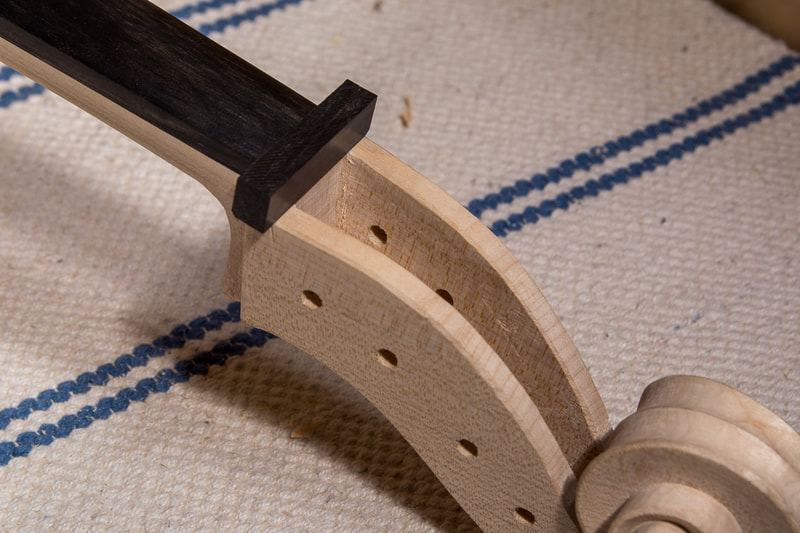
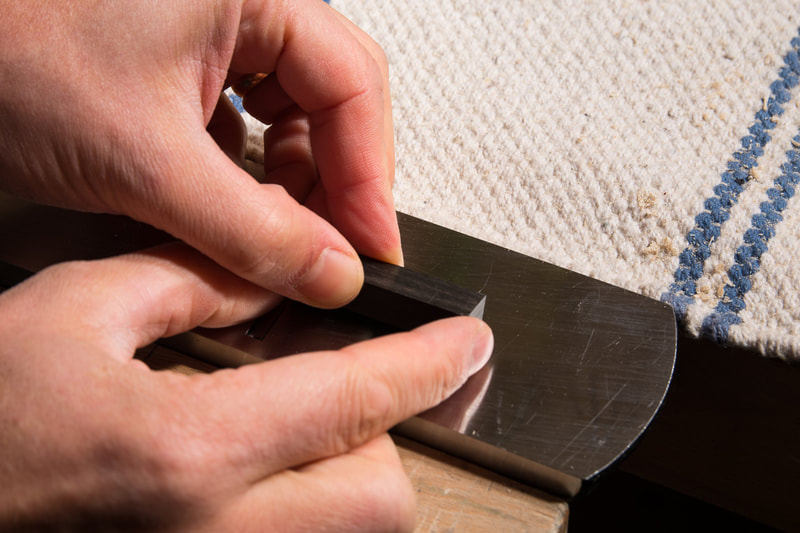
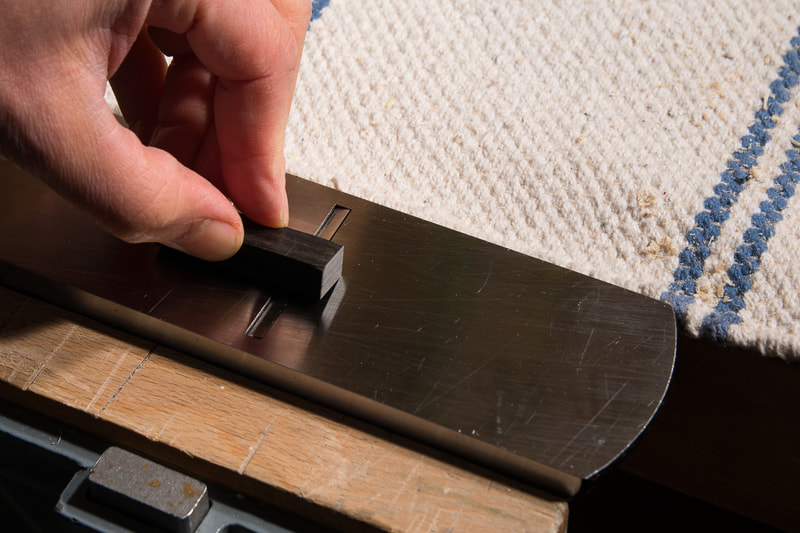
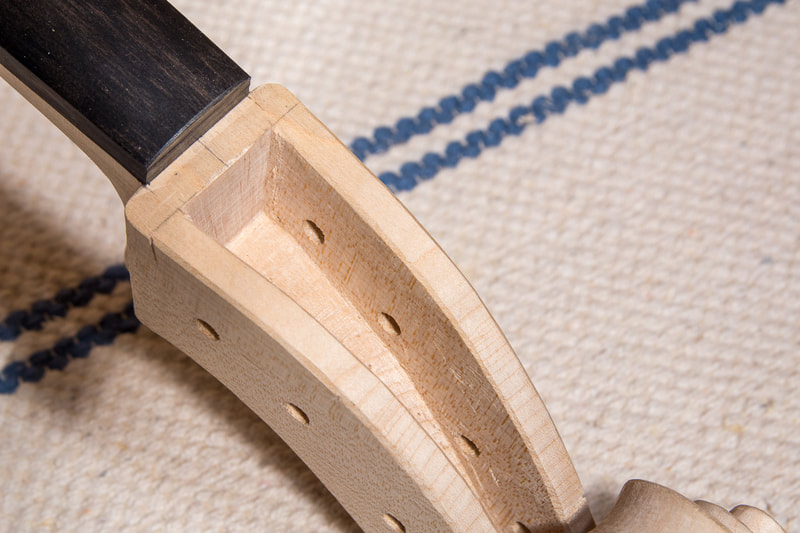
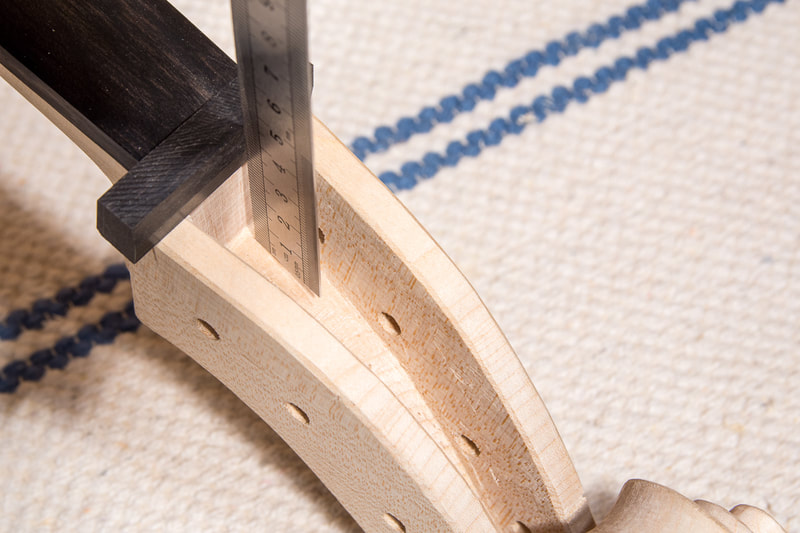
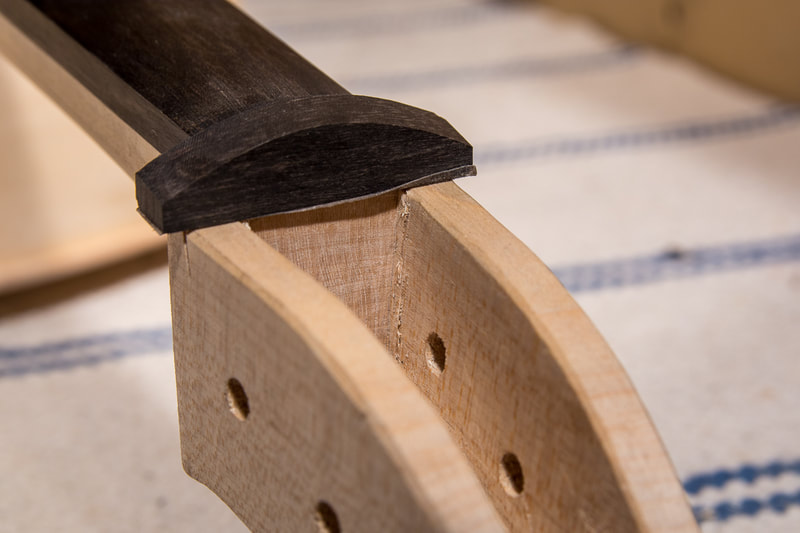
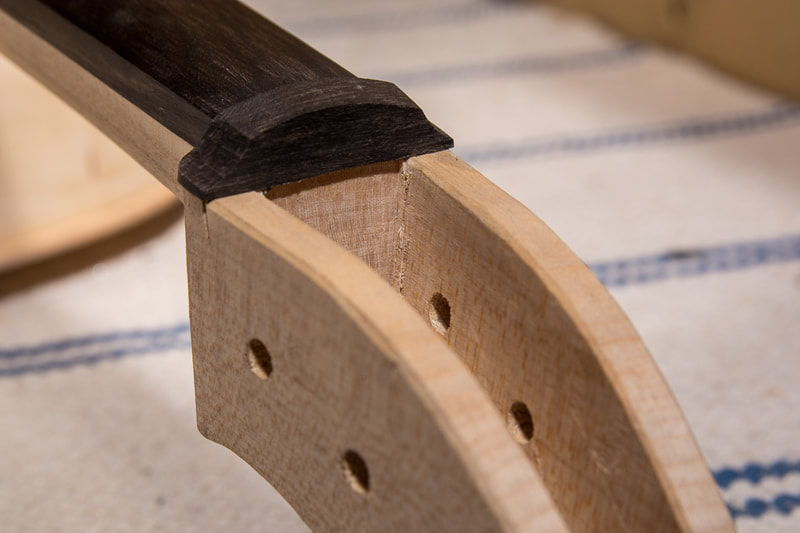
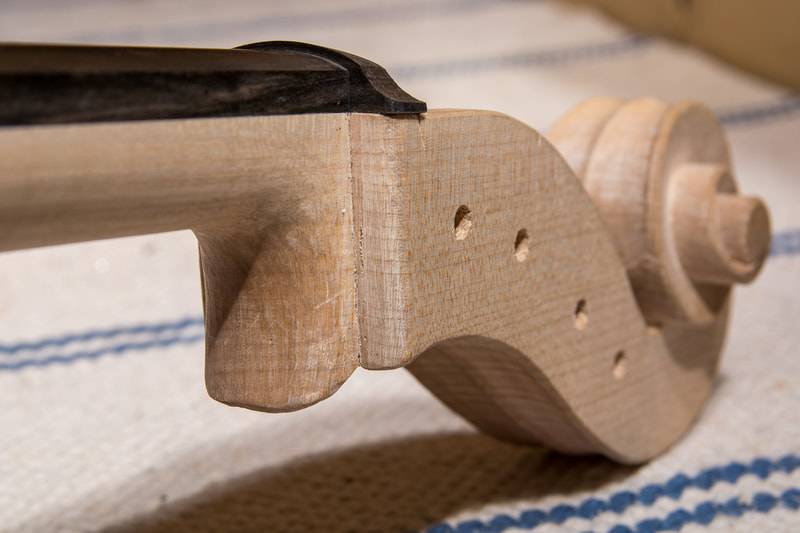
The nut is the final missing piece. It supports the strings at the neck. I can use the left over piece from the saddle to make the nut. I first angled the side towards the pegbox appropriately to follow the angle of the pegbox. After that I filed the top surface of the nut to follow the curvature of the fingerboard, leaving ~2 mm proud. Once that was done I could shape the ends. The top still needs to be shaped nicely so that the strings can gracefully turn from the fingerboard into the pegbox.
I cannot quite finish the nut now. I had left the fingerboard a little long and need to finish the end of the fingerboard properly before I can really match the nut. That probably needs to wait until after varnishing since to finish the fingerboard I need to take it off the neck which I plan to do for the varnishing anyways.
0 Comments
Leave a Reply. |
AuthorMy son is outgrowing his cello soon. Could there be a better reason to learn how to make one :). Archives
April 2021
Categories
All
|
