|
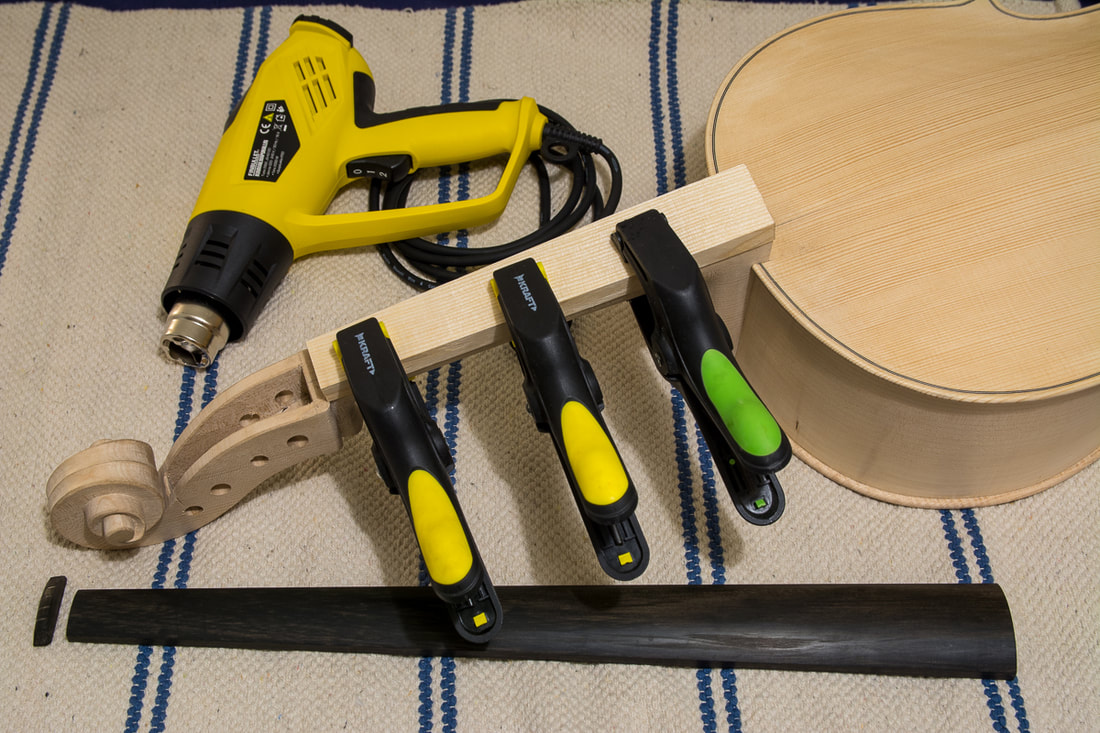
In order to prepare for the varnishing, it is now time to take the fingerboard off. t was only provisionally glued with a little weak hide glue. I warmed up the spots with the glue with a heat gun and the glue just gave up. I've never done that before. But I am starting to understand why some people insist in using hide glue. It holds strongly but can be removed if the piece needs repairing. Violins and cellos but this applies equally furniture etc. I think the next time I build something other than a cello, I will also see how hide glue would work.
After the fingerboard was off, I glued a false fingerboard on. It protects the edges and surface of the neck, and also ensures the neck stays flat and true. Once the glue has set I will once more go over the whole cello and make sure the surface finish is nice. That is done mostly with a sharp scraper to leave a nice crisp appearance. Sandpaper used only sparingly where appropriate.
0 Comments
Leave a Reply. |
AuthorMy son is outgrowing his cello soon. Could there be a better reason to learn how to make one :). Archives
April 2021
Categories
All
|
