|
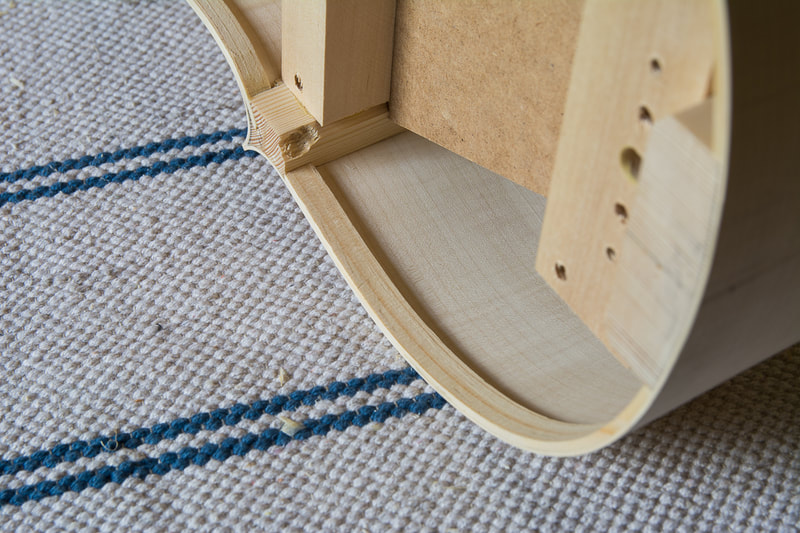
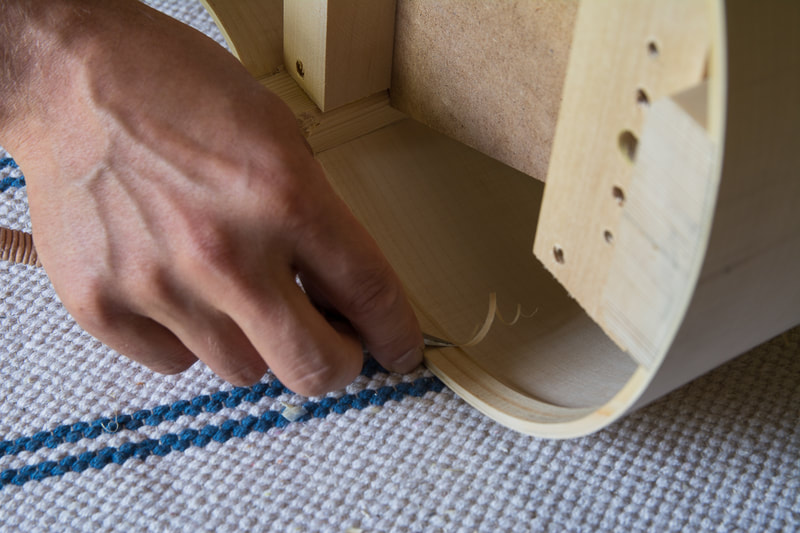
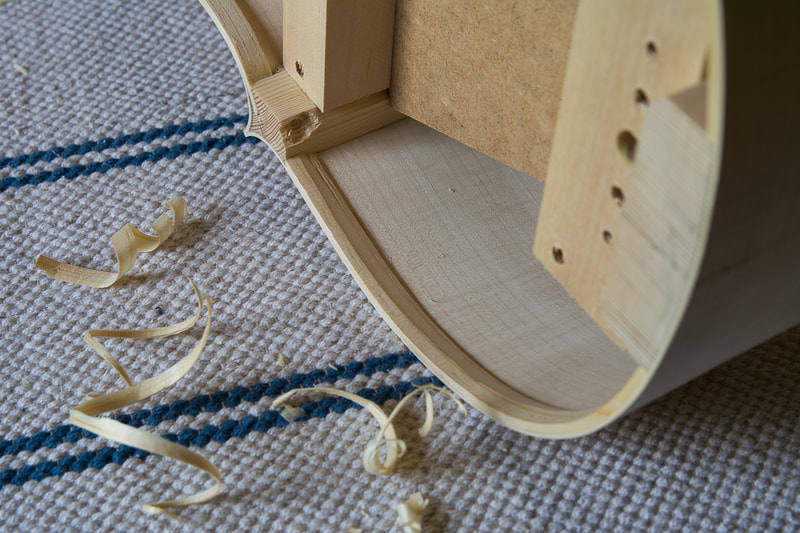
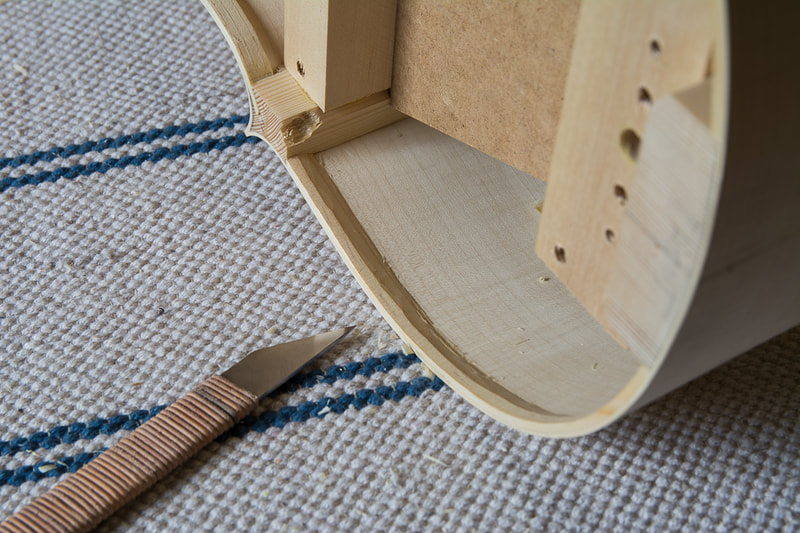
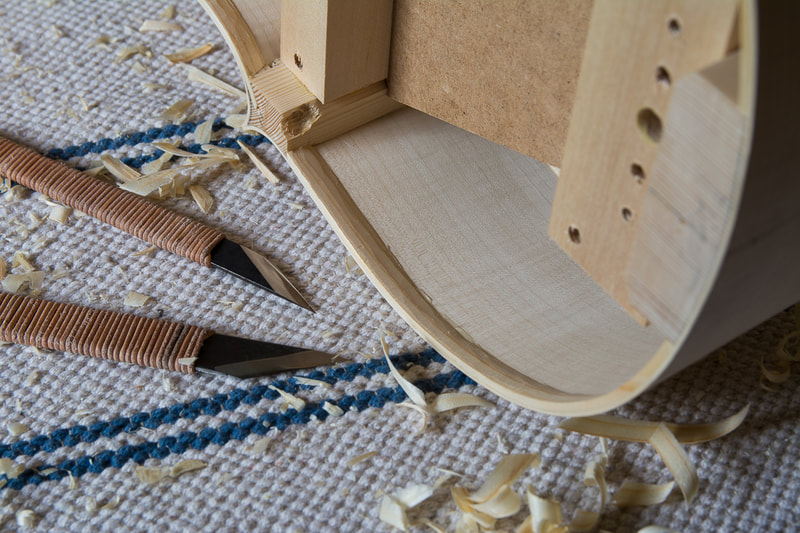
It was time to finish the linings. They need to be thinned out at the lower half. The purpose of the linings is to provide more gluing surface for the back and front plates. The lower part only add weight but add no strength. I did the work with the knives I had made. They were nice and sharp.
Strobel writes that the linings should be triangular. I maybe took this too literally and in the first pass was aiming to feather the linings to nothing at the lower end. In the second pass I then smoothed the profile of the linings. I did not remove the mould yet like most do at this stage. I am not sure how long it will still take me before I am ready to glue the plates on the ribs so I want to keep the mould on as long as possible. The linings had a small gap in places. I think I will fill the gaps with some glue before going further. I am a little afraid that the gaps might cause some noise when playing the cello if not filled.
0 Comments
Leave a Reply. |
AuthorMy son is outgrowing his cello soon. Could there be a better reason to learn how to make one :). Archives
April 2021
Categories
All
|
