|
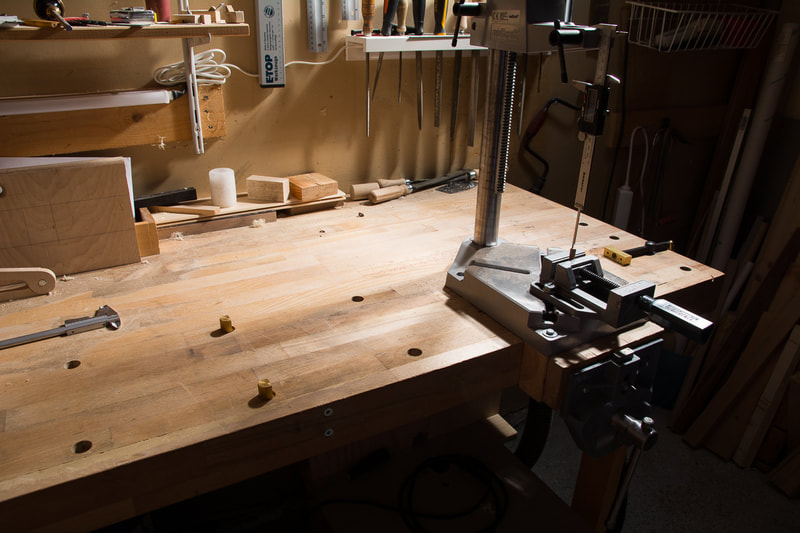
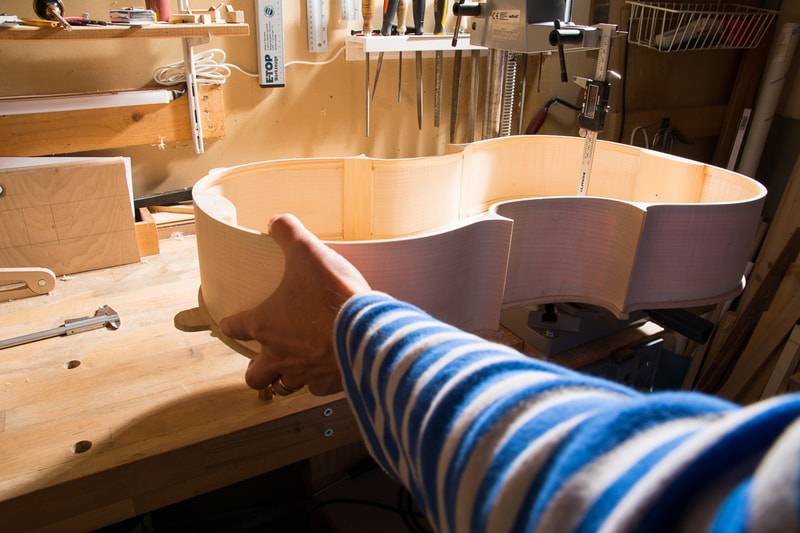
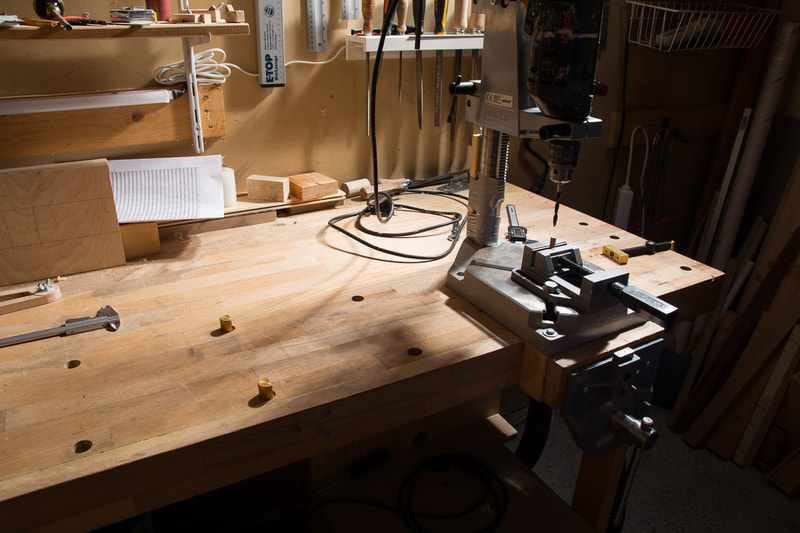
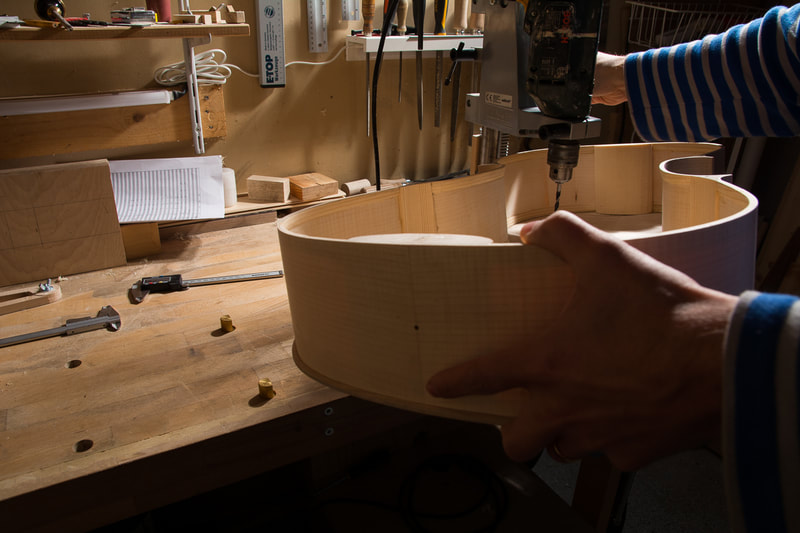
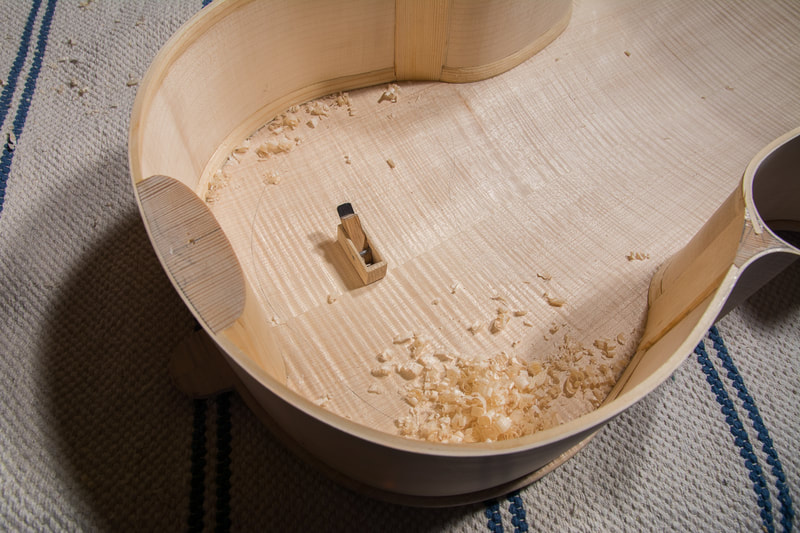
I needed to also reduce the thickness of the back further. Especially in the bouts. Since I had already glued the ribs on the back this was a little more complicated than the back. I constructed a measurement device using my drill press. I could attach a digital caliper instead of drill to the press and using a pin on the bottom I could measure the thickness of the plate. The bouts were about 5 mm thick. To mark the desired depth I put the drill on the press with a drill bit. I didn't actually drill but by setting the depth and using the tip of a brad point bit I could mark how much material to remove. I didn't actually drill, just pressed the bit agains the back. After having marked the depth, I used my small plane and a scraper to thin out the bouts.
0 Comments
Leave a Reply. |
AuthorMy son is outgrowing his cello soon. Could there be a better reason to learn how to make one :). Archives
April 2021
Categories
All
|
