|
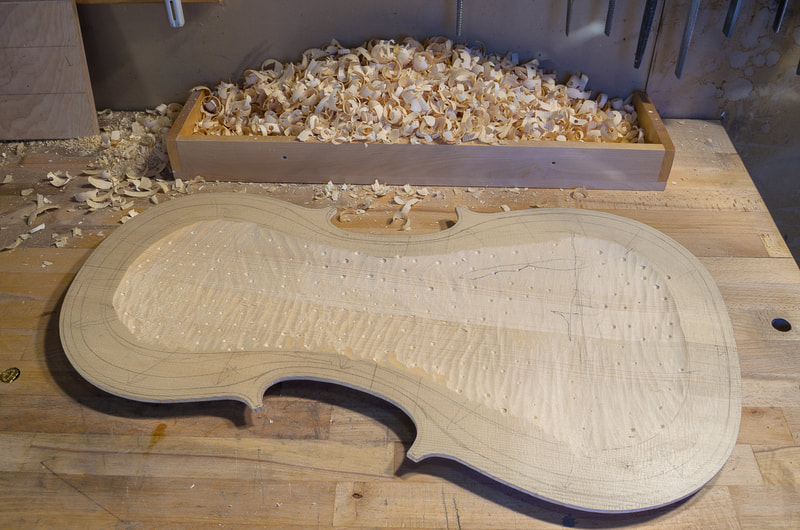
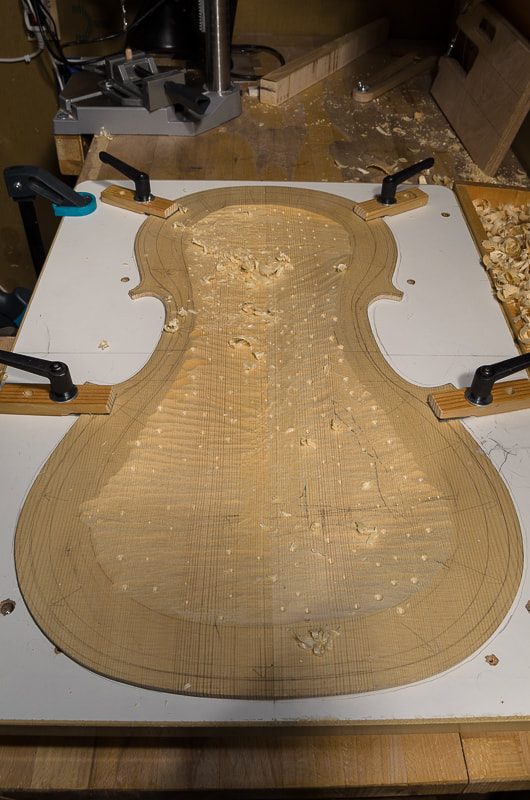
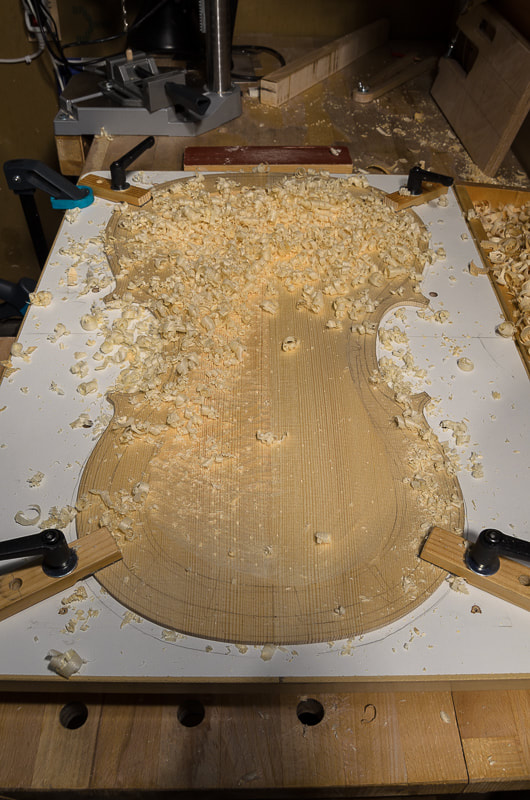
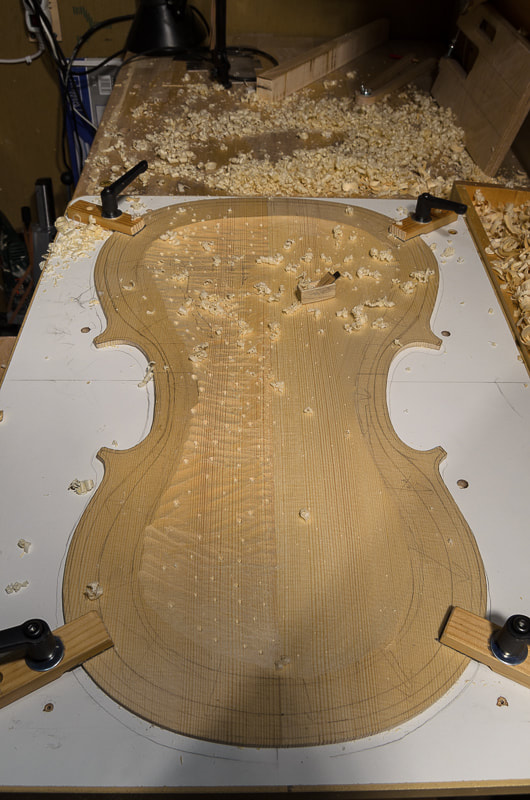
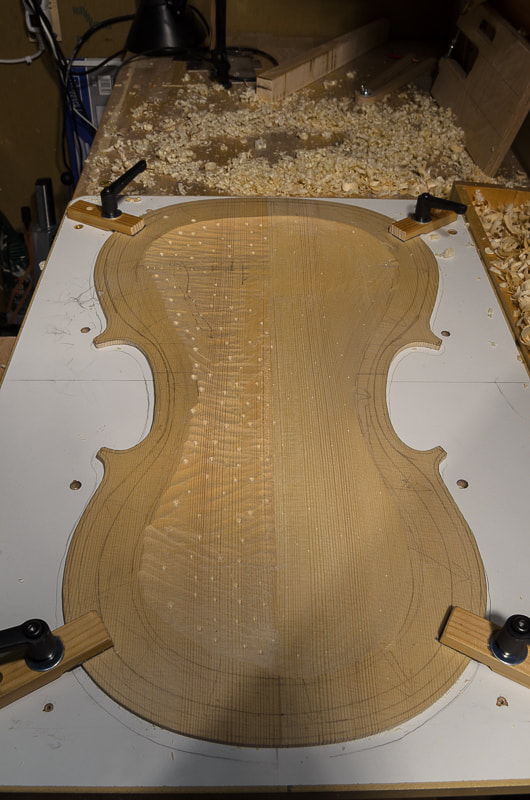
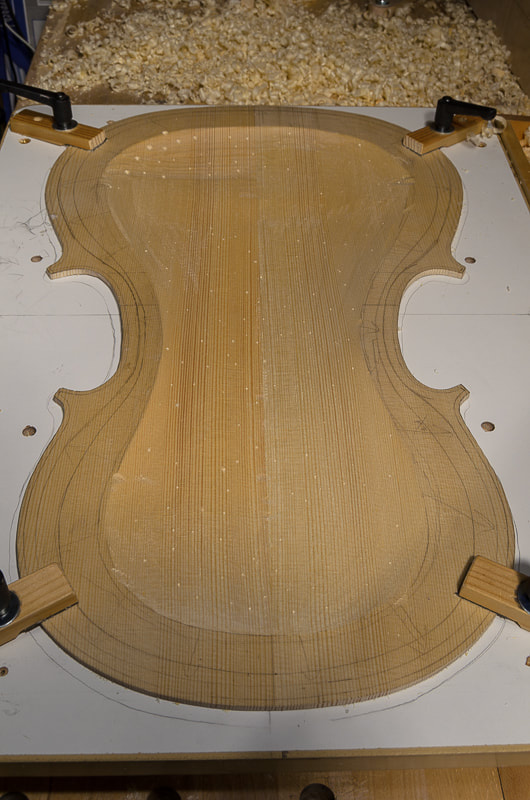
I did the rough work in hollowing out the front yesterday with the drill and a gouge. Today I continued with the little fingerplane. It may be too fine at the this stage but using it is just such a joy. One should not underestimate these little planes. They might look small and harmless but they can really remove material fast. I planed the inside of the plate all over so that I could still barely see the holes from drilling. One can see on the top left of the last photo the region where the drill was setup wrongly and I drilled too deep. I did't dare to remove any more material form there at the moment. I am sure it will be fine in the end though.
The front plate is now roughly 8 mm thick. I could maybe take off a little more now, or cut the f holes. Or maybe finish the purfling of the back as the new purfling arrived today in the mail. Time to consult the books.
0 Comments
Leave a Reply. |
AuthorMy son is outgrowing his cello soon. Could there be a better reason to learn how to make one :). Archives
April 2021
Categories
All
|
