|
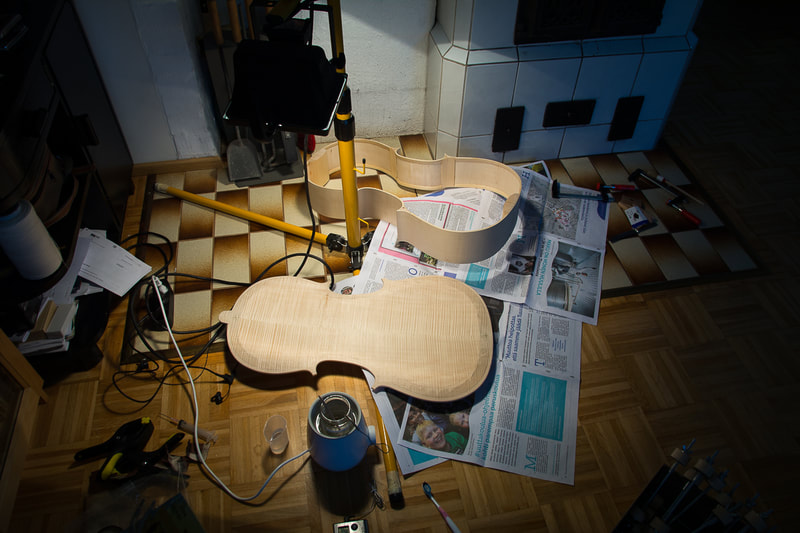
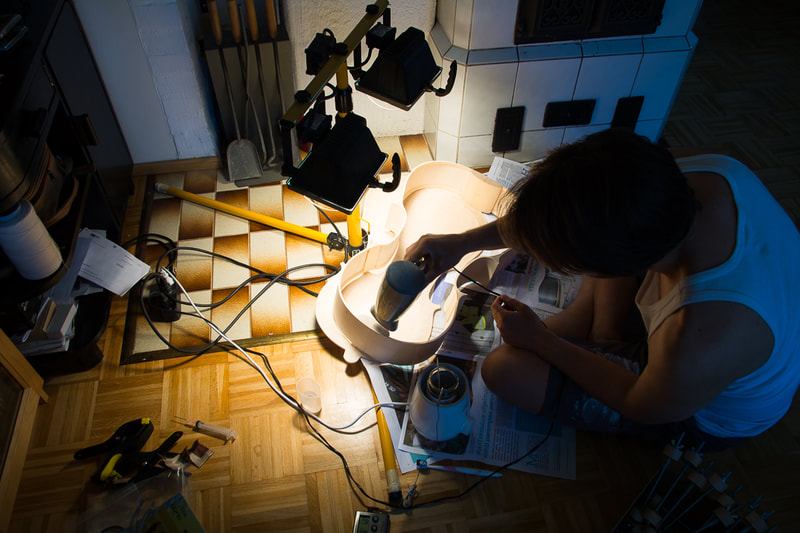
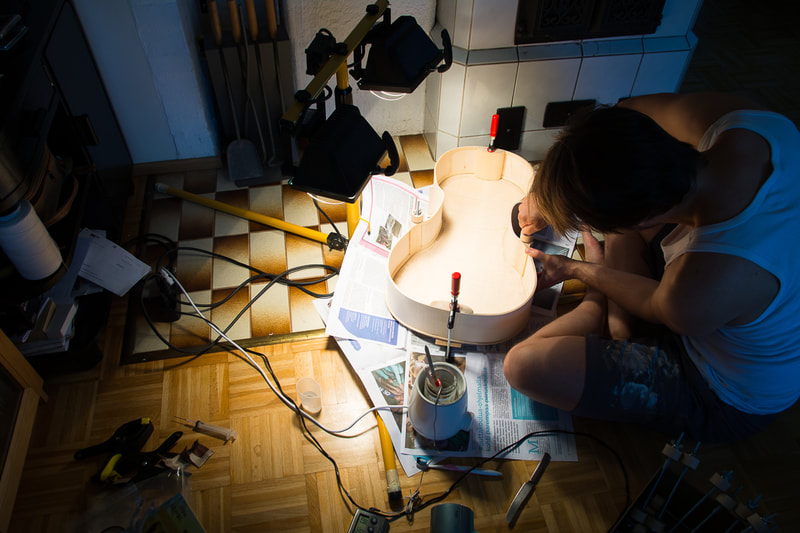
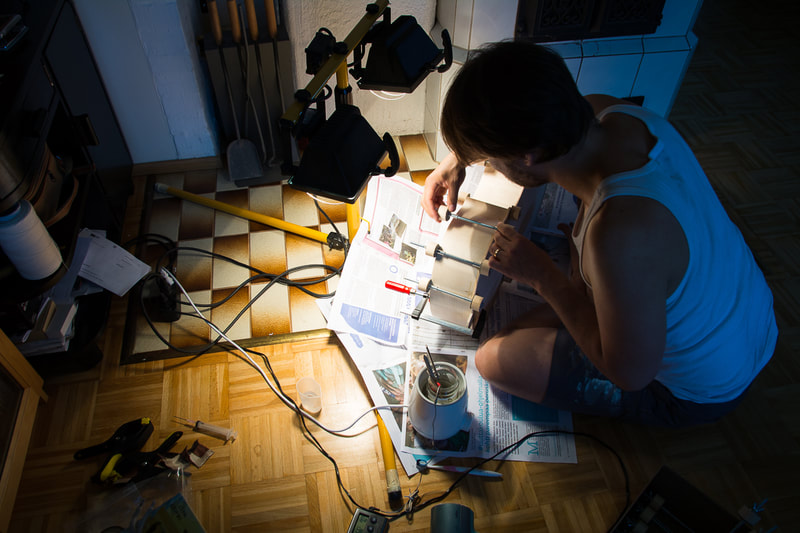
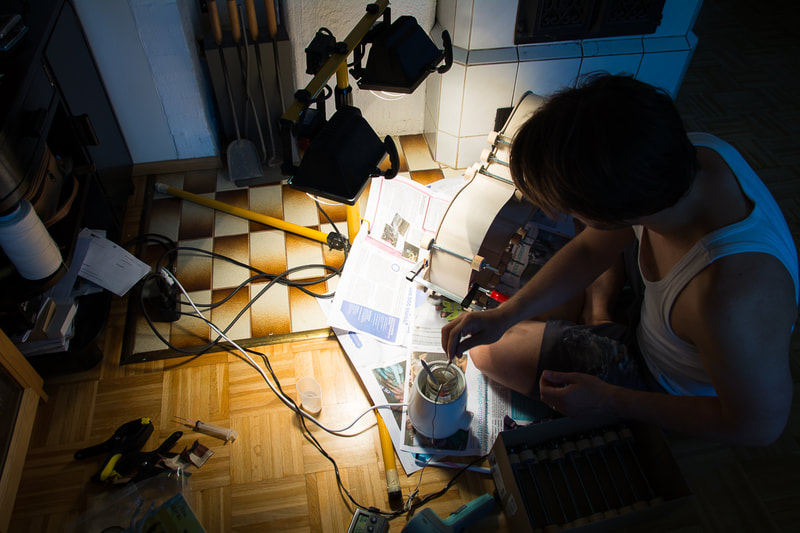
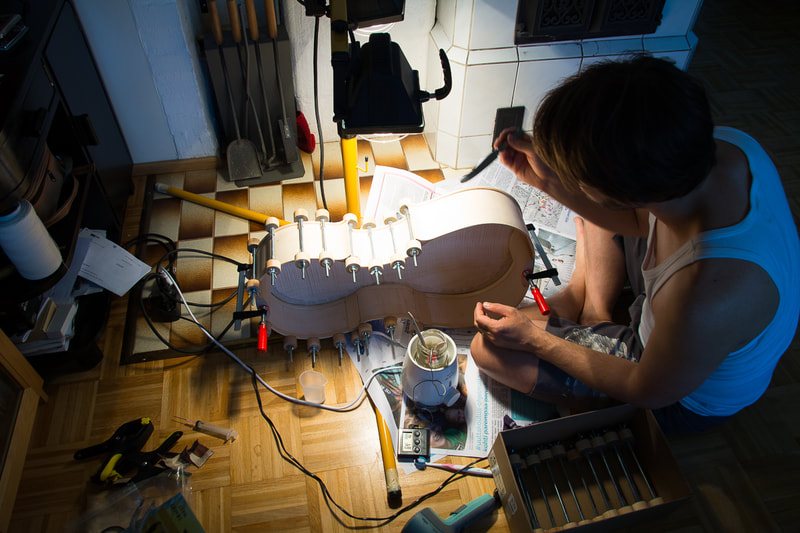
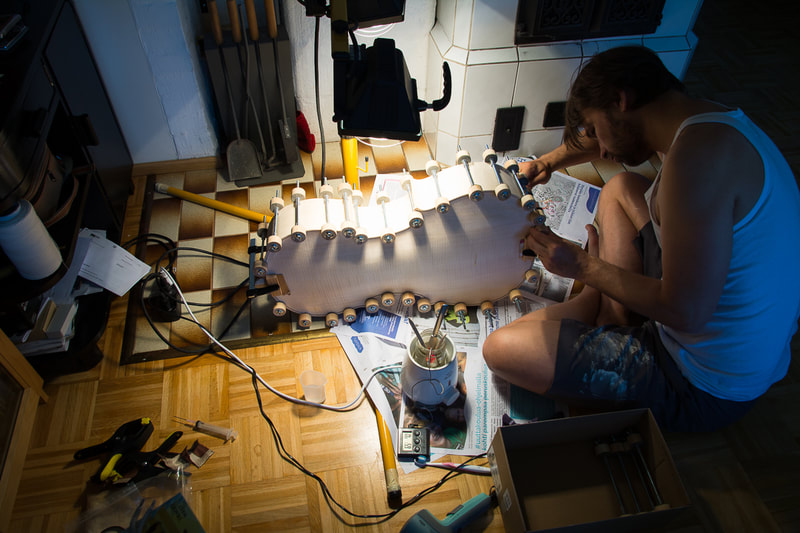
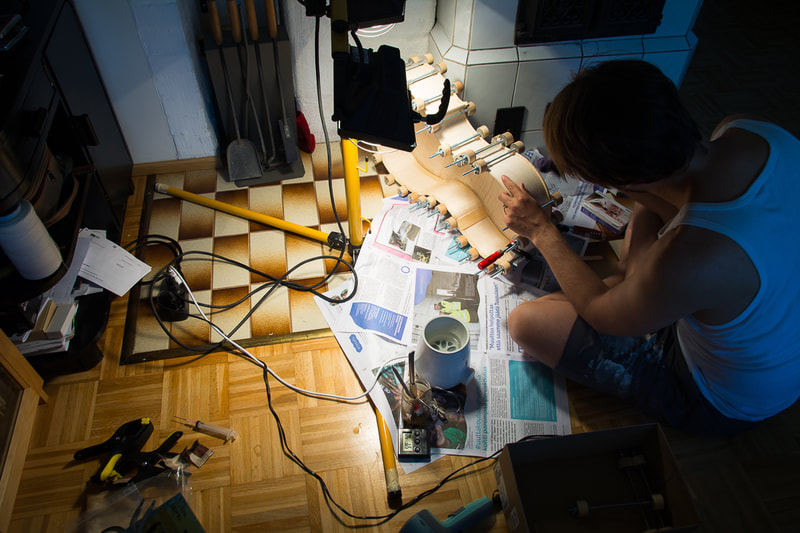
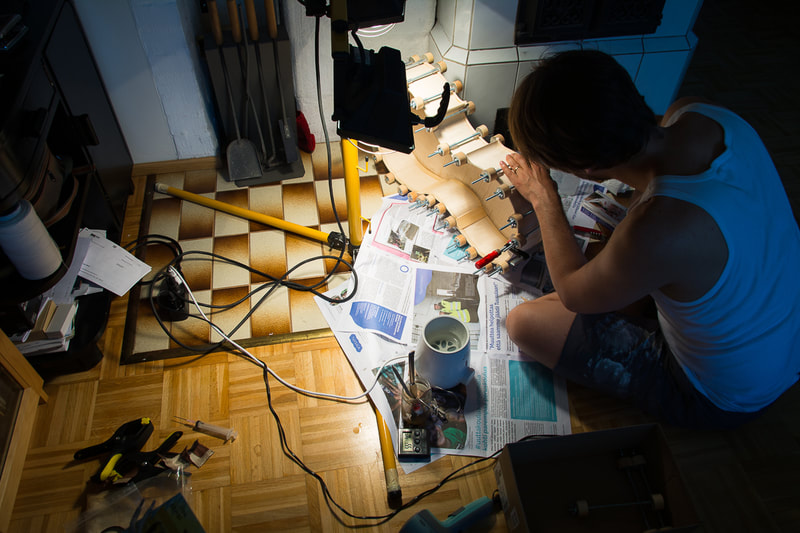
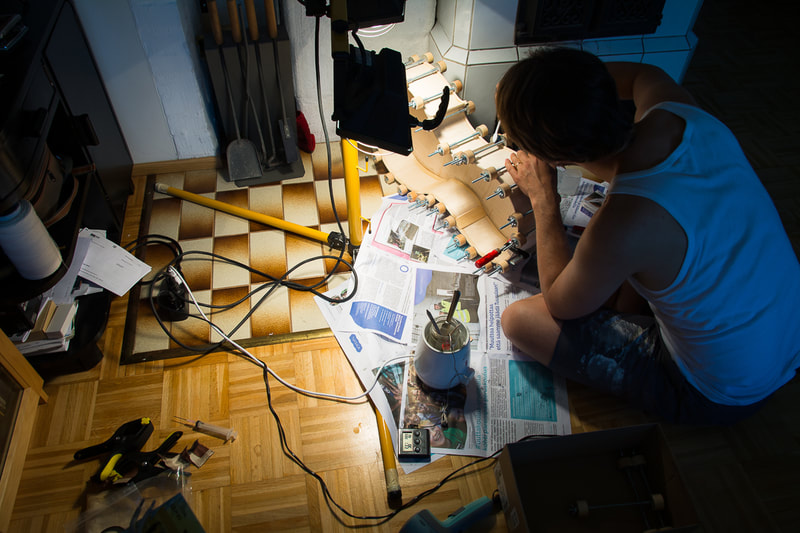
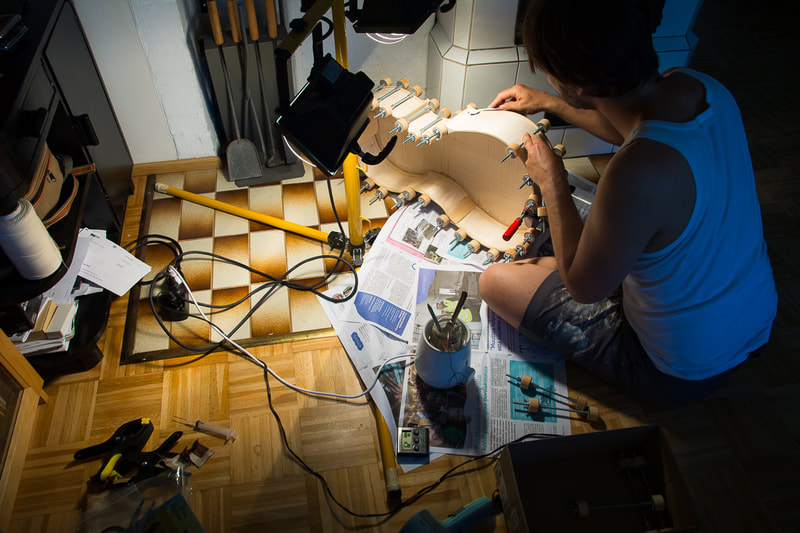
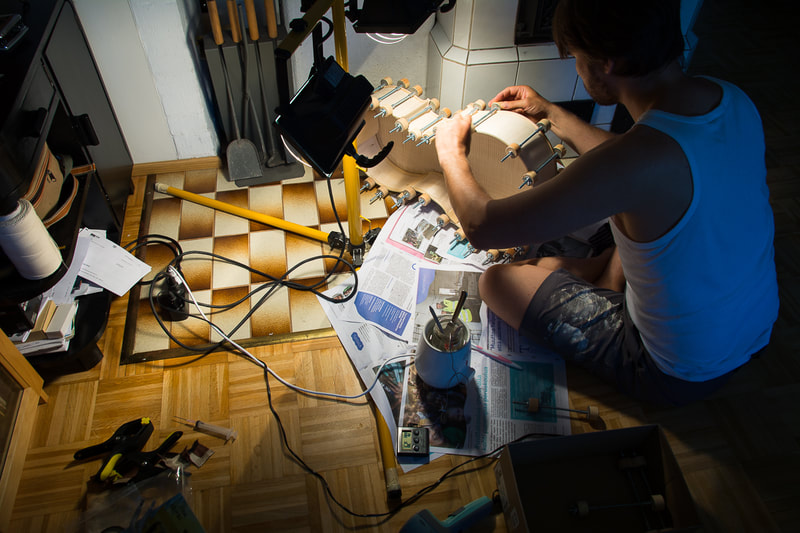
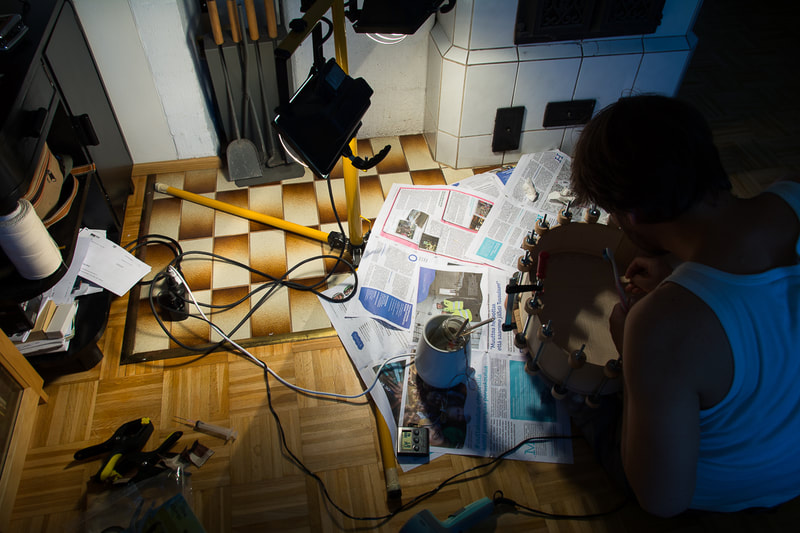
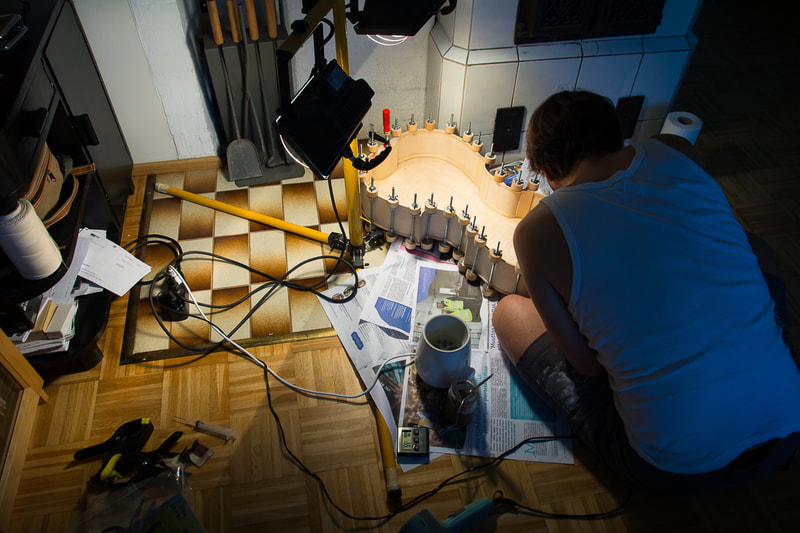
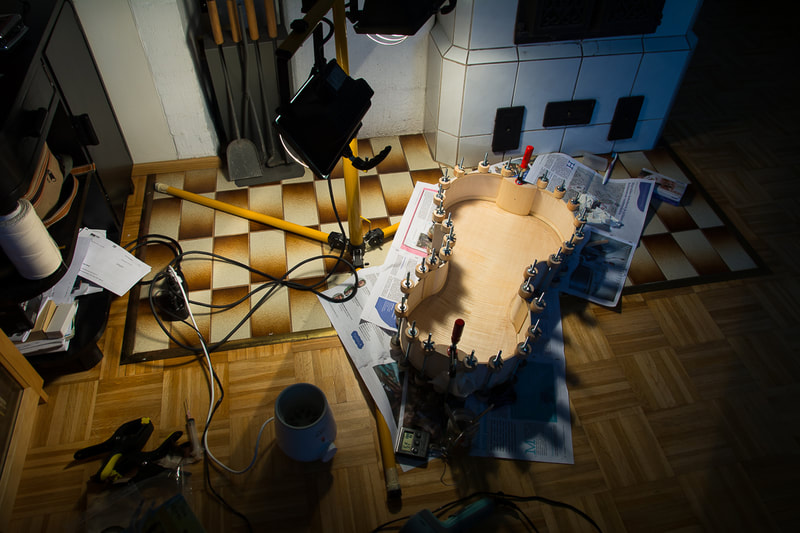
I finally had the courage to glue the back on the ribs. I took my bright halogen lights to help with the glueing. Less for the light and more for the heat that they generate. The glueing area is pretty large and the heat from the lights hopefully allow me to work without a hurry. I also used a hairdryer to warm up the glueing surfaces.
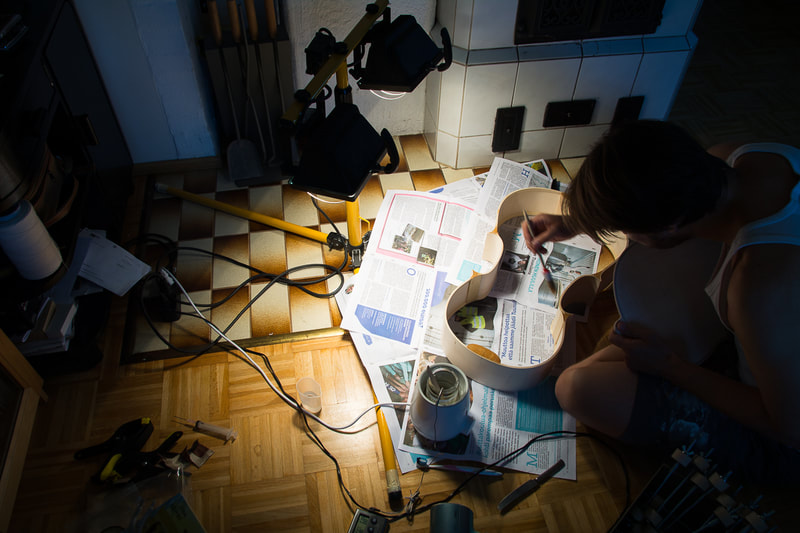
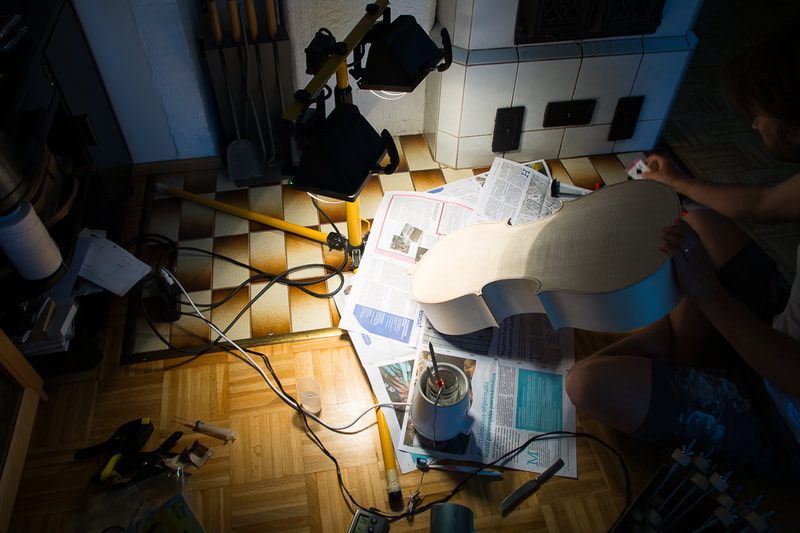
I first spread glue on all the blocks, let the block suck the glue and then I applied some more glue on the blocks. I then clamped the upper and lower blocks and the corner blocks. After that I used a knife to open and spread the glue on the linings a little at a time and clamped as I went. After I had all the surfaces glued up, I took one or two clamps off at a time and cleanup excess glue. There wasn't too much actually and I think I got it out well. There was some glue on the inside too so when I glue the front I need to be more careful since after the front is glued up I can't access the inside any more. The experience was a lot less scary than I had expected. I think the lights really helped.
0 Comments
Leave a Reply. |
AuthorMy son is outgrowing his cello soon. Could there be a better reason to learn how to make one :). Archives
April 2021
Categories
All
|
