|
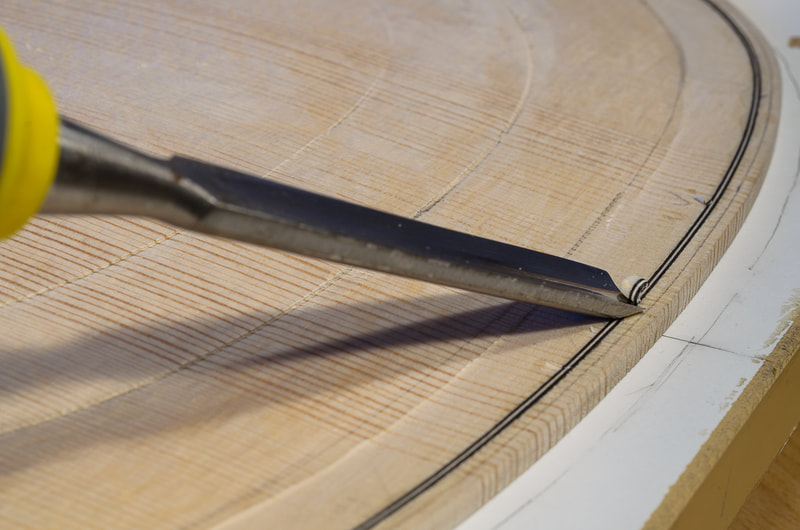
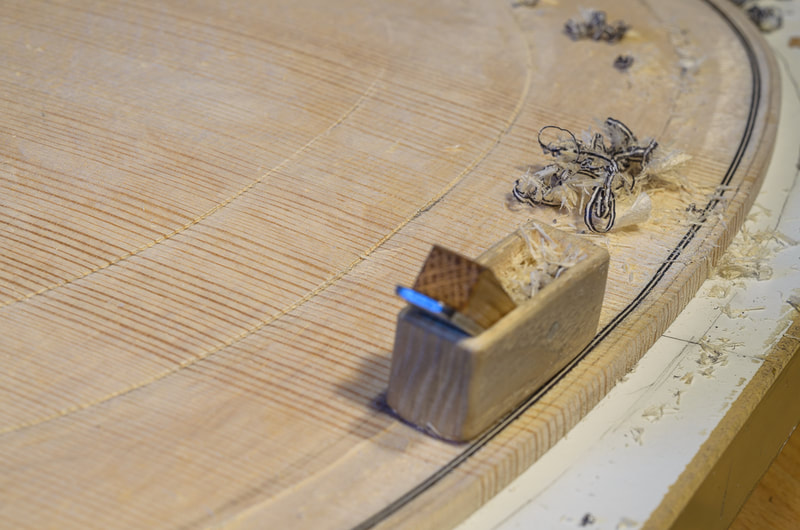
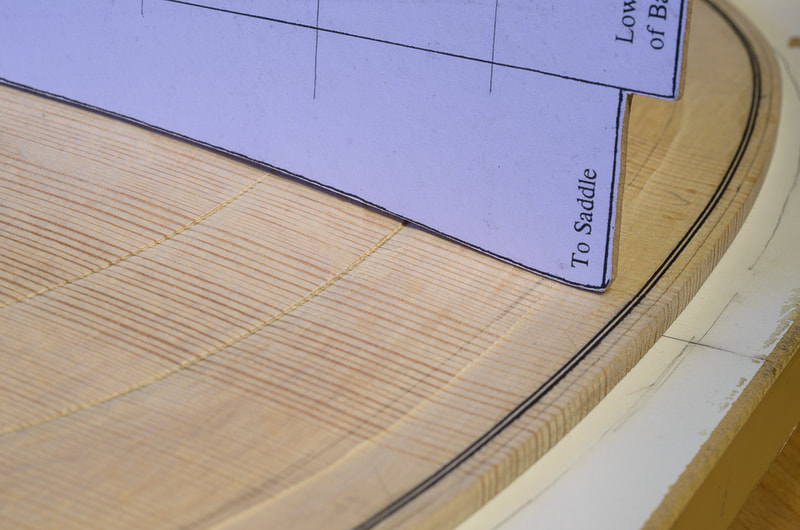
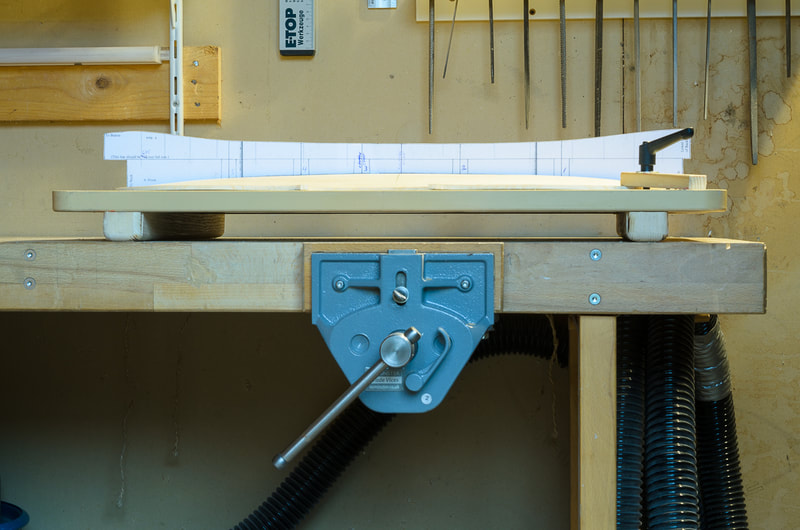
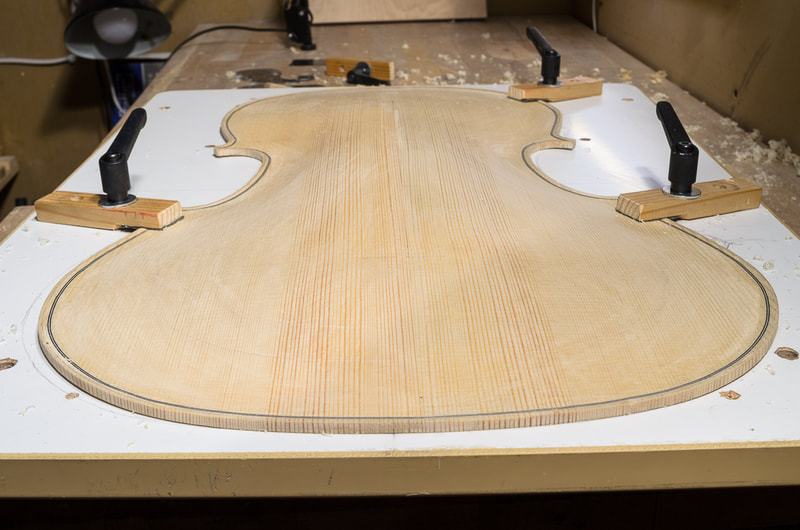
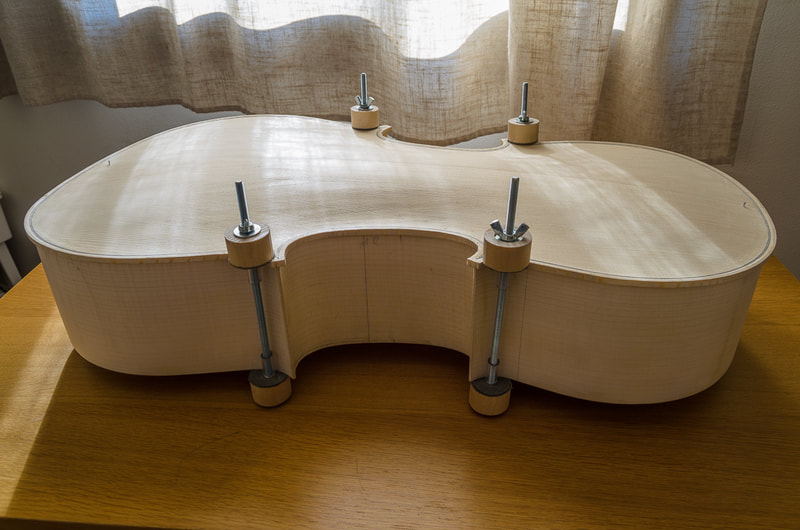
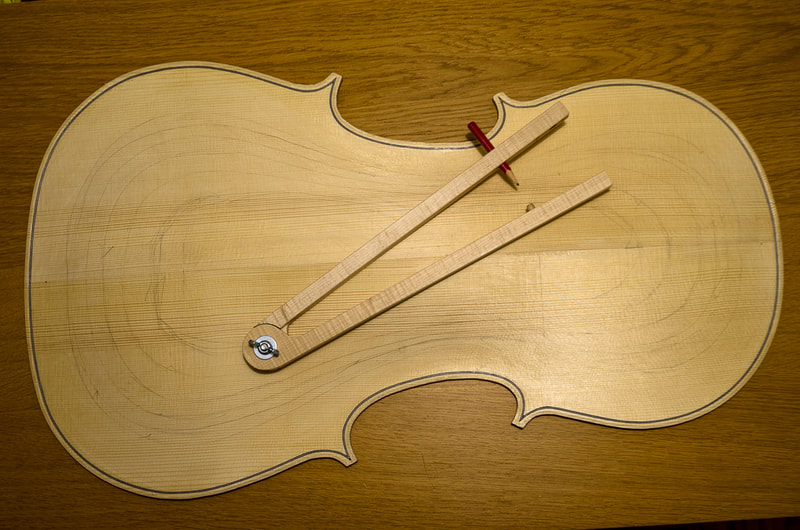
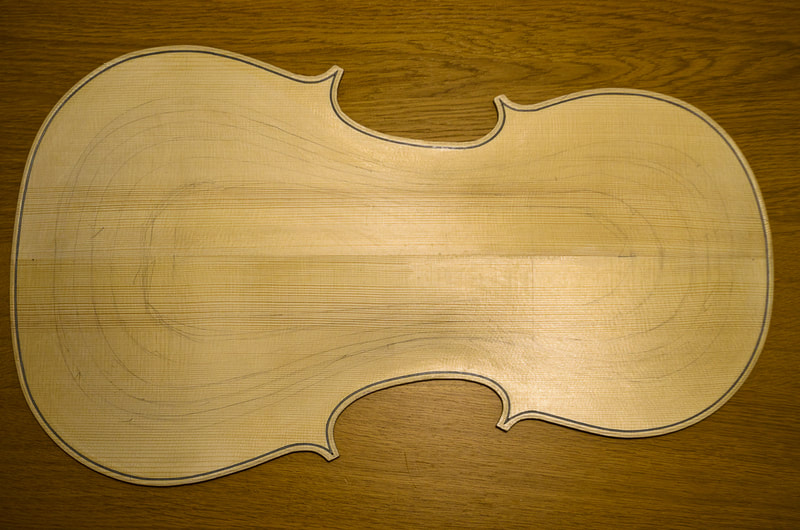
Once the purfling is in place, the outer surface of the plate can be finished. This starts with the fluting of the edge where the purfling is and smoothing out the arching. I have done this for the front. I am waiting for some more purfling to arrive so that I can finish the purfling on the back. I still have to do the upper and lower bouts. Fluting the edge means to bring it down a millimetre or so relative to the rim. I did this with gouges and the curved 10 mm fingerplane. I started with one of my old gouges but finished it with 10 mm and 20 mm sweep 7 gouges which arrived in the post the other day. After I had finished the fluting I used the arching guides to get the front plate to correct shape. This was done with the same fingerplane and scrapers. I seem not have taken many pictures of that. After the arching was good I drew some contours using a pencil gauge. I was surprised to see that the contours turned out pretty symmetric the first time and only needed a little adjustment. I made the pencil gauge from a few scraps of maple and a bolt and a wing nut. It works quite well, but I need to be careful not to push it too hard against the plate. Maybe I made it too thin and the arms flex a little. Some good references:
0 Comments
Leave a Reply. |
AuthorMy son is outgrowing his cello soon. Could there be a better reason to learn how to make one :). Archives
April 2021
Categories
All
|
