|
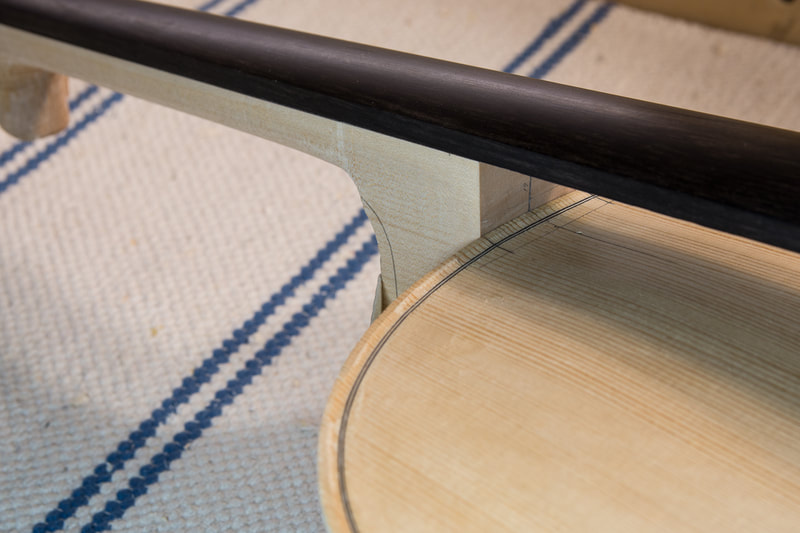
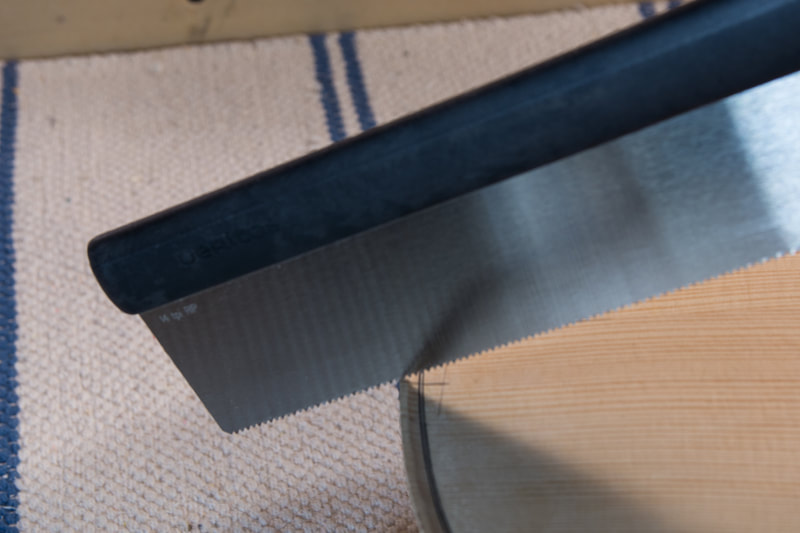
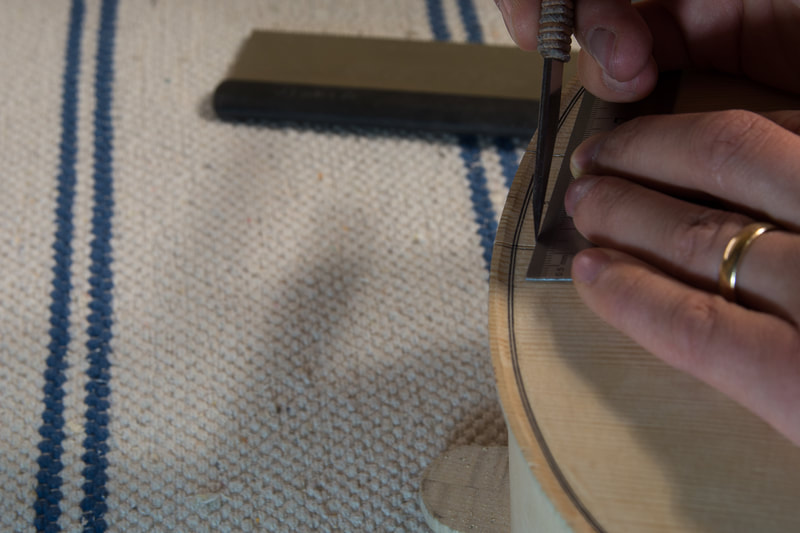
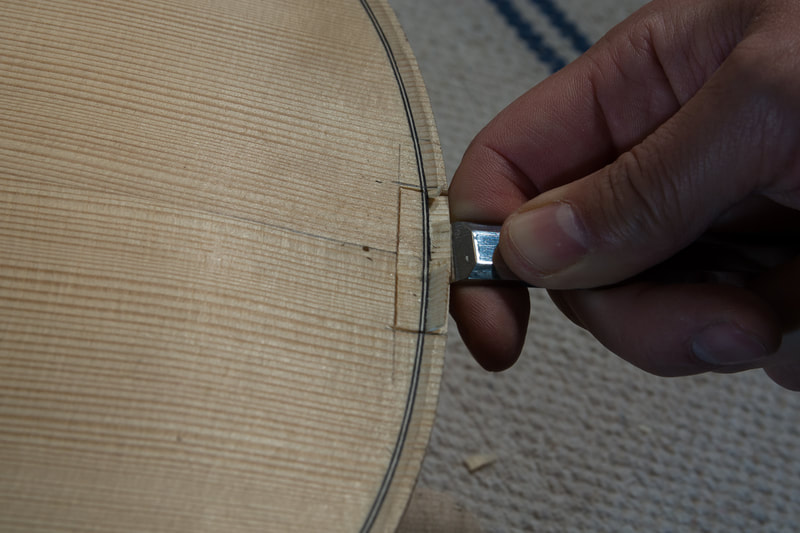
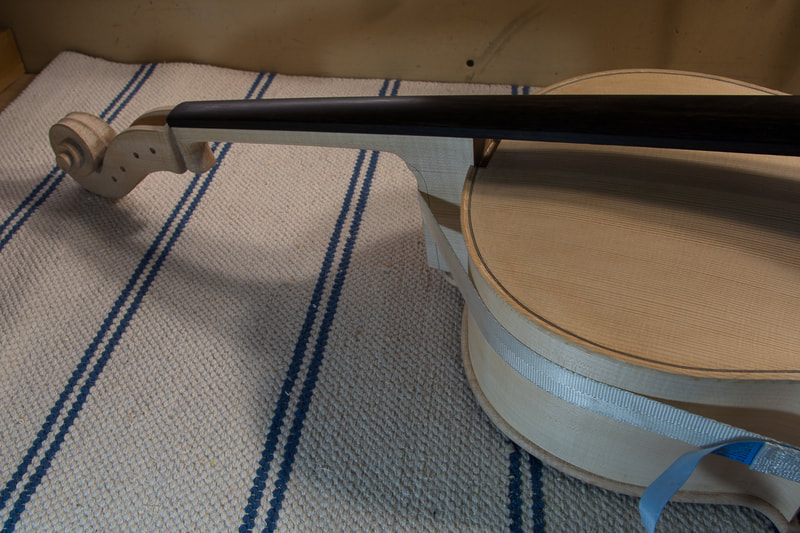
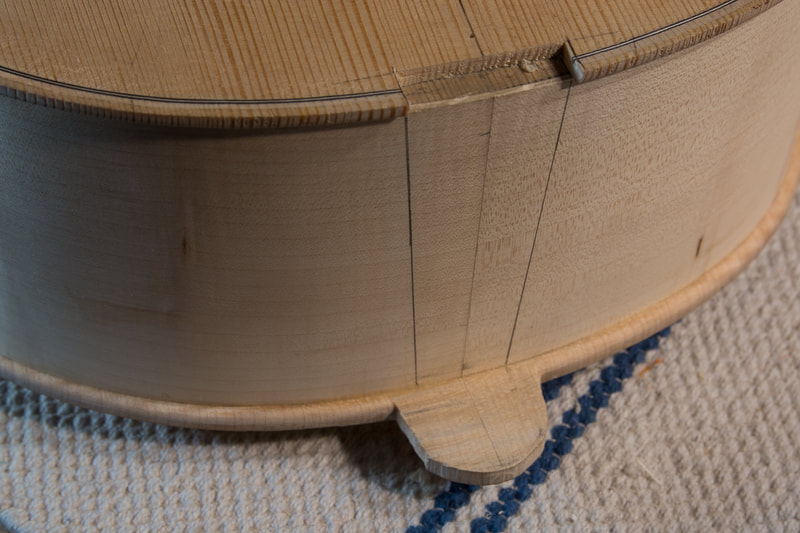
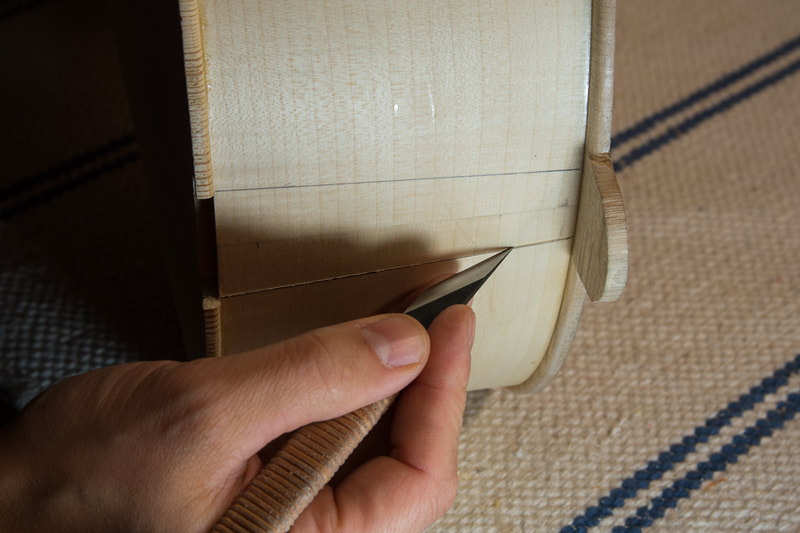
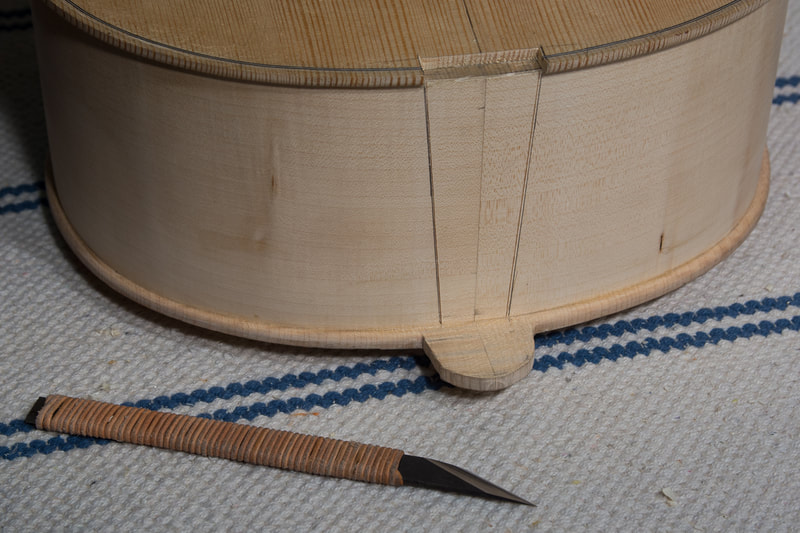
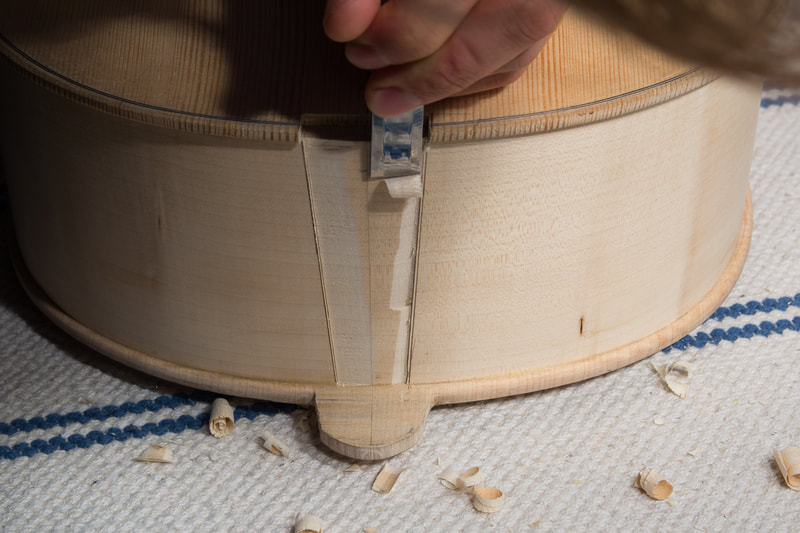
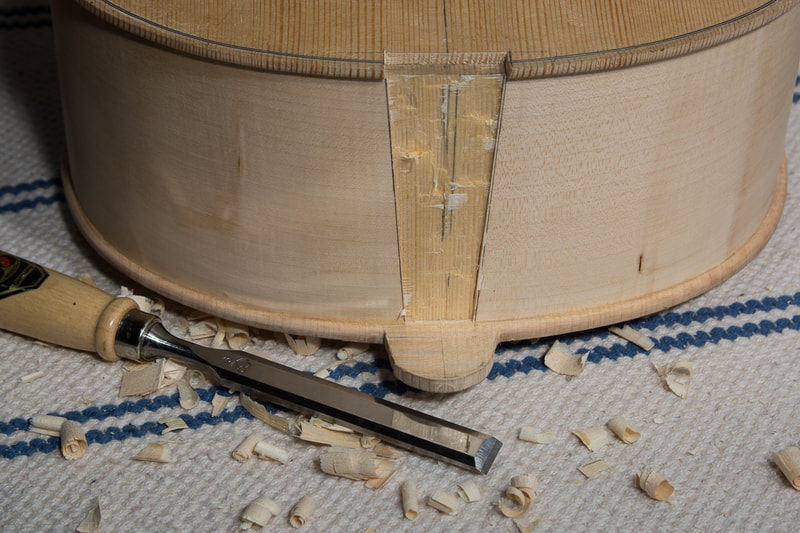
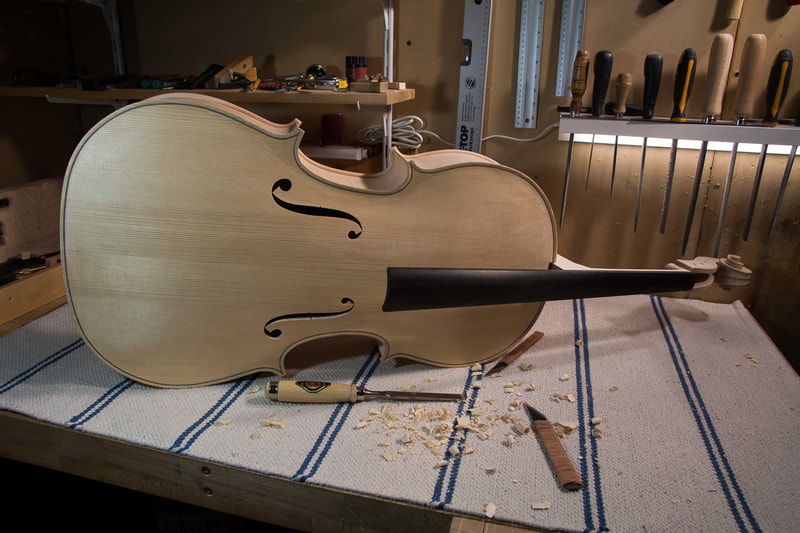
Time to fit the neck. I first marked the approximate width of the heel of the neck on the front. Leaving some space to the lines I sawed through the top and then with a knife cut the along the lines to make sure the front doesn't chip. With a chisel I then took to the edge. Now I could set the neck right on the ribs and mark the sides. Again leaving some margin I cut with a knife through the ribs. One that was done I could use a chisel to chisel out the ribs.
I now realised I should have paid more attention to how the grain runs in the blocks. On the top block the grain runs slightly towards the inside of the cello. This makes is quite tricky to nicely cut the surface of the block where the neck must fit very well. If anything, the grain should run out of the cello, not into it. Will need to keep this in mind with the next cello. Anyways, even with a shallow mortice on the block, the neck now stays on its place without any external help!
0 Comments
Leave a Reply. |
AuthorMy son is outgrowing his cello soon. Could there be a better reason to learn how to make one :). Archives
April 2021
Categories
All
|
