|
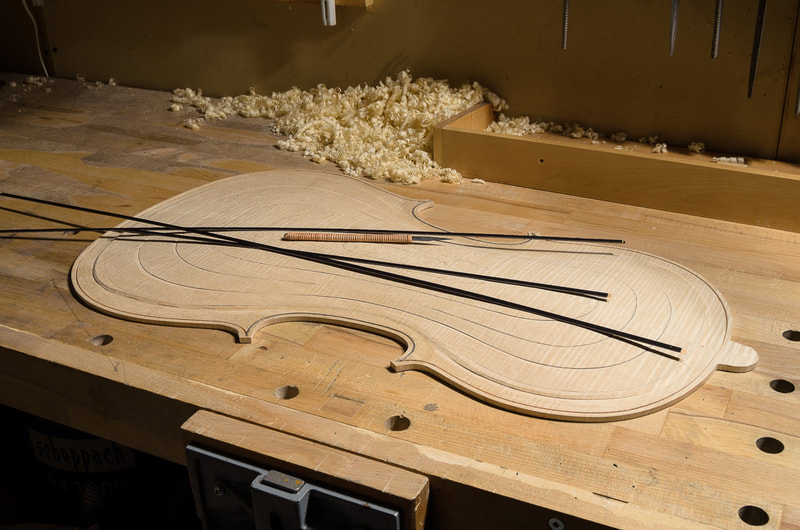
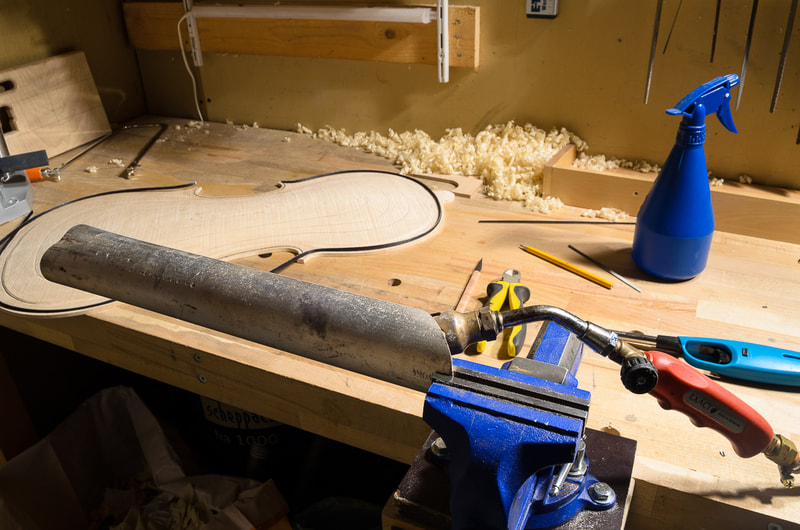
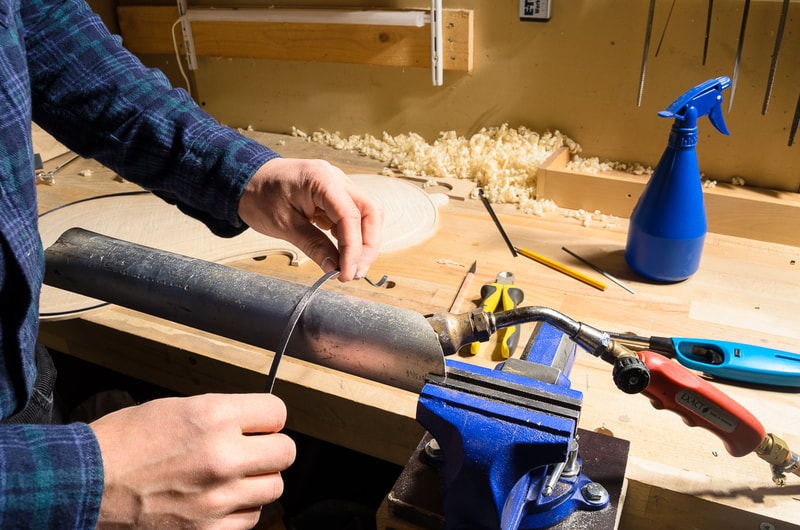
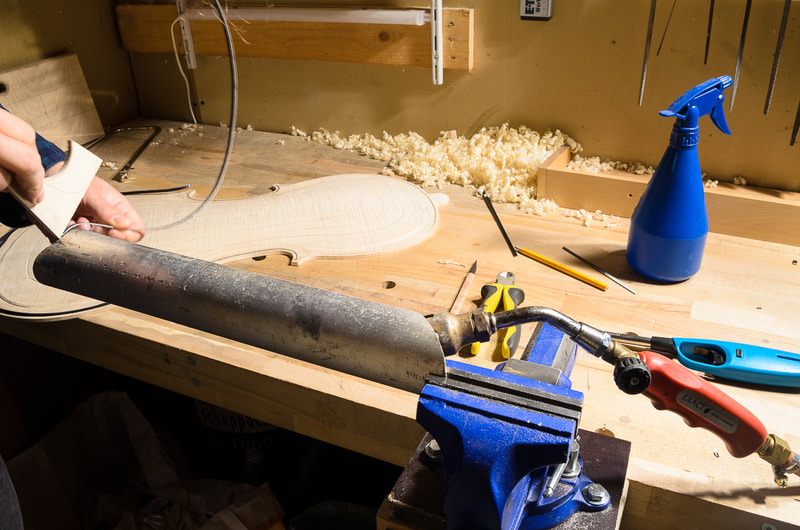
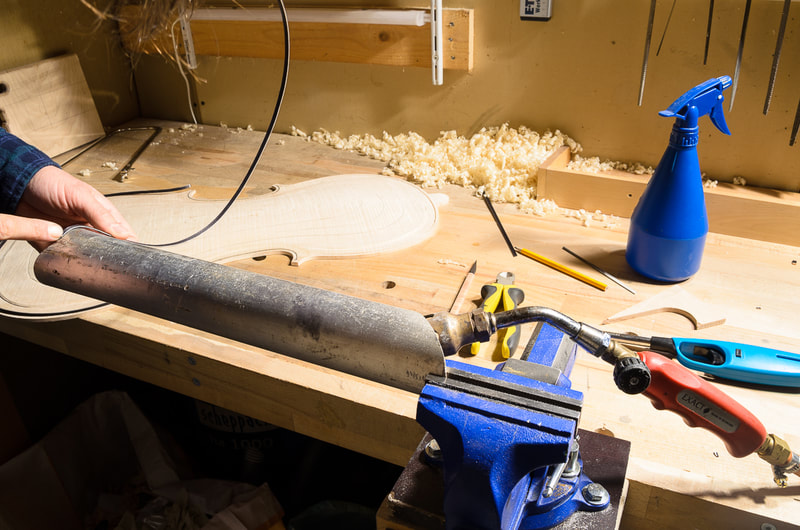
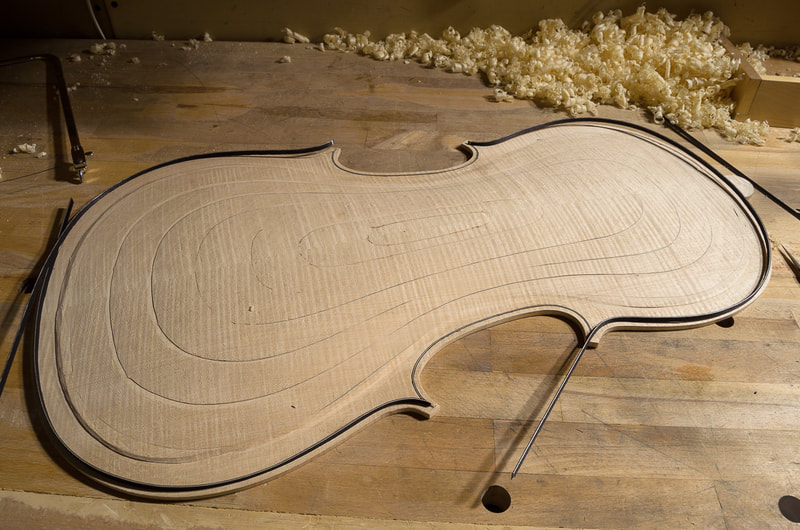
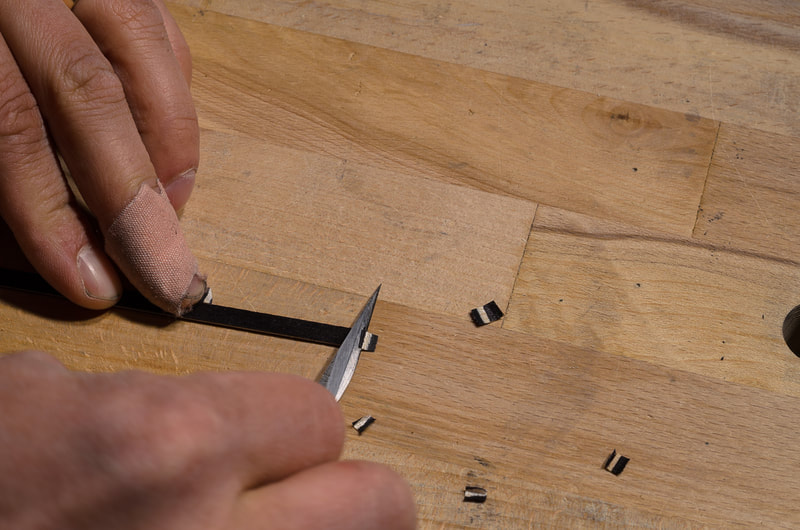
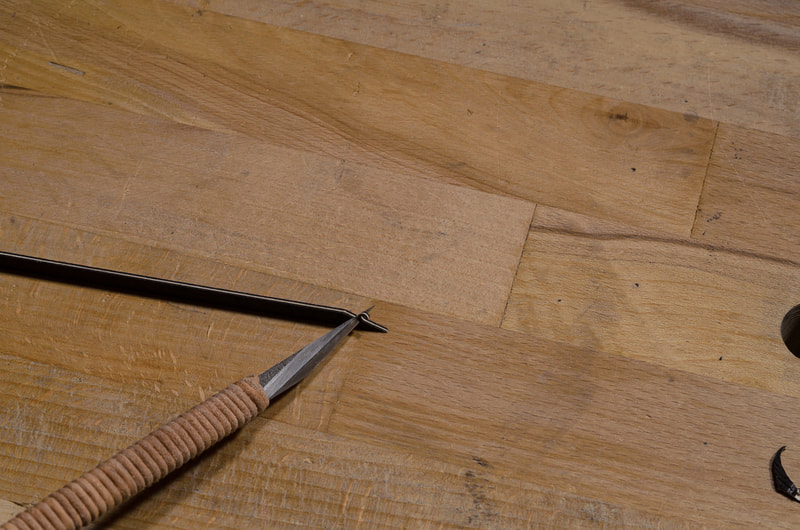
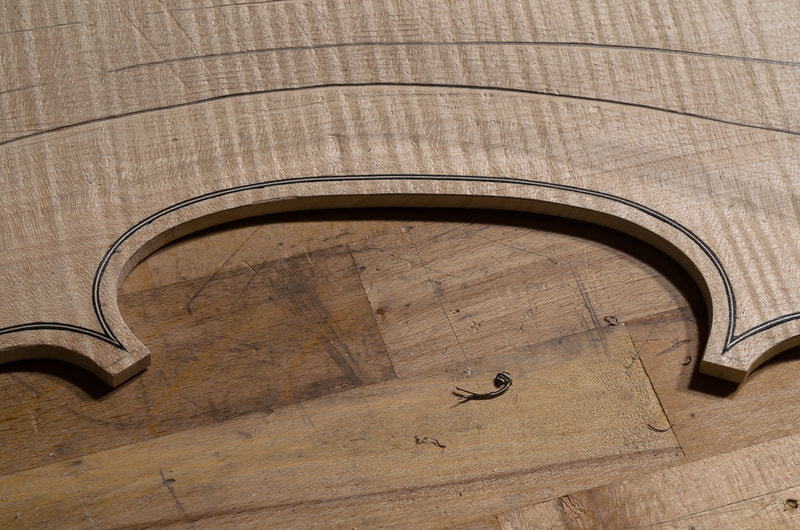
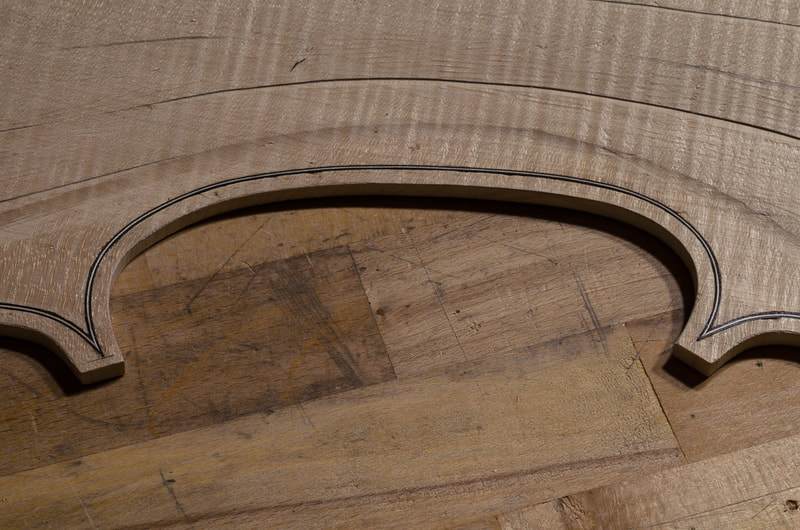
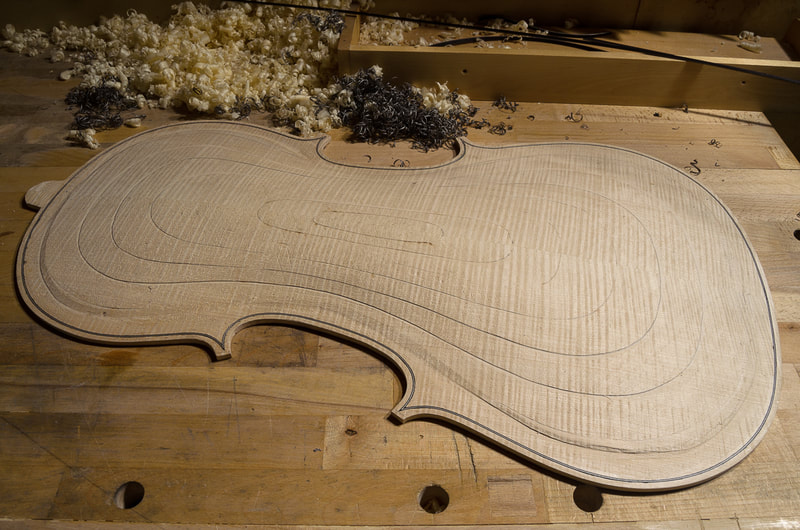
Today I finished the purfling on the back. It went pretty smoothly. I first bent the purfling to fit the groove on the back of the cello and then carefully cut the ends to match the purfling on the c-bouts which I had glued on already earlier. For the lower bout I had to make a splice. For the front I had made the splice in the "wrong" direction which I rectified this time. I had much more trouble getting a good spline this way. The photos below show my setup in preparing the purfling. The blowtorch isn't on when I am bending the purfling.
I didn't take photos from the glueup. I used a large injection needle to put the glue in the purfling groove. Keeping the needle in the hot gluepot made sure it stays hot and liquid.
0 Comments
Leave a Reply. |
AuthorMy son is outgrowing his cello soon. Could there be a better reason to learn how to make one :). Archives
April 2021
Categories
All
|
