|
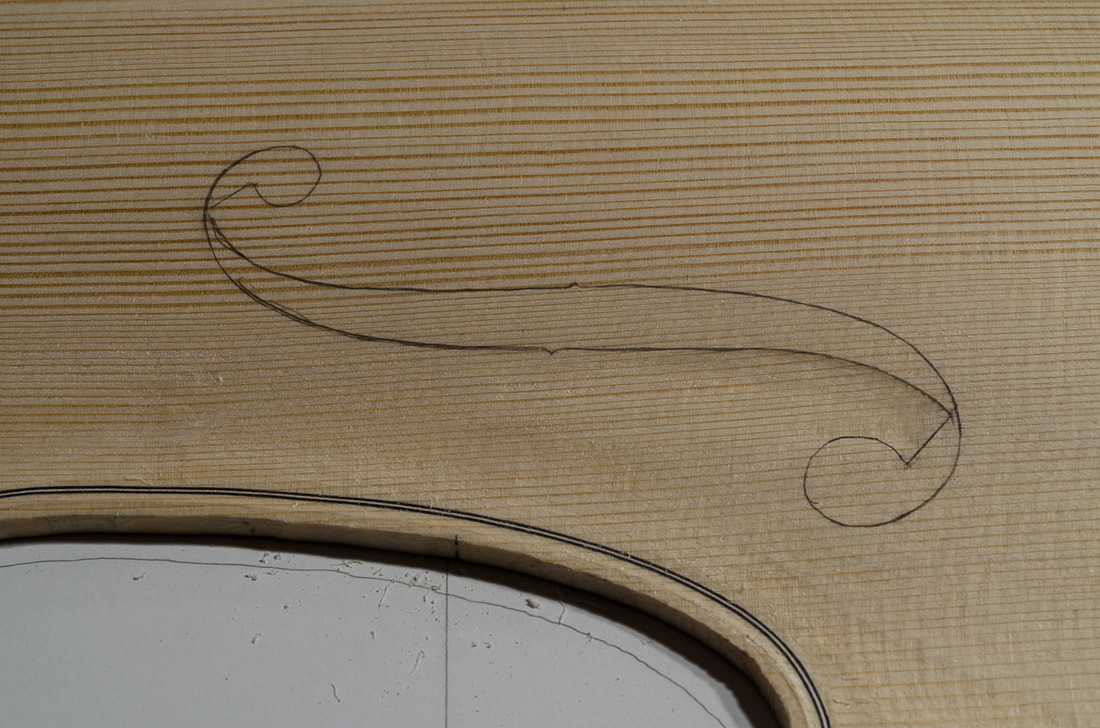
The next step now that the front has been hollowed out is to start working on the ff-holes. First I needed to add the fluting of the lower wings. The instructions are mostly quite short on this and the cello my son currently has doesn't have fluted ff-holes so I wasn't too sure what I was aiming for. I added some but not all that much. Maybe I should done a stronger fluting. The good thing is that the fluting is purely decorative and shouldn't affect the sound. After having added the fluting to both sides it was time to cut out the first ff-hole. I first drilled two holes so that I could insert the saw blade. And then sawed the ff-hole open. The corners around the ends are very delicate so one needs to be careful when cutting out the holes. One should always go with the grain, and first cut the corner open while it is still well supported. I didn't have time to cut both ff-holes today. And maybe anyways I'll finish the first one first so that I can learn from my mistakes on the first one before doing the second. Some good references:
0 Comments
Leave a Reply. |