|
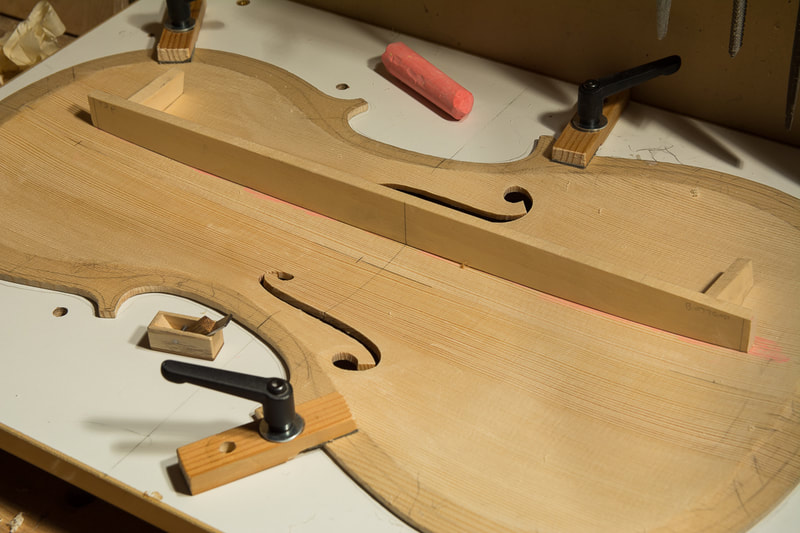
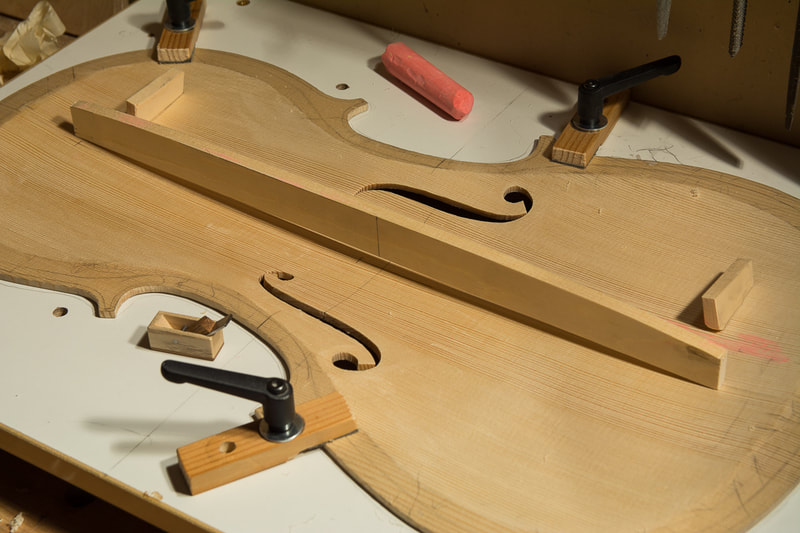
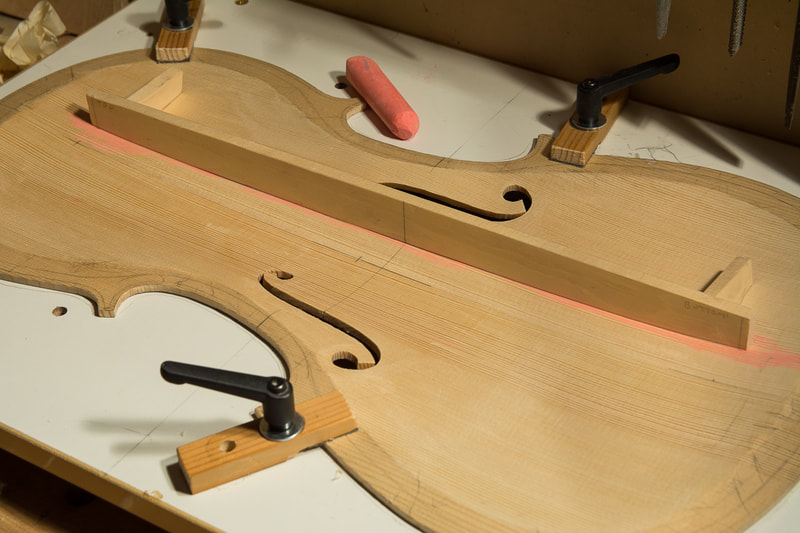
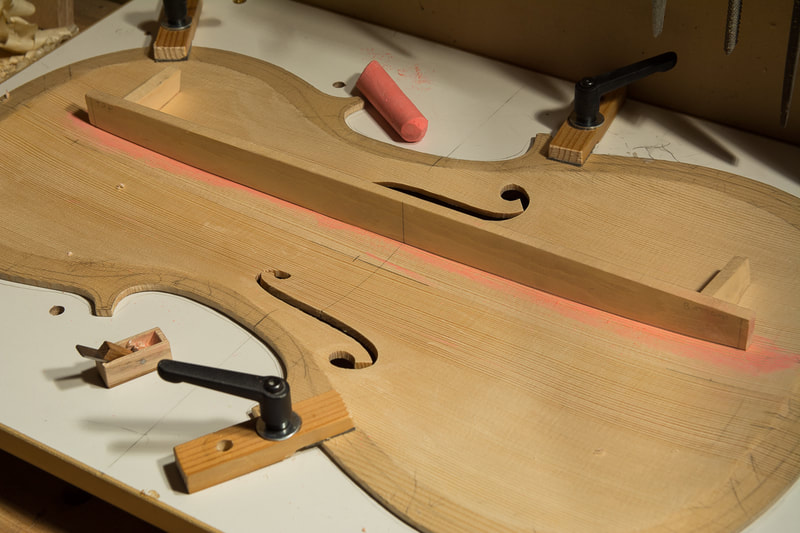
Getting a "perfect" fit on the bass bar was surprisingly easy. Pressing the bass bar against the chalked front and wiggling it around a bit left clear chalk marks on the bass bar and it was quite straightforward to get it to fit so that chalk is all over the bass bar. It was only once I had a perfect fit that I started to think what is really needed. The bass bar should not have a perfect fit on the front, with out any pressure there should actually be a little gap at the ends. This is so that the bass bar provides more support for the front once the strings pull down the bridge. Baker in her books says 1 mm for a cello, Strobel says 2-3 mm.
So getting wasn't quite so straight forward. What I did was to mark a tapering pencil line on the perfectly fitting bass bar which I then roughly planed out. I then proceeded with the chalk method this time making sure I pressed the bass bar from the ends of the bass bar only. And now I made sure not to remove any material from the and or from the middle. This way I could keep the gaps at the ends of the bass bar but still get a good fit. Although a little more complicated, this worked out also pretty nicely. Now I need to glue the bass bar to the front.
0 Comments
Leave a Reply. |
AuthorMy son is outgrowing his cello soon. Could there be a better reason to learn how to make one :). Archives
April 2021
Categories
All
|


